
Articles


Homemade Vanilla Extract & Vanilla Bean Paste
Recipe
Homemade vanilla extract and vanilla bean paste are two simple ways to bring the flavour of real vanilla into your baking. This guide shows you how to make both at home, from a slow-infused vanilla extract that develops over several weeks to a rich vanilla bean paste flecked with real vanilla seeds.
Some articles on Culinary Travels may contain affiliate links, meaning I may earn a small commission at no extra cost to you. I only recommend places, experiences and products that fit the editorial tone and standards of the site. Update note: This recipe was originally published in February 2016 and has been fully rewritten and updated in August 2026, with new photography added.
Vanilla is one of those ingredients that can quietly transform a bake. A teaspoon stirred into cake batter, custard or cookie dough rarely announces itself in the way chocolate, citrus or spice might, but leave it out and you notice the difference.
Making your own vanilla extract or vanilla bean paste gives you more control over that flavour, and neither is difficult. Homemade vanilla extract needs only vanilla beans, alcohol and patience: the beans slowly infuse the vodka, creating an extract that becomes deeper and more aromatic the longer it rests.
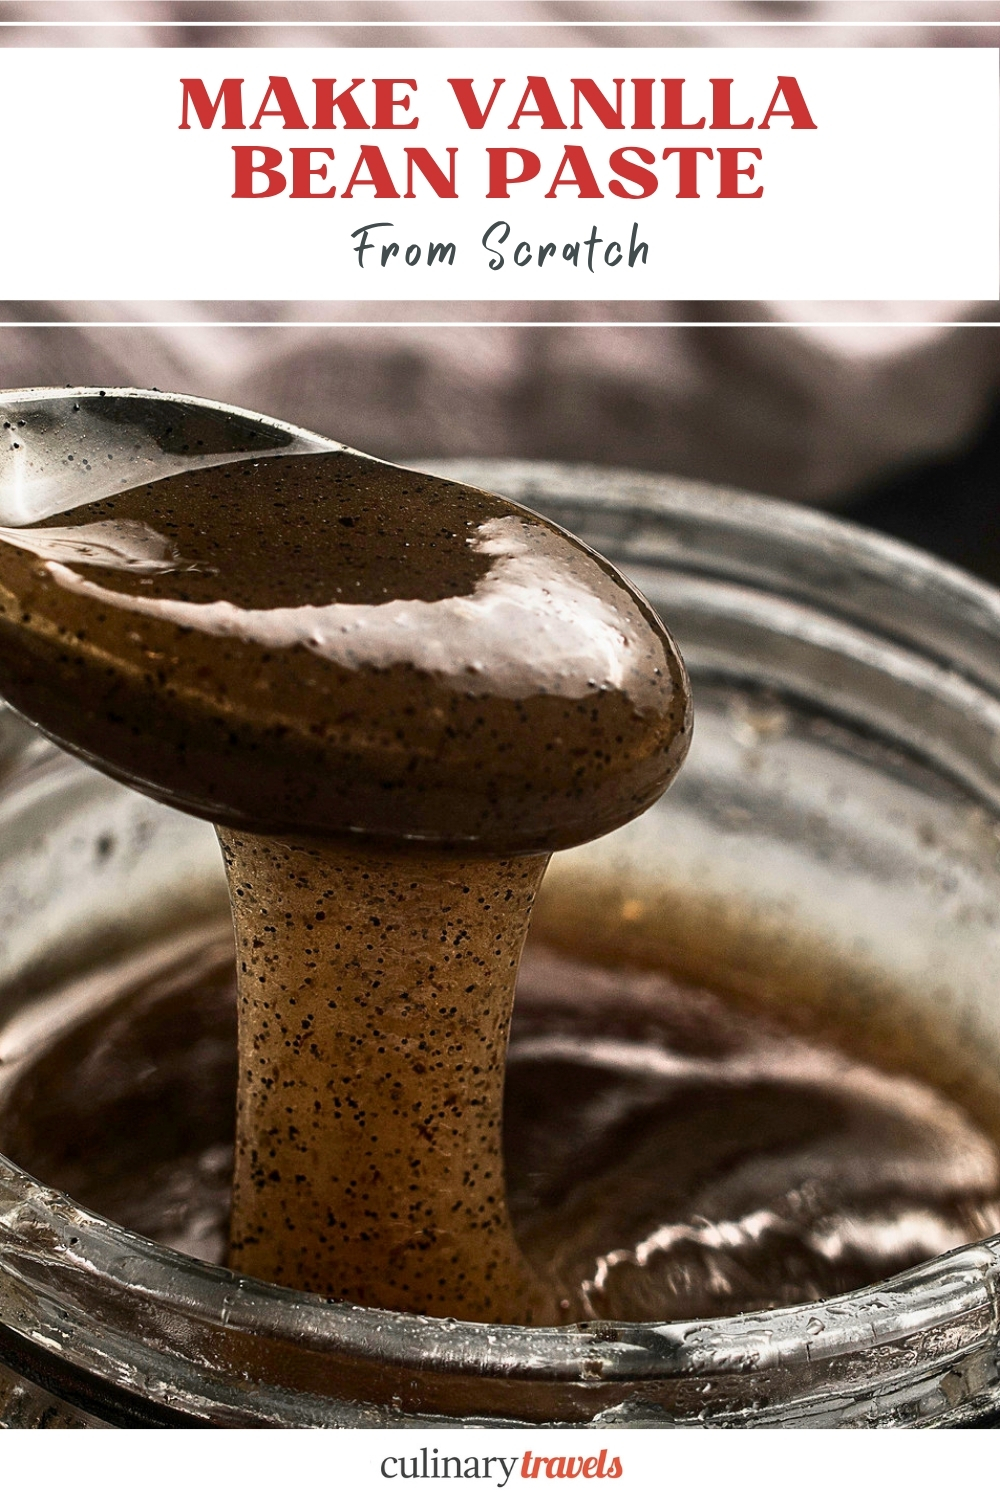
Vanilla bean paste is the quicker option. Made with whole vanilla beans, a sweet syrup and either a little spirit or vanilla extract, it has a thick consistency and plenty of those characteristic black vanilla seeds. I particularly like it in recipes where the vanilla is meant to be noticeable, from custards and ice creams to cakes, biscuits and buttercream.
This article includes both recipes, along with guidance on choosing vanilla beans, storing homemade vanilla, knowing when your extract is ready and deciding whether vanilla extract or vanilla paste is the better choice for a particular recipe.
Jump to vanilla extract recipe ↓
Jump to vanilla bean paste recipe ↓
Photograph: Max Gagliano
Vanilla Extract vs Vanilla Bean Paste: What’s the Difference?
Vanilla extract and vanilla bean paste both bring real vanilla flavour to baking, but they differ in texture, intensity and how they are made.
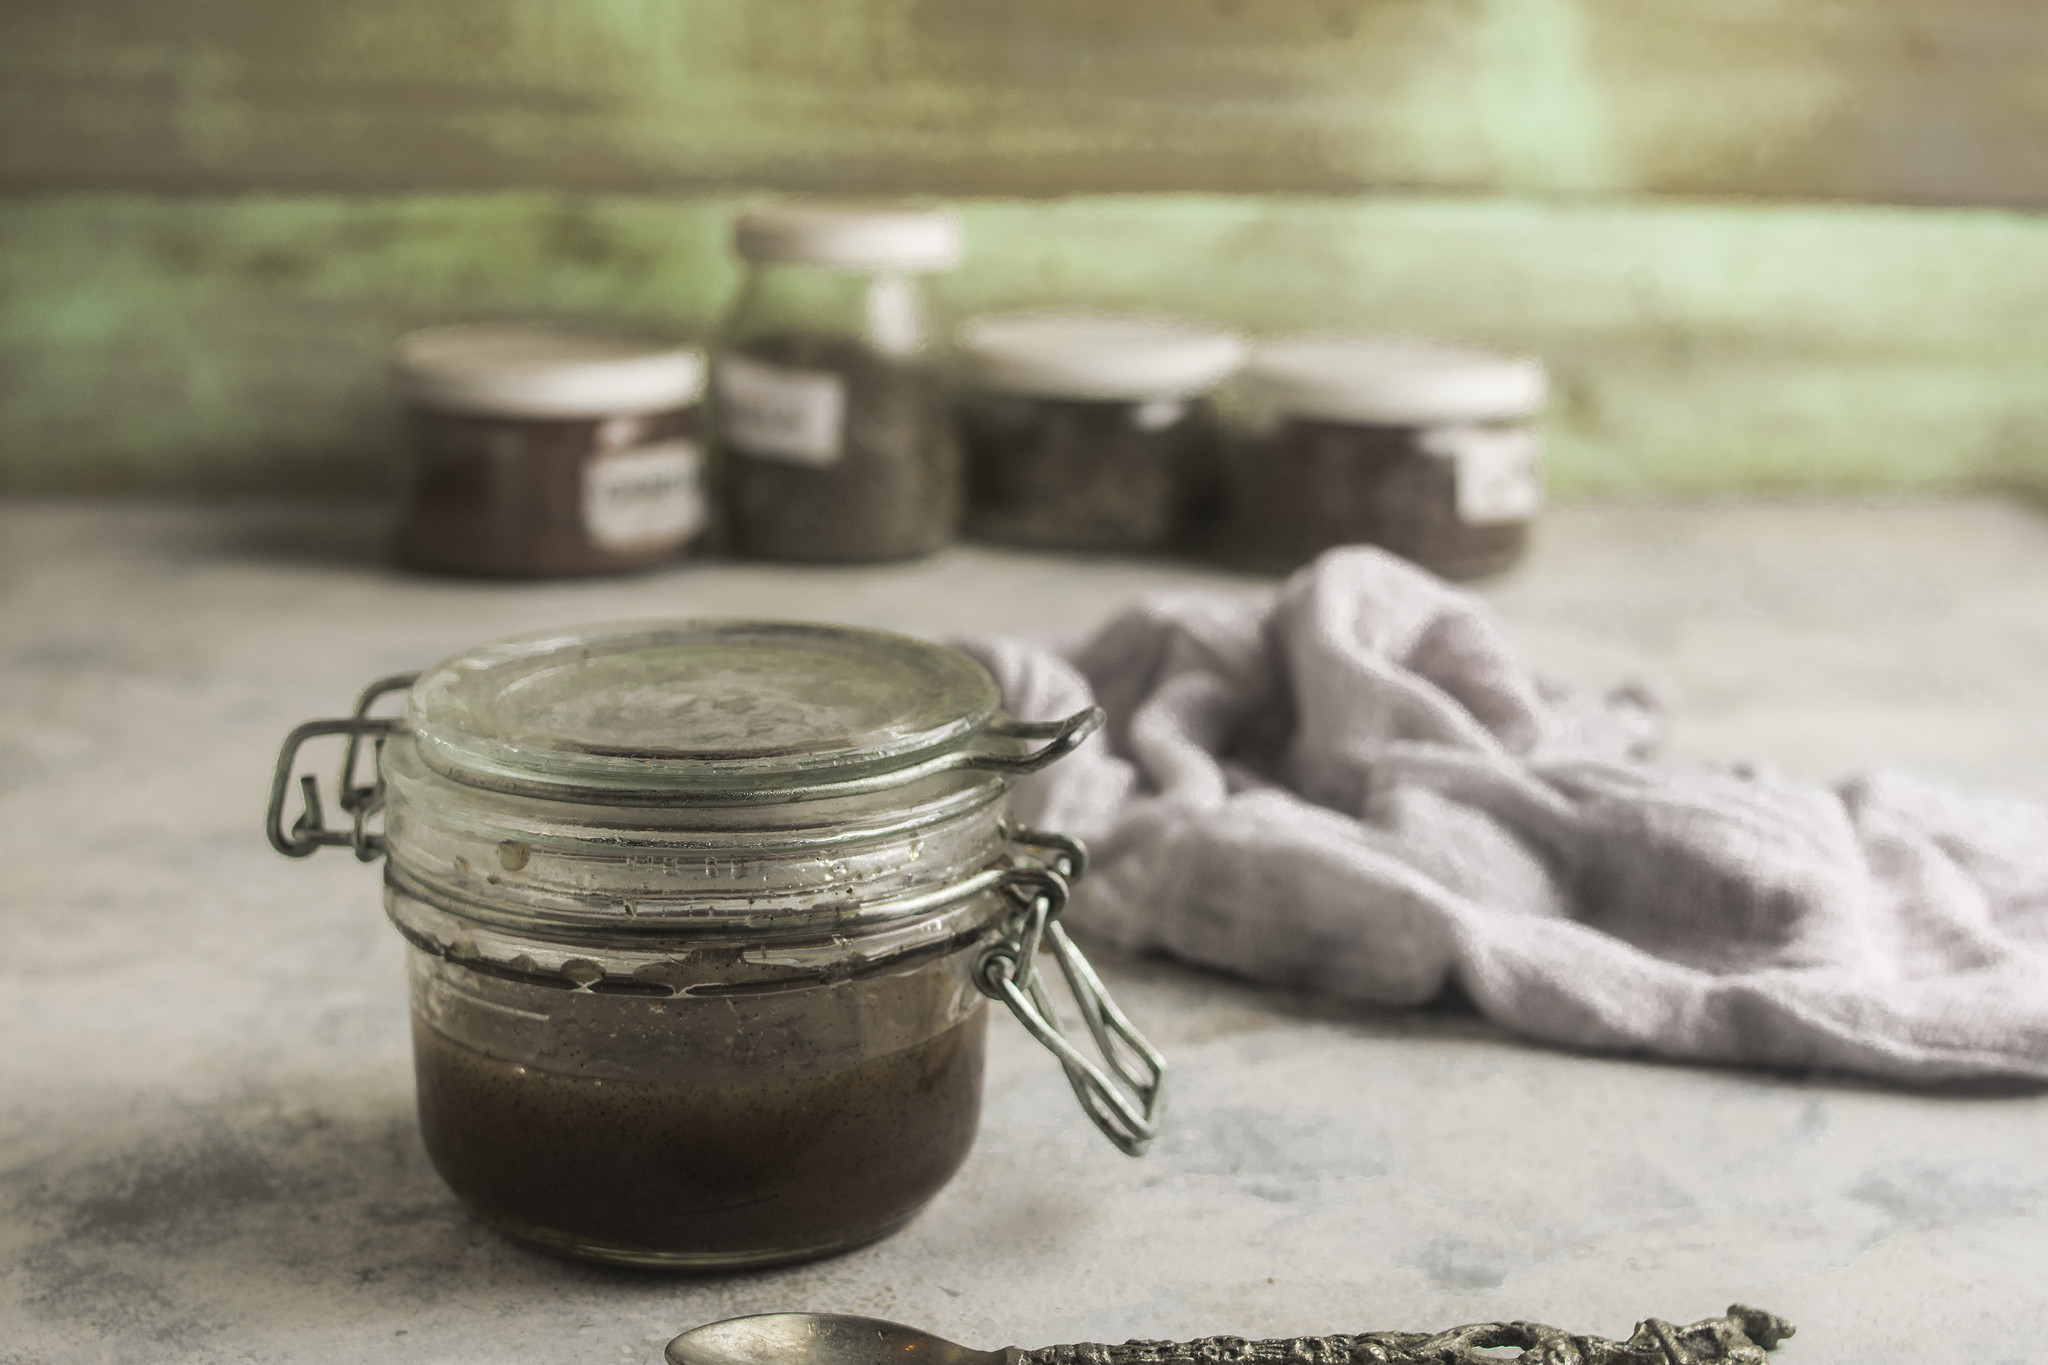
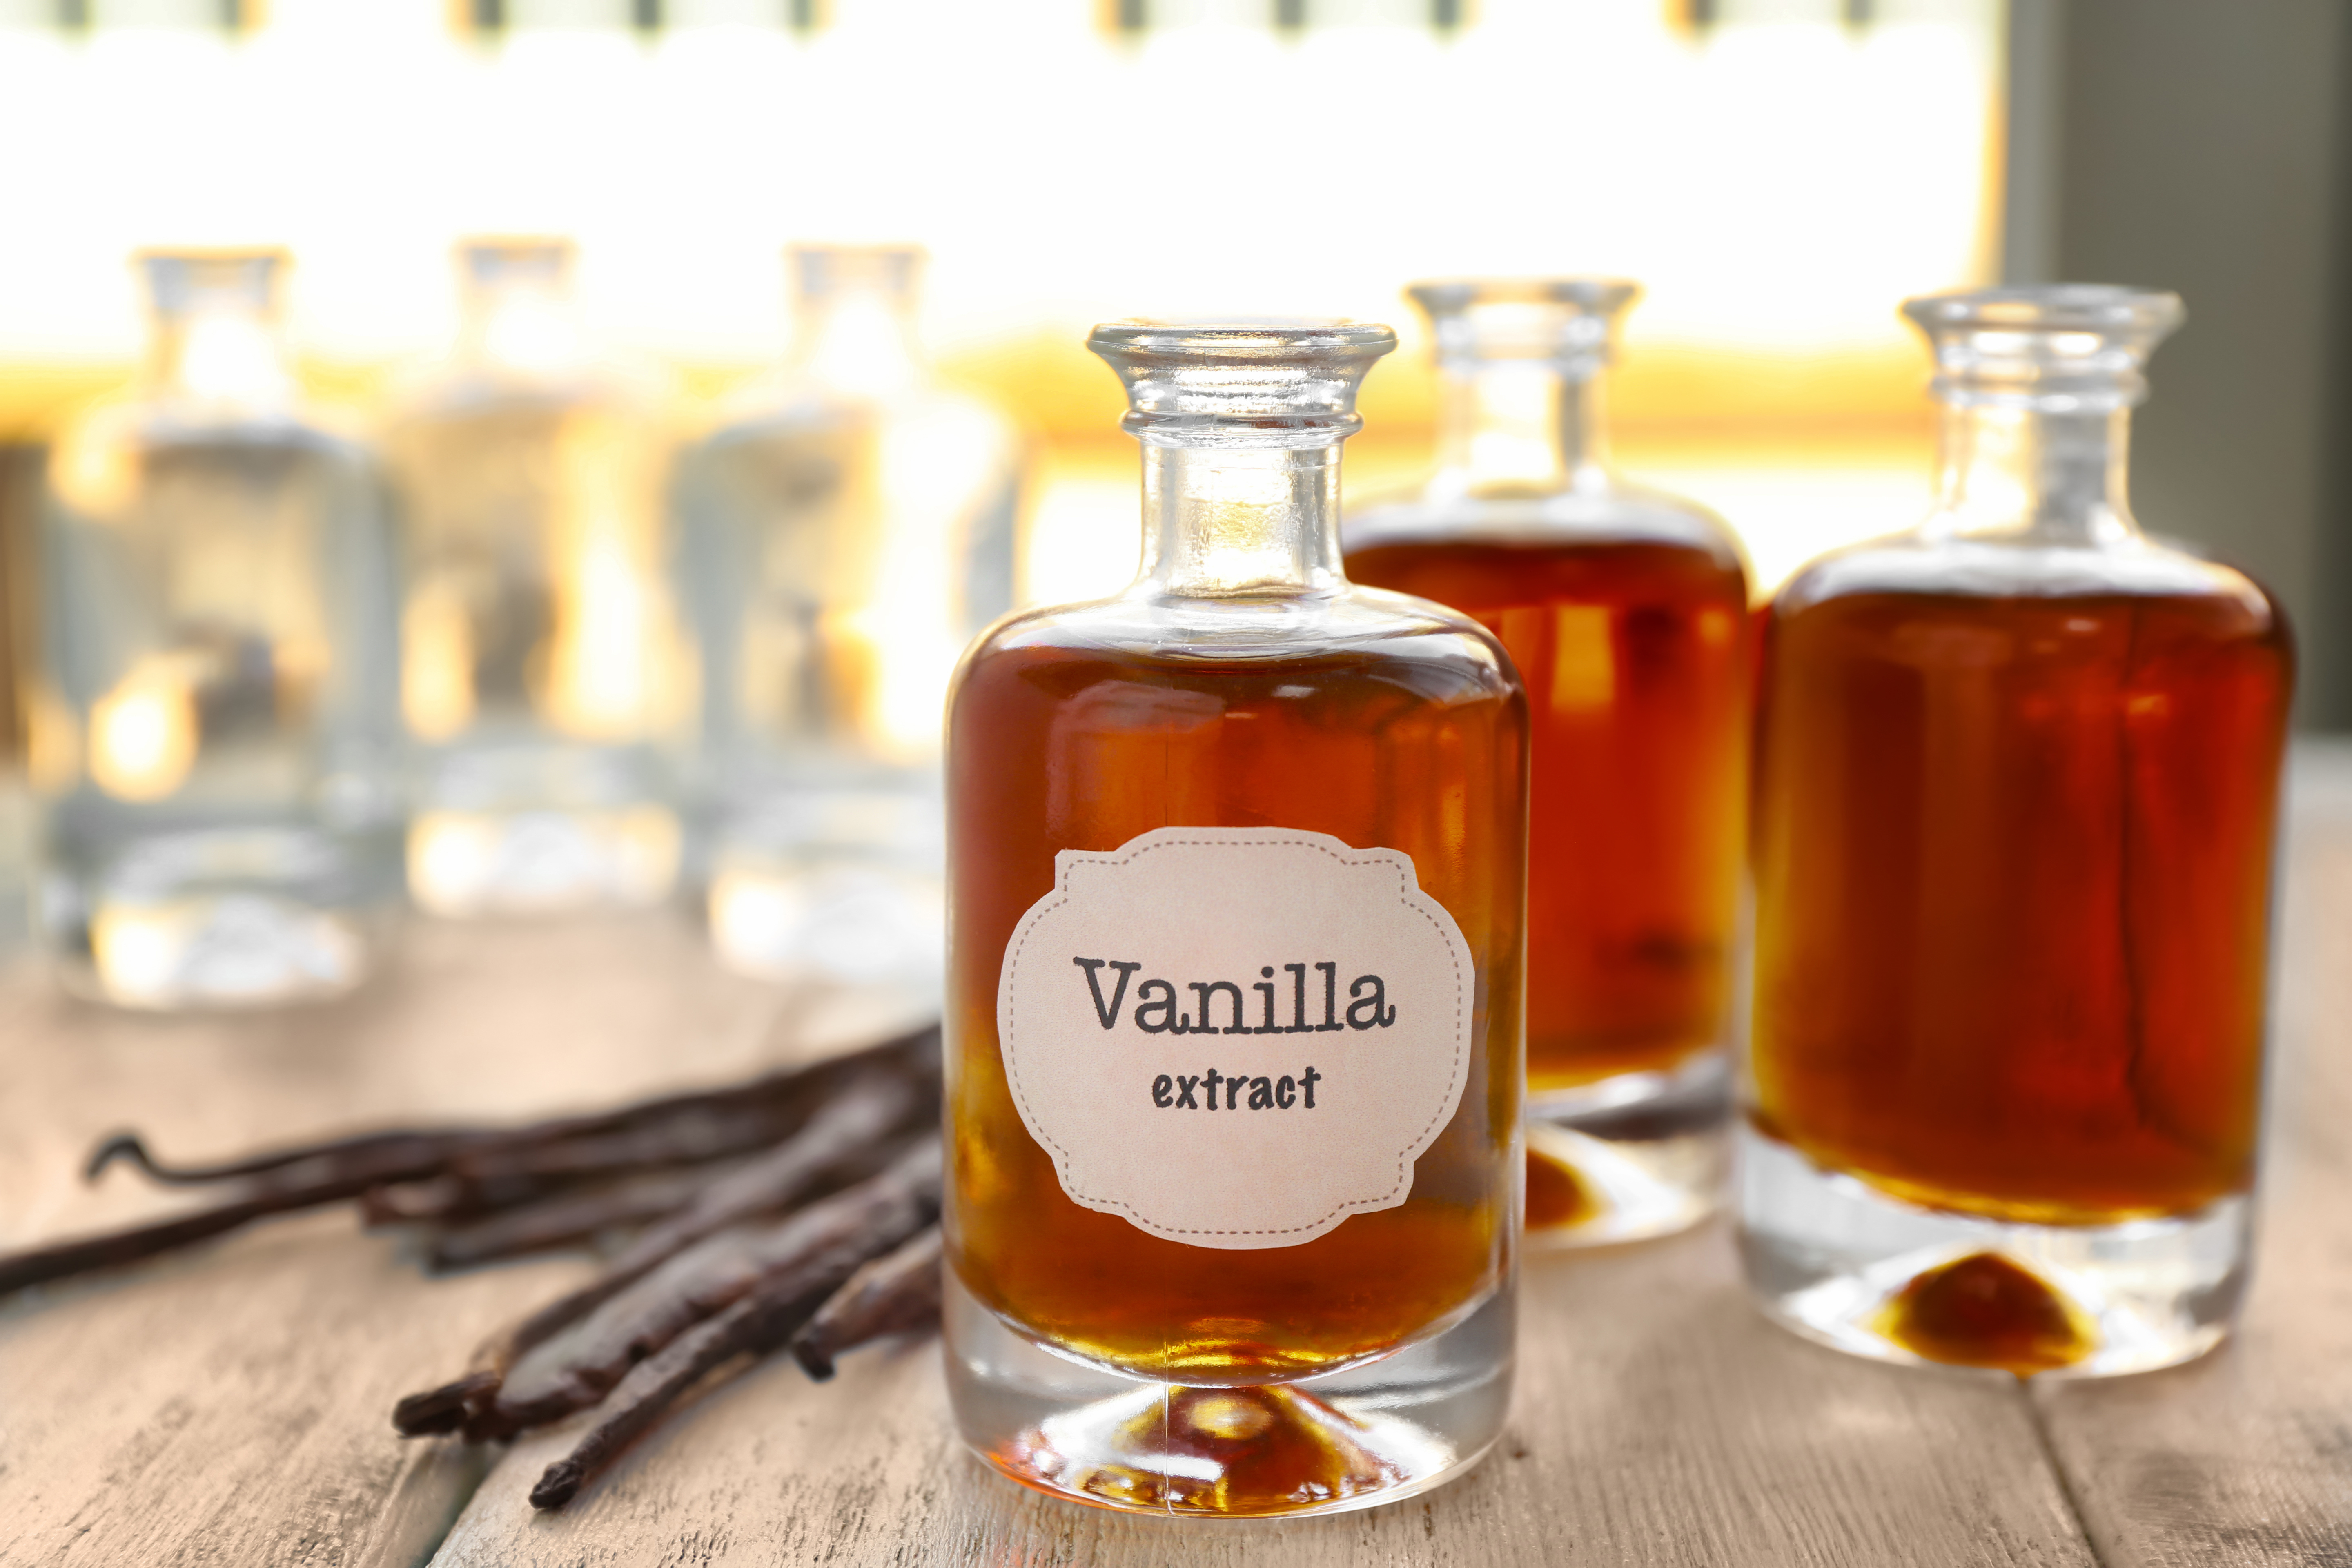
Vanilla extract is a thin liquid made by steeping vanilla beans in alcohol. Over time, the alcohol draws flavour and aroma from the beans, creating a versatile extract that can be measured easily into cakes, biscuits, custards, sauces and other bakes. Homemade vanilla extract takes patience rather than effort: once the beans and vodka are combined, the mixture needs at least eight weeks to infuse, although around 12 weeks gives a fuller, more developed flavour.
Vanilla bean paste is thicker and more concentrated. It combines whole vanilla beans with a sweet syrup and either a little spirit or vanilla extract, so it contains the tiny black vanilla seeds as well as the flavour of the beans themselves. It is particularly useful when you want those visible specks of vanilla in a recipe, or when vanilla is one of the main flavours rather than simply supporting other ingredients.
The two are useful for slightly different jobs, which is why I like keeping both in the kitchen. Vanilla extract is an everyday baking staple, while vanilla bean paste works especially well in recipes such as custards, ice creams, buttercreams and lightly flavoured cakes where both the vanilla flavour and those visible black specks can really shine.
Choosing Vanilla Beans
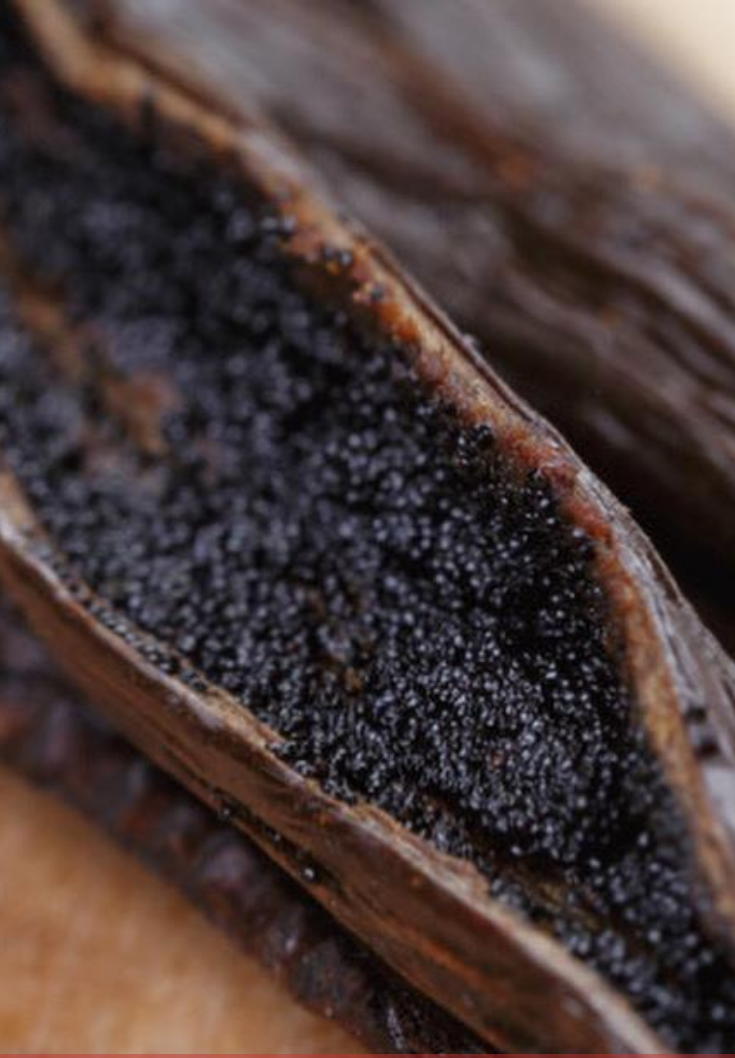
Vanilla beans can be expensive, so buy the best quality you can comfortably afford rather than worrying too much about specific grades or varieties. Look for beans that are fragrant and reasonably supple rather than very dry or brittle.
Although the initial cost can feel high, homemade vanilla extract is a good way to make those beans work hard. A bottle keeps for a long time, the flavour continues to develop as it matures, and you can top it up with more vodka as you use it. Adding fresh vanilla beans over time can help keep the extract rich and aromatic.
Photograph: Georgina Ingham
Before You Start: Jars and Bottles
Use clean, sterilised glass bottles or jars for both the vanilla extract and vanilla bean paste. Starting with properly prepared containers helps reduce the risk of contamination and spoilage during storage. If you are reusing a jar or bottle, check that it is free from chips or cracks and sterilise it before use. You can find further guidance on using glass jars safely on GOV.UK.
How to Make Homemade Vanilla Extract
Homemade vanilla extract takes only a few minutes of hands-on preparation; the important ingredient is time. The vanilla beans need at least eight weeks to infuse, although I recommend leaving the extract for around 12 weeks, or longer, for a fuller flavour and deeper colour.
Once made, keep the bottle in a cool, dark cupboard and give it an occasional shake while it matures. As you use the extract, you can top up the bottle with fresh vodka and add new vanilla beans periodically, so the same bottle can stay in use for a long time.
Photograph: Max Gagliano
Homemade Vanilla Extract
Yield: Approximately 500 ml
Preparation time: 10 minutes
Maturation time: At least 8 weeks, ideally 12 weeks or longer
Ingredients
50 g vanilla beans, approximately 8–10 beans depending on size
500 ml plain, unflavoured vodka, ideally 37.5–40% ABV
Method
1. Check the height of the vanilla beans against your storage bottle or jar. If necessary, cut the beans into shorter lengths so they will remain completely submerged beneath the vodka.
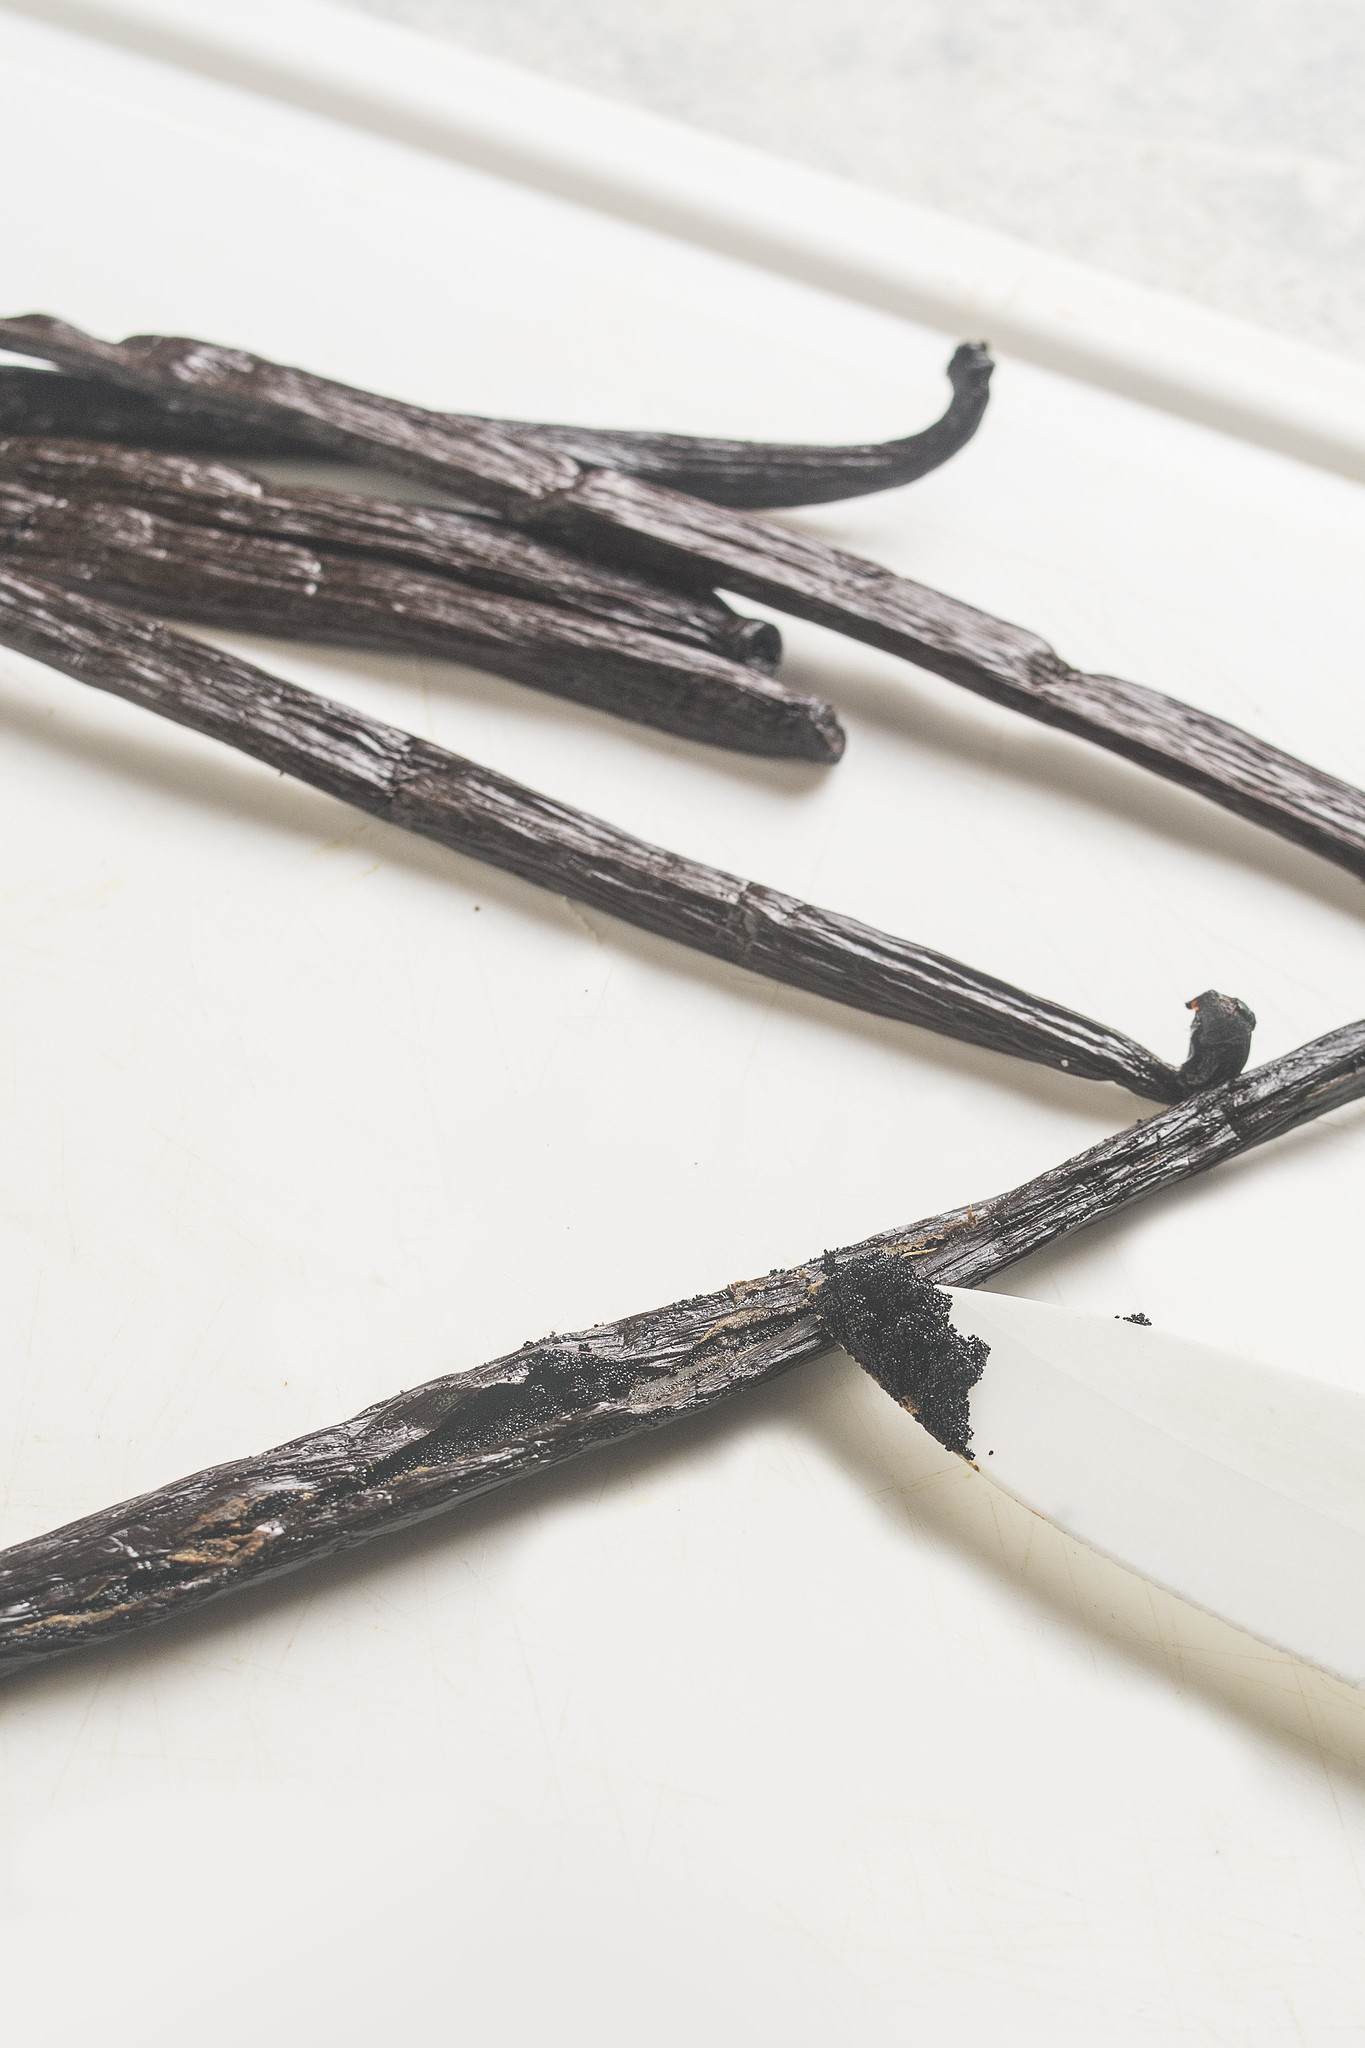
2. Using a sharp knife, split each vanilla bean lengthways to expose the seeds, leaving approximately 1–2cm attached at one end.
3. Place the split vanilla beans in a clean, sterilised bottle or jar.
4. Pour in the vodka, making sure every part of the vanilla beans is completely covered.
5. Seal the bottle tightly and shake gently.
6. Label the bottle with the date it was made.
7. Store the vanilla extract in a cool, dark cupboard, shaking the bottle gently once a day during the first week.
8. After the first week, shake the bottle once or twice a week while the vanilla continues to infuse.
9. The extract can be used after a minimum of eight weeks, although the flavour and colour will continue to develop. For a fuller extract, leave it to mature for around 12 weeks or longer.
Maintaining Your Vanilla Extract
Keep the vanilla beans completely submerged in the alcohol. After using around one-quarter of the extract, you can top the bottle up with fresh vodka. Shake well and leave it for at least two weeks before using the extract again.
You can also add fresh vanilla beans periodically to help maintain the strength and flavour of the extract.
How to Store Homemade Vanilla Extract
Store homemade vanilla extract tightly sealed in a cool, dark cupboard. There is no need to refrigerate it. Properly stored, it will keep for several years, and its flavour can continue to develop as it ages.
Photograph: Africa Studio (Adobe Stock)
How to Make Homemade Vanilla Bean Paste
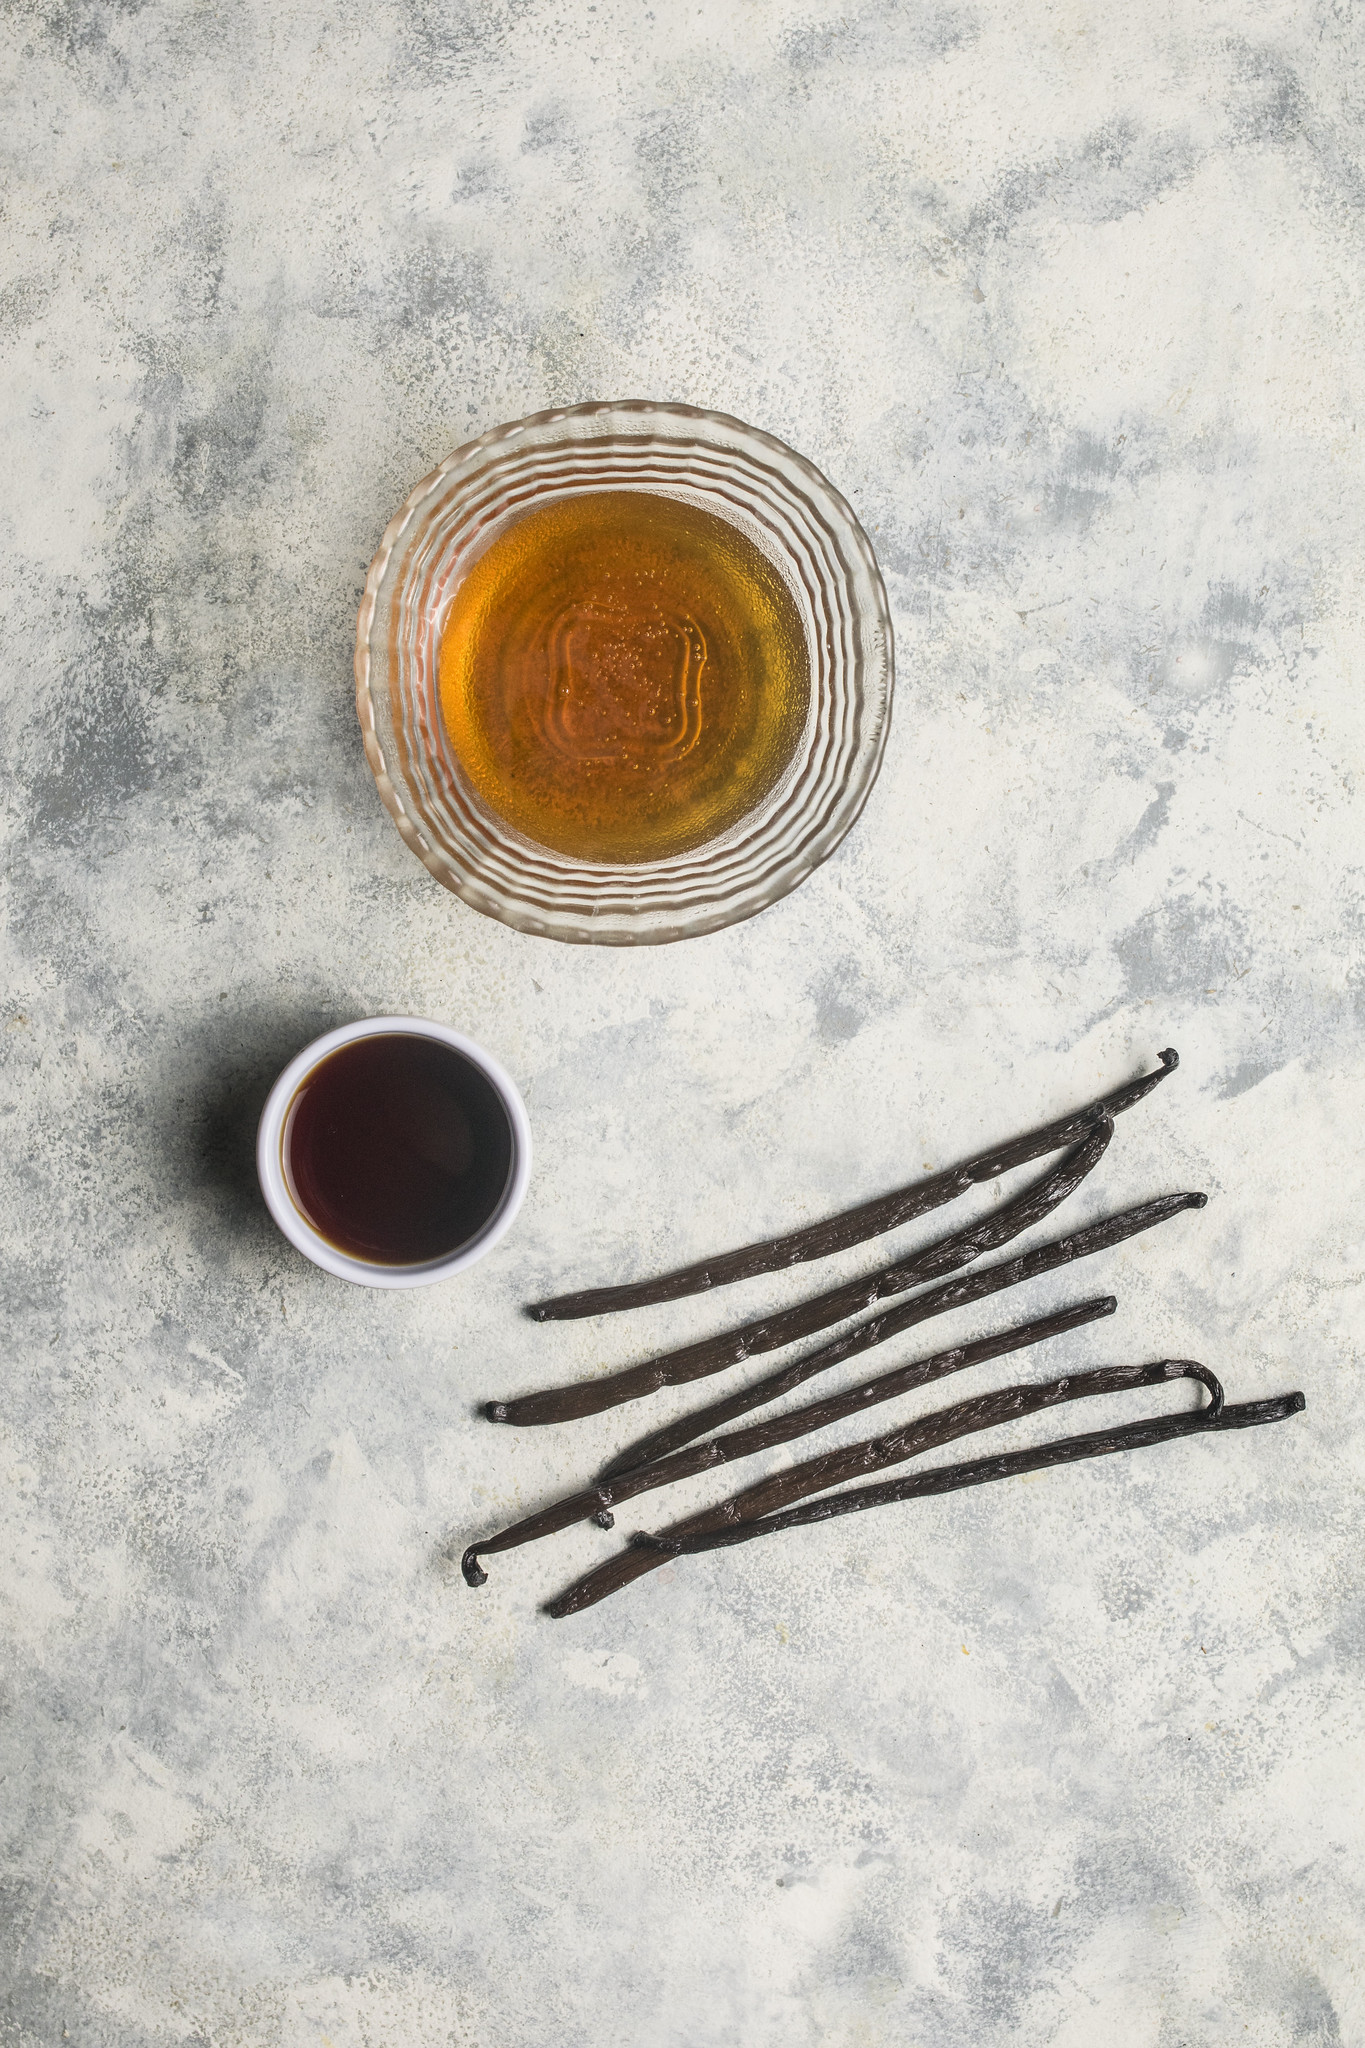
Homemade vanilla bean paste is much quicker to make than vanilla extract, although giving it a day or two to rest allows the mixture to settle and the flavour to develop. The whole vanilla pods are blended with the seeds, syrup and a little alcohol or vanilla extract, creating a thick, glossy paste flecked throughout with real vanilla.
Photograph: Max Gagliano
Homemade Vanilla Bean Paste
Yield: 1 small jar
Preparation time: 10 minutes
Resting time: 24–48 hours
Ingredients
5 vanilla beans
120 g light corn syrup or glucose syrup
15 ml vodka, bourbon, dark rum or vanilla extract
Method
1. Split the vanilla beans lengthways and scrape out the seeds.
2. Cut the pods into small pieces.
3. Place the vanilla seeds, chopped pods, syrup and your chosen spirit or vanilla extract in a high-powered blender or food processor.
4. Blend for 2–3 minutes, stopping to scrape down the sides as needed, until the vanilla pods have broken down as finely as possible.
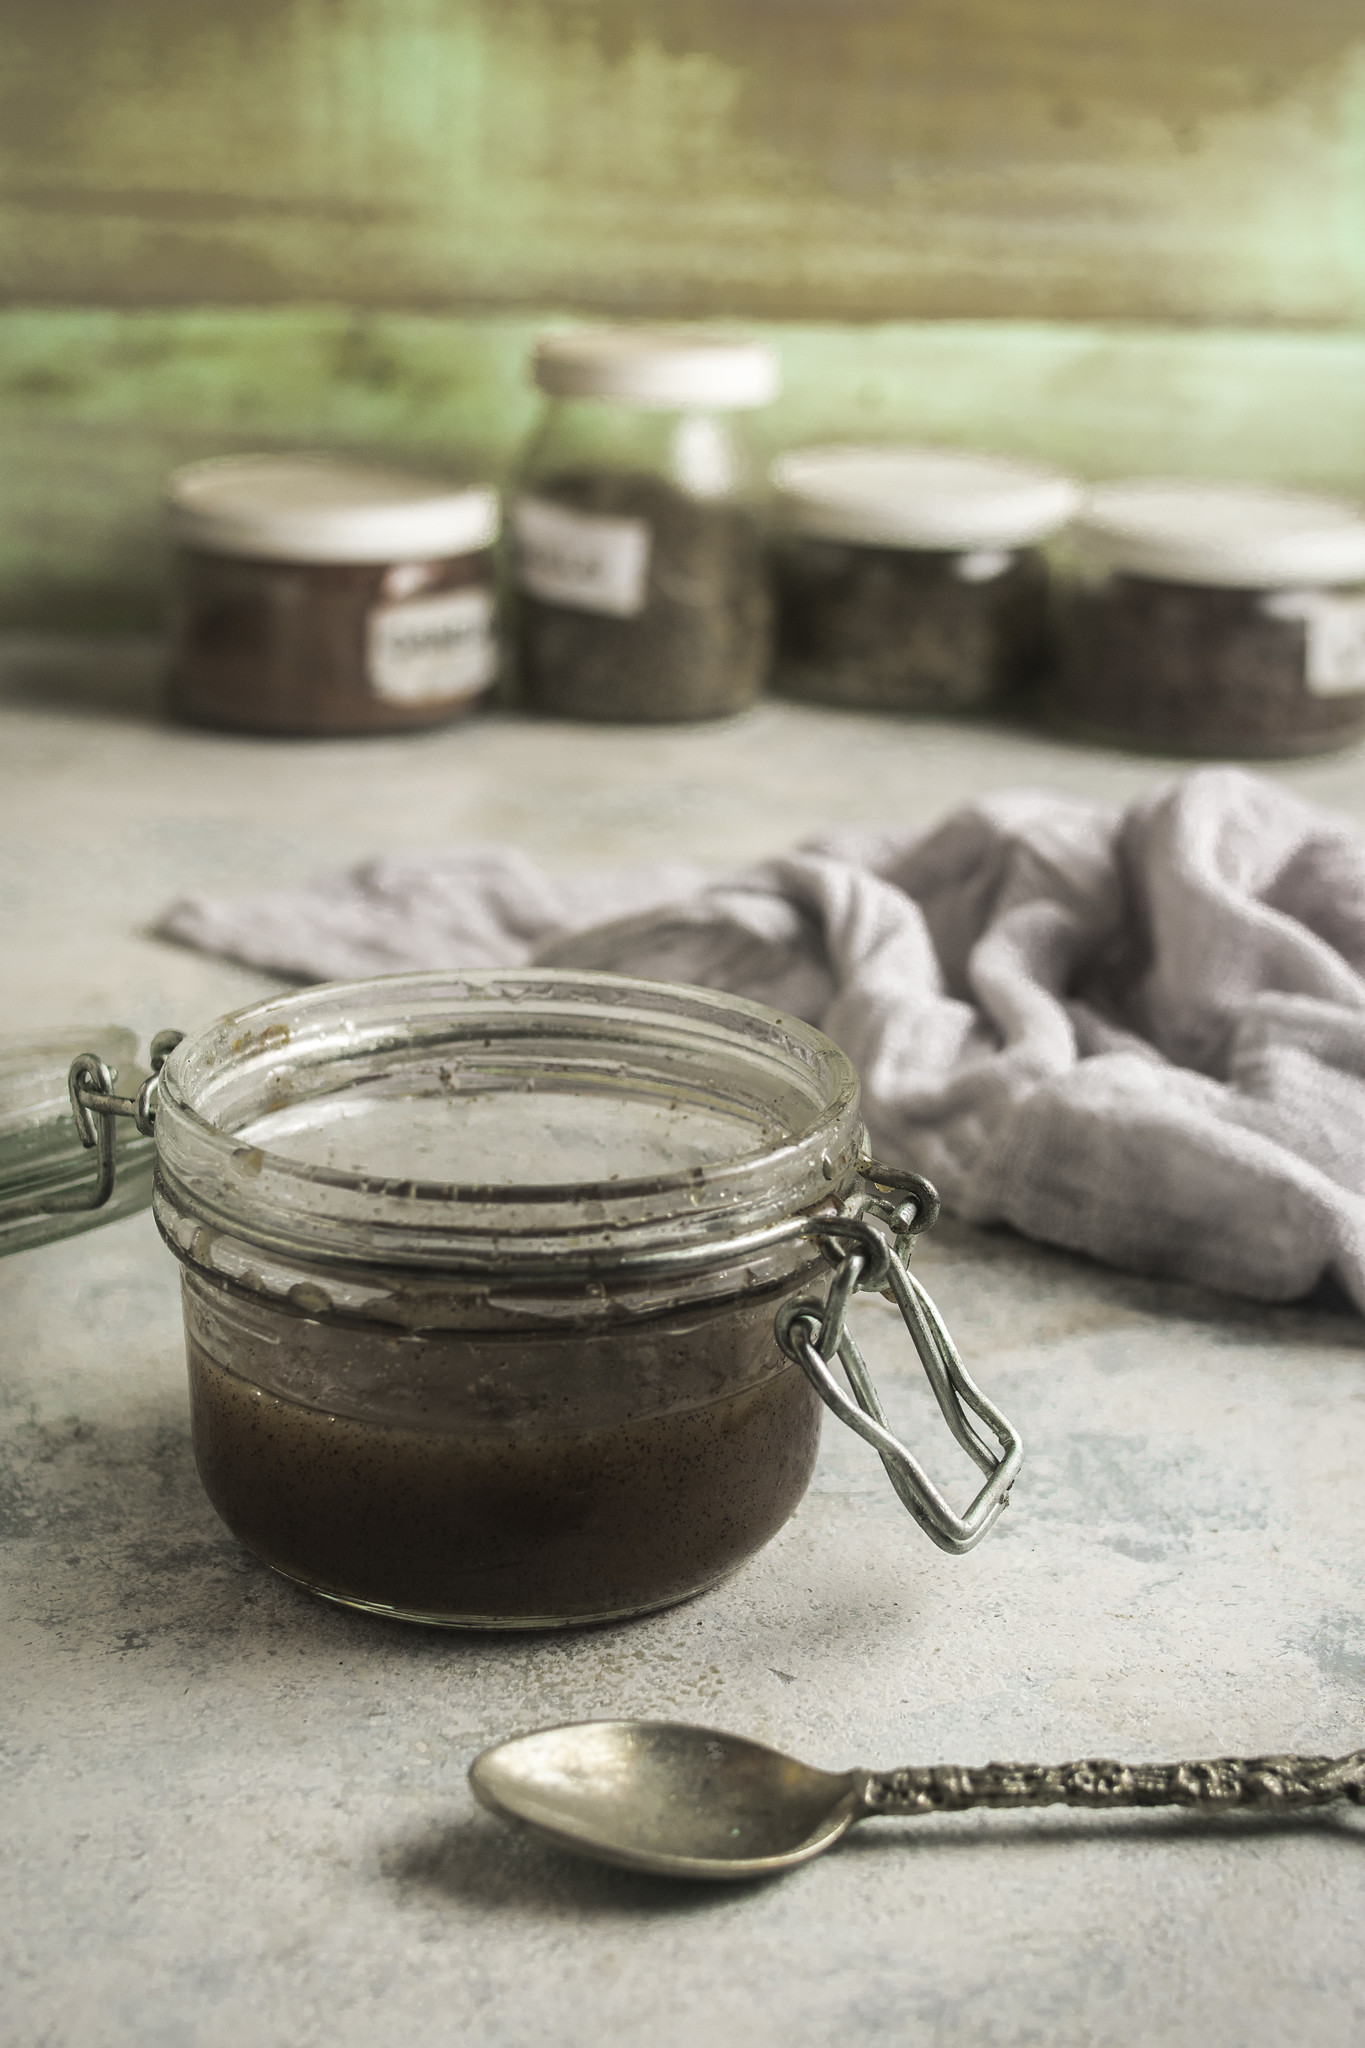
5. Transfer the mixture to a clean, sterilised jar, seal and refrigerate for 24–48 hours.
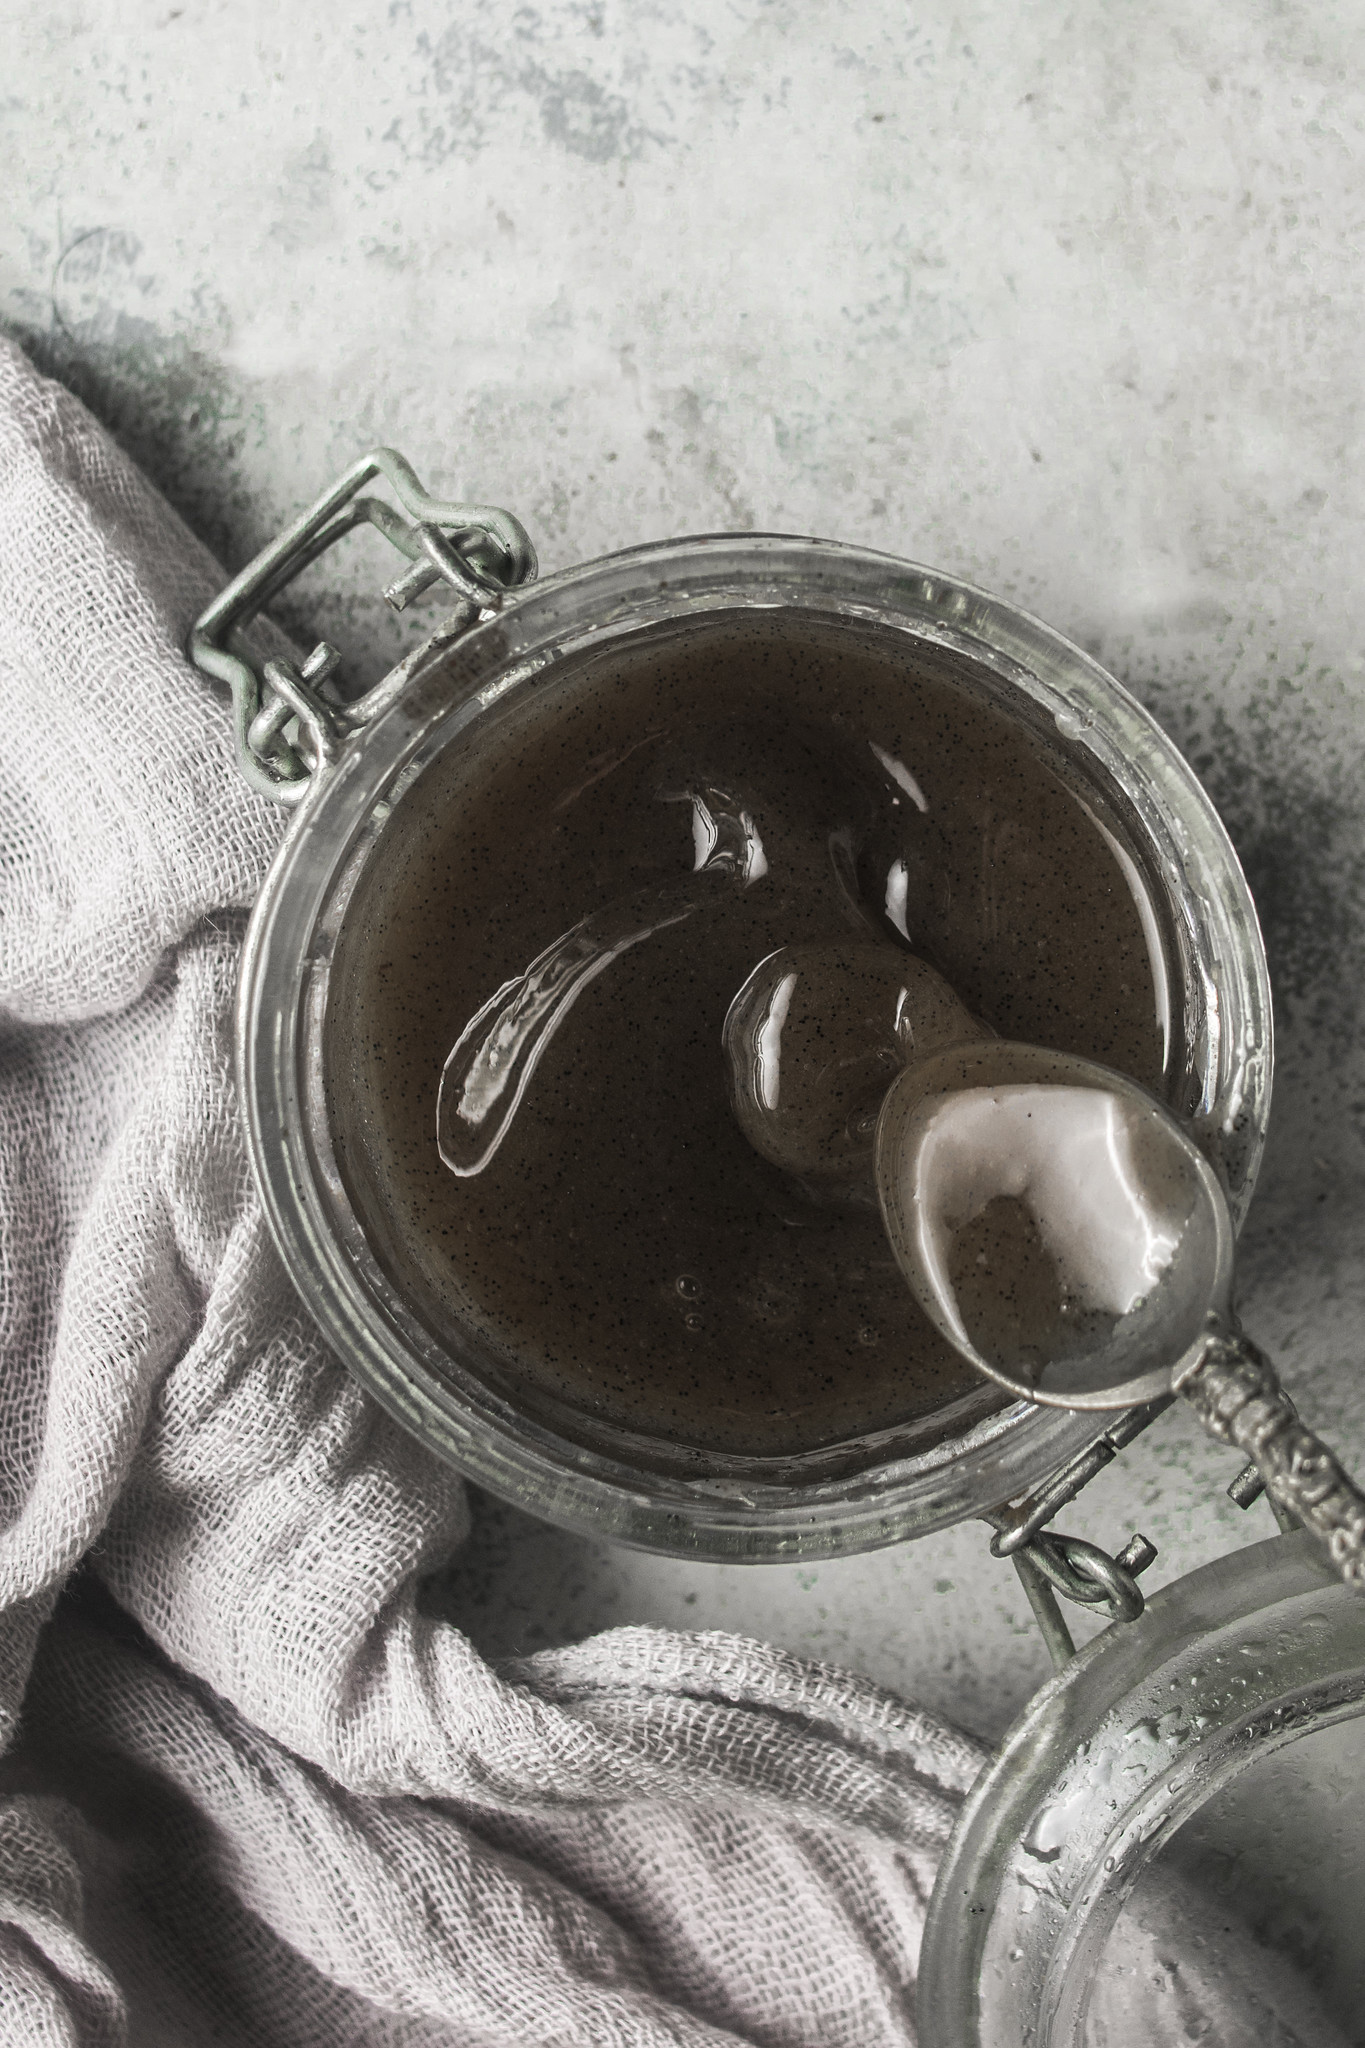
6. After resting, stir the vanilla paste thoroughly and check the consistency. It should be thick and glossy, with a slow-pouring, spoonable consistency that coats the back of a spoon.
7. Remove any particularly fibrous pieces of vanilla pod that remain, then seal the jar again, label it with the date and return it to the fridge.
Photograph: Max Gagliano
How to Use Vanilla Extract and Vanilla Bean Paste
Both homemade vanilla extract and vanilla bean paste can be used in everyday baking, but I tend to reach for them in slightly different situations.
Vanilla extract is the most versatile option. Use it in cakes, biscuits, brownies, puddings, custards and other recipes where you want vanilla to add depth without changing the texture or appearance of the finished dish.
Vanilla bean paste is particularly good when vanilla is one of the main flavours, or when you want those characteristic black vanilla specks to be visible. Try it in custards, ice cream, panna cotta, buttercream, cheesecake and lightly flavoured cakes.
Photograph: Max Gagliano
Can you substitute vanilla paste for vanilla extract?
In most baking recipes, vanilla extract and vanilla bean paste can be substituted for one another. As a starting point, use the same volume of paste as you would extract — for example, one teaspoon of vanilla bean paste in place of one teaspoon of vanilla extract.
Homemade vanilla bean paste can vary slightly in strength depending on the vanilla beans used and how finely they are blended, so you may want to adjust the quantity to taste. The paste will also add visible vanilla seeds and a little more body to a recipe, while extract blends in almost invisibly.
Handy Hints and FAQs
How do I know when homemade vanilla extract is ready?
Homemade vanilla extract needs at least eight weeks to infuse, but I prefer to leave it for around 12 weeks before using it. The vodka will gradually darken and develop a strong vanilla aroma as it matures. The flavour will continue to deepen if you leave it for longer.
How long does homemade vanilla extract keep?
Stored tightly sealed in a cool, dark cupboard, homemade vanilla extract will keep for several years. Keep the vanilla beans submerged beneath the alcohol and top up the bottle with fresh vodka as needed, adding new beans periodically to maintain the strength of the extract.
Does homemade vanilla extract need to be refrigerated?
No. Vanilla extract is best kept tightly sealed in a cool, dark cupboard rather than in the fridge.
How should I store homemade vanilla bean paste?
Transfer the vanilla bean paste to a clean, sterilised, tightly sealed jar and keep it refrigerated. Because this is homemade and has not undergone commercial shelf-life testing, I do not give it a fixed storage time. Always use a clean spoon when removing paste from the jar and discard it if you notice any signs of spoilage.
What can I do with leftover vanilla beans?
Vanilla beans are too valuable to waste. Beans that are still fragrant can be added to your extract bottle, while scraped pods can be used to infuse sugar, cream or milk. Make sure any beans kept in vanilla extract remain completely submerged beneath the alcohol.
Why are there bits of vanilla pod in my vanilla bean paste?
Homemade vanilla bean paste is made using the whole pod, so its texture will not be completely smooth. A powerful blender or food processor will break the pods down finely, but particularly fibrous pieces can simply be removed after the paste has rested.
Can I make vanilla extract with bourbon or rum instead of vodka?
You can use another suitable spirit, but it will contribute some of its own flavour to the finished extract. Plain, unflavoured vodka is useful because its relatively neutral character allows the vanilla to remain the dominant flavour.
Do I have to use alcohol?
Alcohol is an essential part of this homemade vanilla extract recipe, as the vanilla beans infuse directly into the vodka. For the vanilla bean paste, however, you do not need to add a separate spirit. You can replace the 15 ml vodka, bourbon or dark rum with the same amount of vanilla extract instead.
Bear in mind that standard vanilla extract is itself alcohol-based, so this substitution does not make the vanilla paste alcohol-free. If you need a completely alcohol-free vanilla paste, use a recipe specifically developed for that purpose rather than simply omitting the alcohol from this one.
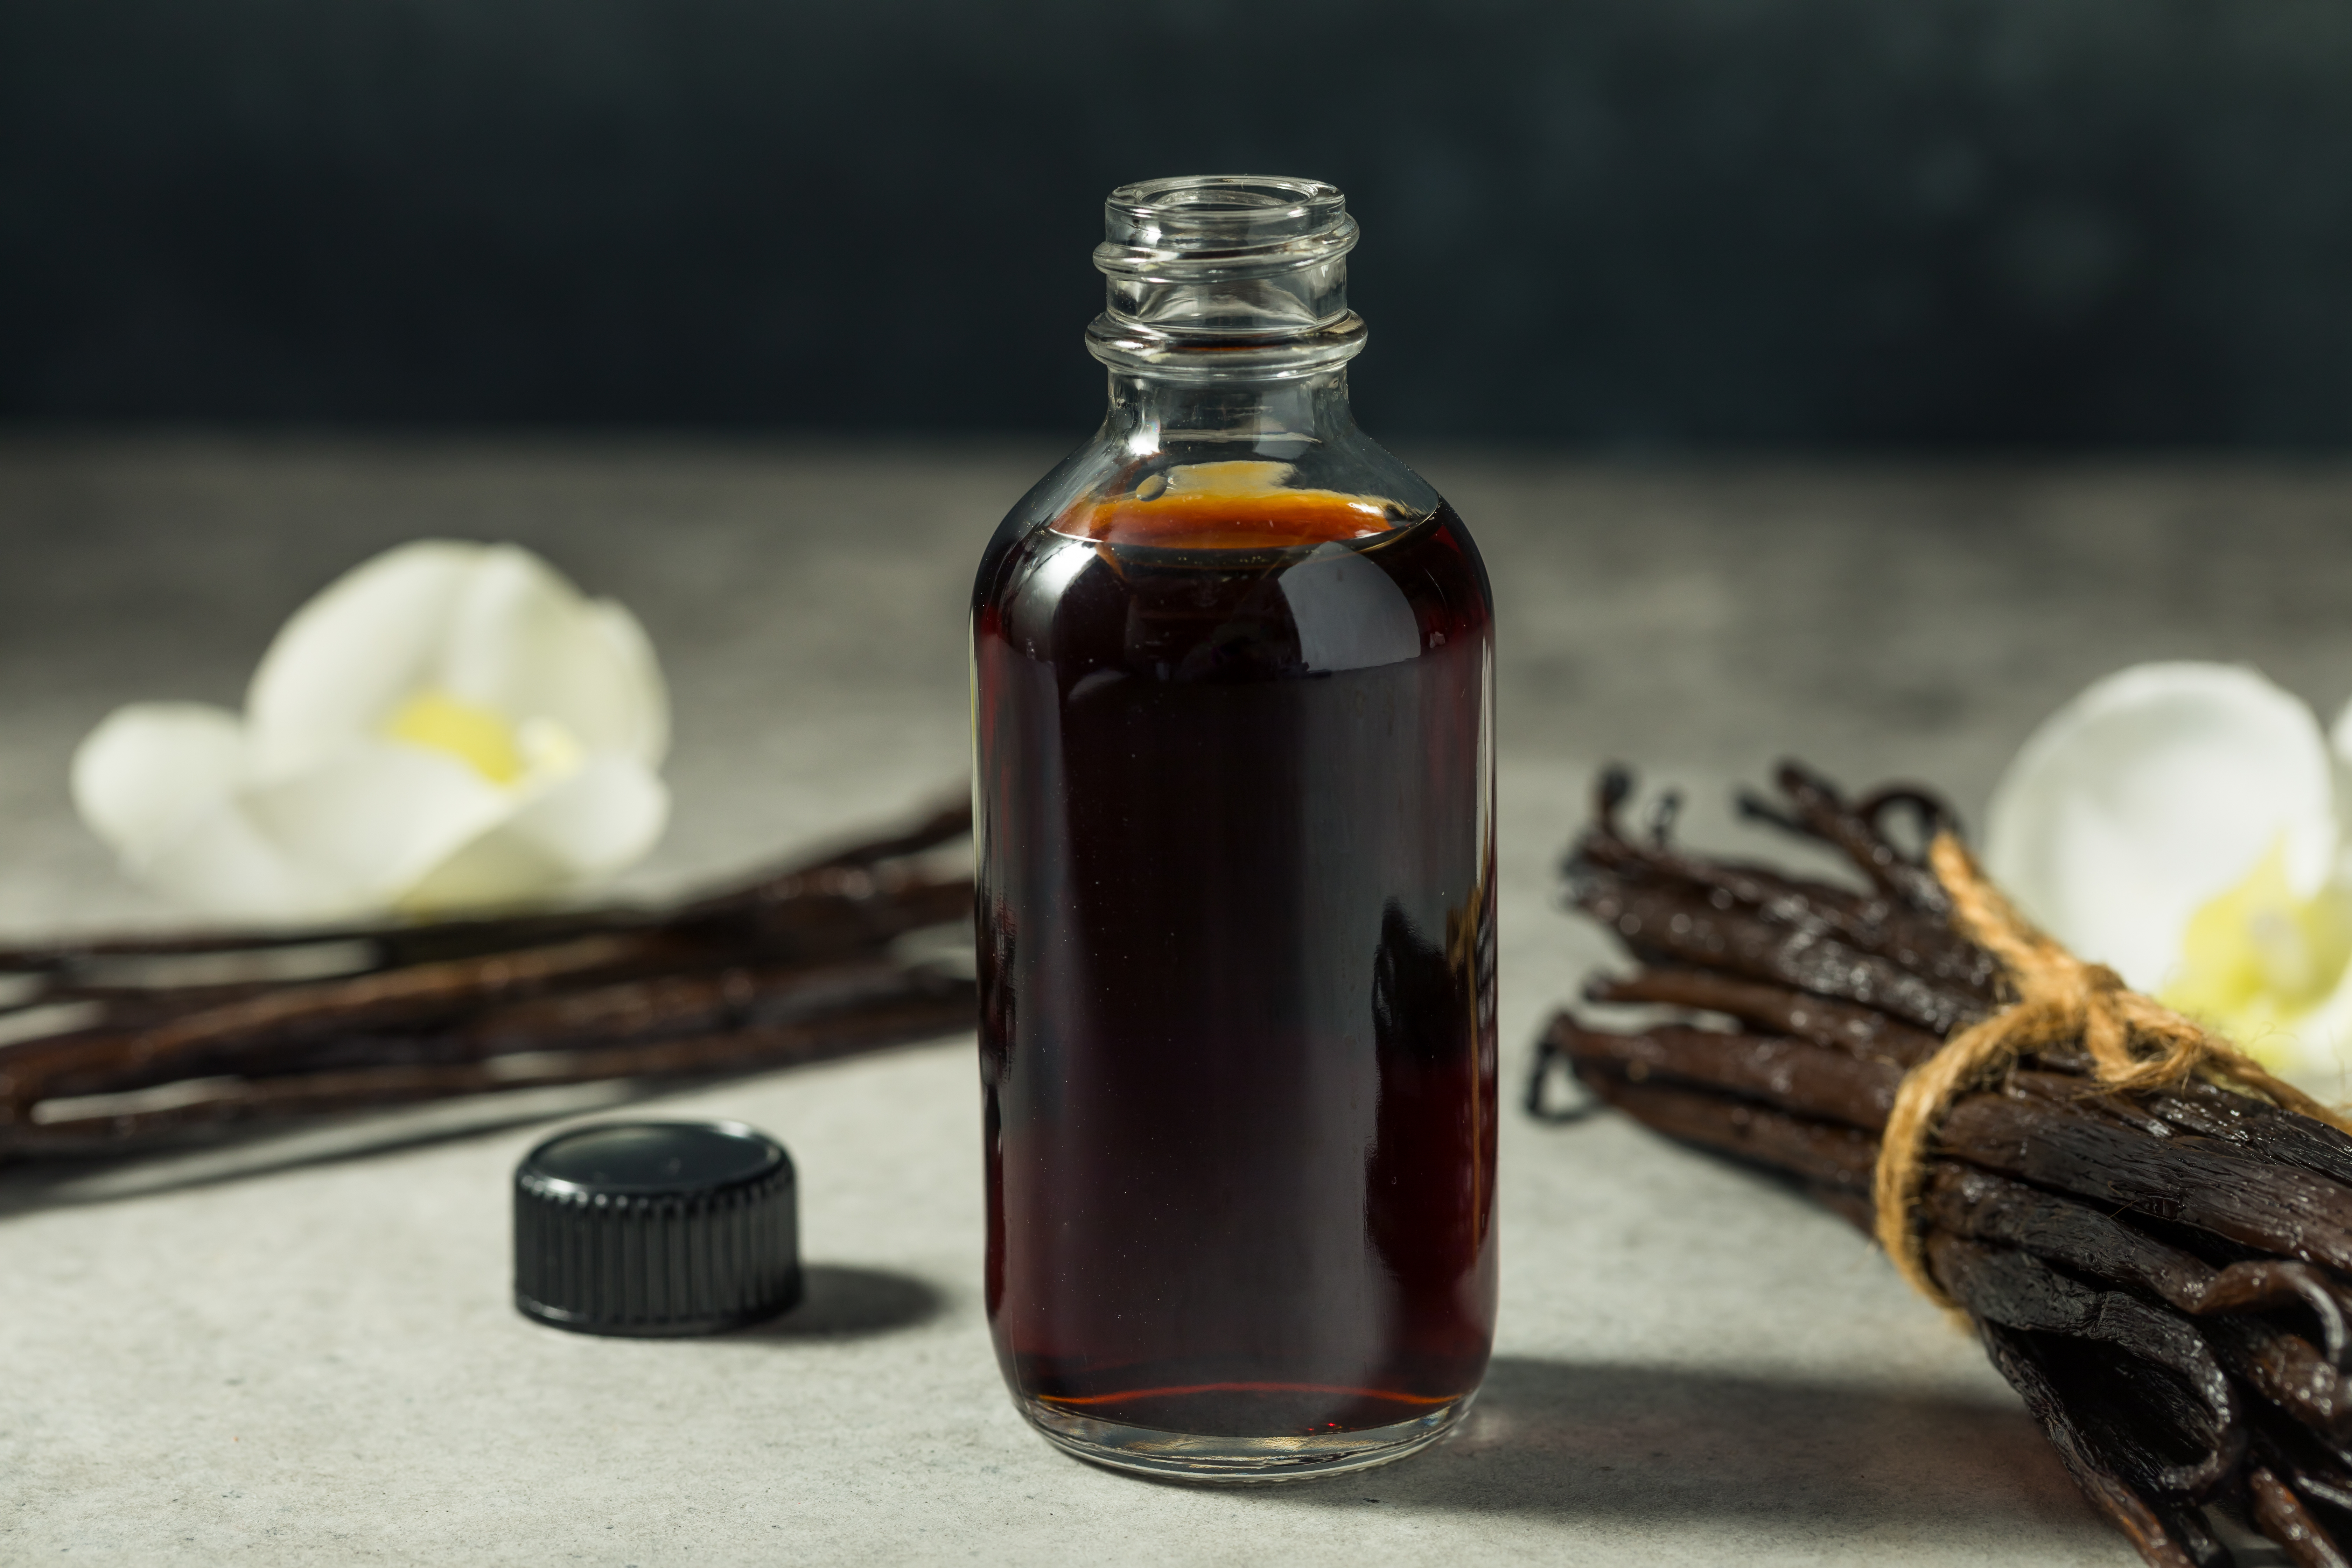
Photograph: Brent Hofacker (Adobe Stock)
Final Thoughts
Both recipes are a good way to make expensive vanilla beans earn their keep. The paste gives you something you can use within a day or two, while the extract takes patience but rewards you with a bottle that can stay in your baking cupboard for years.
Whether you use them in cakes, custards, biscuits, ice cream or buttercream, having homemade vanilla extract and vanilla bean paste to hand makes it very easy to add real vanilla flavour whenever a recipe calls for it — and I suspect you’ll find plenty of excuses to use both.
Photography for this recipe was commissioned by Culinary Travels and shot by Max Gagliano. Culinary Travels holds full usage rights for website, social media and print use.
Stay in Touch
Culinary Travels publishes destination guides, seasonal recipes, and food-led travel features from the UK and beyond.
Follow for new articles and updated travel resources:
Instagram | X | Facebook | Pinterest
Newsletter
Receive new guides, recipes, and occasional travel planning notes by email: Subscribe here
Reader feedback and local recommendations are always welcome via the contact page.

©2026 Culinary Travels. Culinary Travels is written and edited by Georgina Ingham | Website designed by The Smarter Web Company
What Our Followers Say
"A highly complimentary article ... showcasing why the English Market remains one of Ireland's premier food destinations"
Cork City Council via Facebook
"Our list of things to do in Cork has just expanded hugely thanks to Culinary Travels."
Triskel Art Centre Cork, via Twitter
“Tried this last night and it was delicious!”
Reader feedback via Pinterest, Yangzhou Fried Rice Recipe
"Oh yum!!! I could eat one or two right now!"
Sami Tamimi, via Instagram, on Ma’amoul Cookies
"Georgina was great to work with, quick to respond, and is a excellent content writer - would highly recommend"
Nick S - Get Blogged
“A simple no-knead dough transformed into beautiful, rustic rolls.”
Reader feedback via Pinterest, No-Knead Ciabatta Rolls Recipe