
Articles


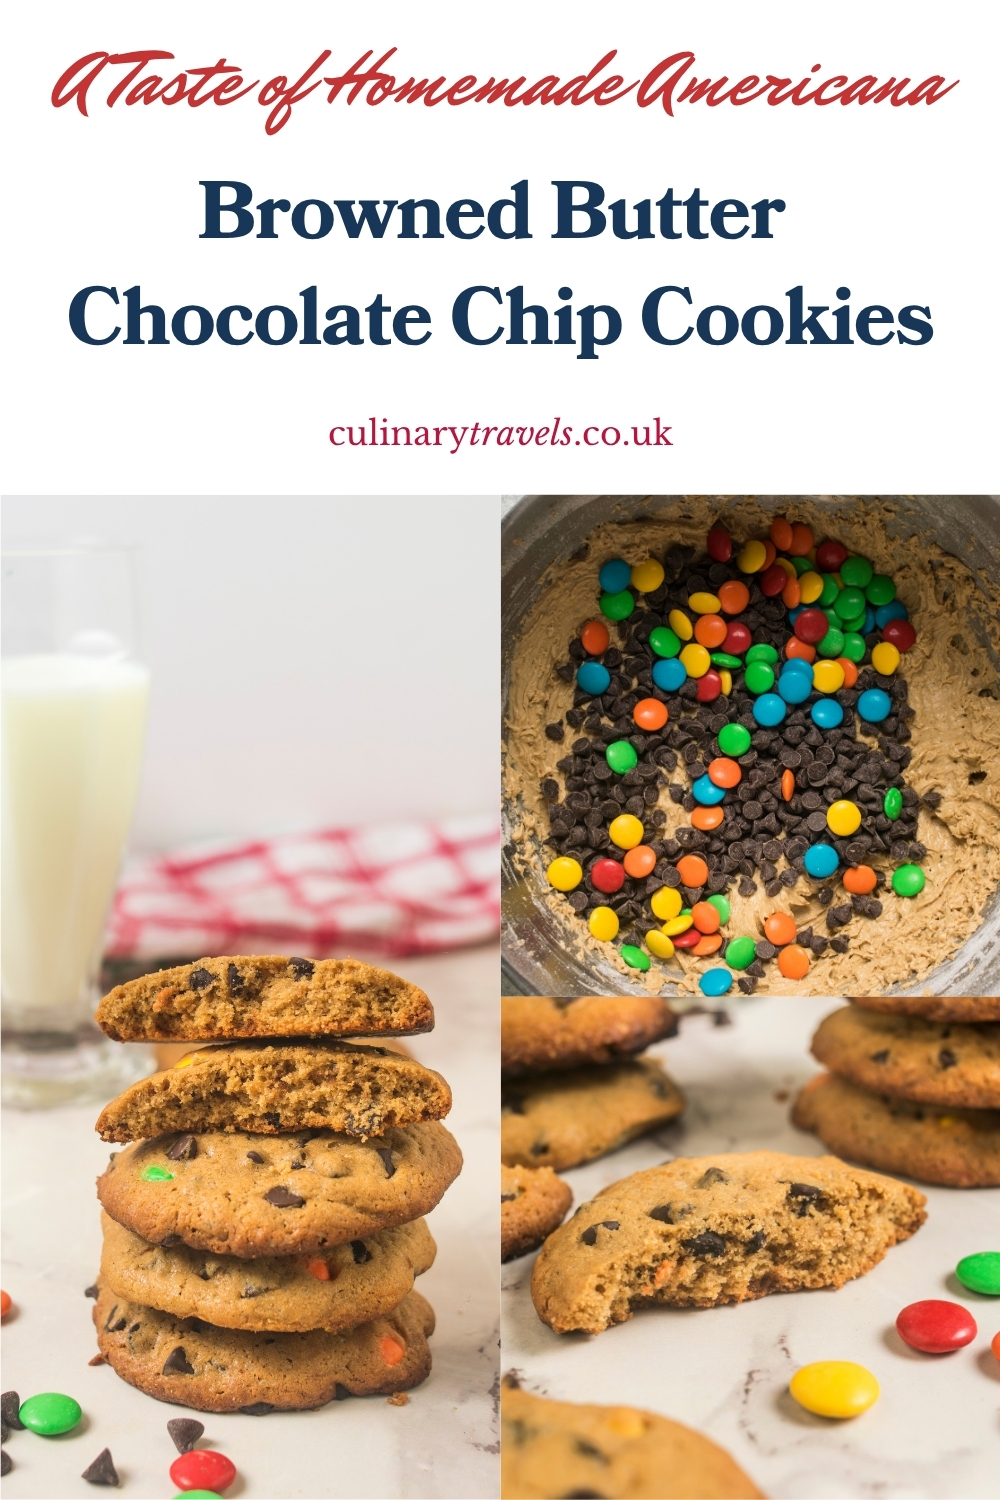
Browned Butter Chocolate Chip Cookies
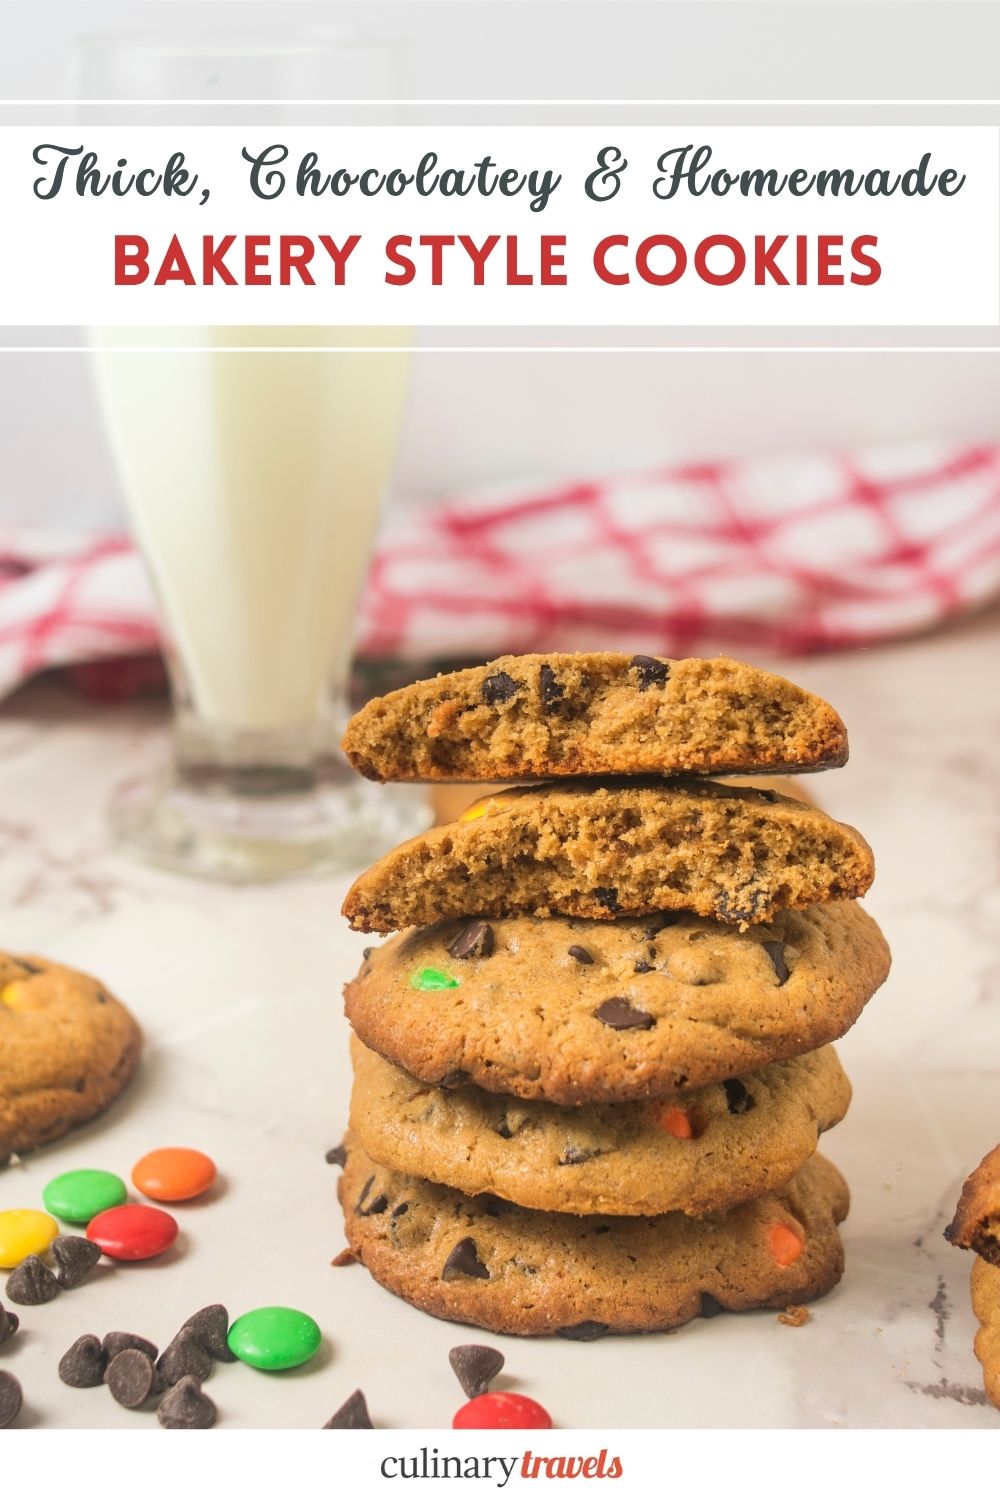
If homemade Americana had a flavour, I think it would taste rather like a warm chocolate chip cookie.
This recipe was inspired by the American novels I devoured growing up, where kitchens always seemed to smell of butter and sugar, trays of cookies cooled on the counter, and some small-town drama was never far away. This is my version of that picture: generous, comforting and packed with chocolate.
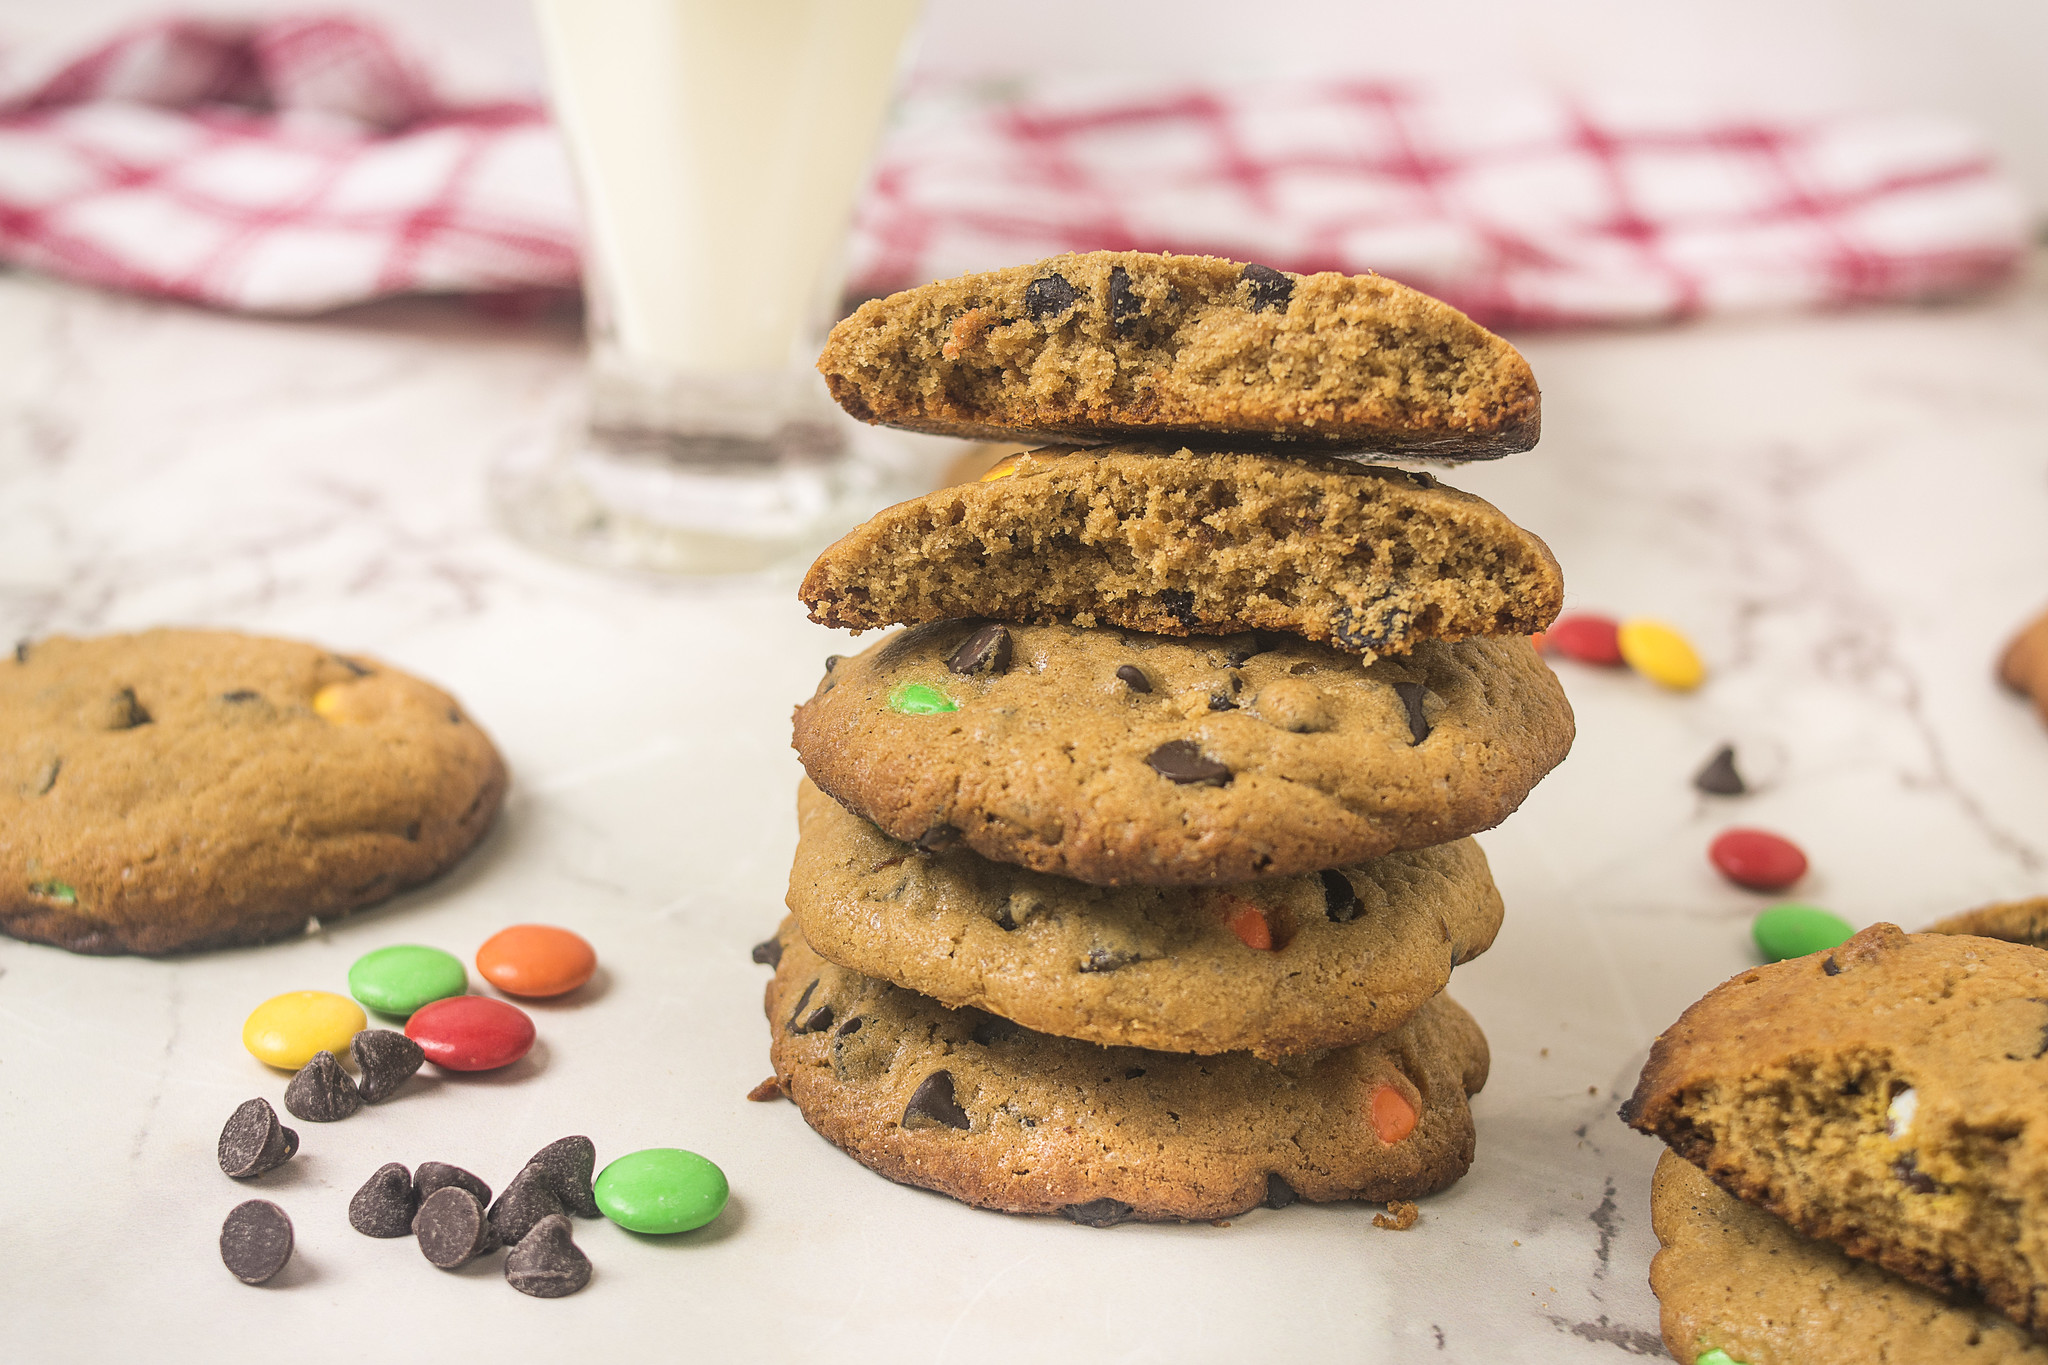
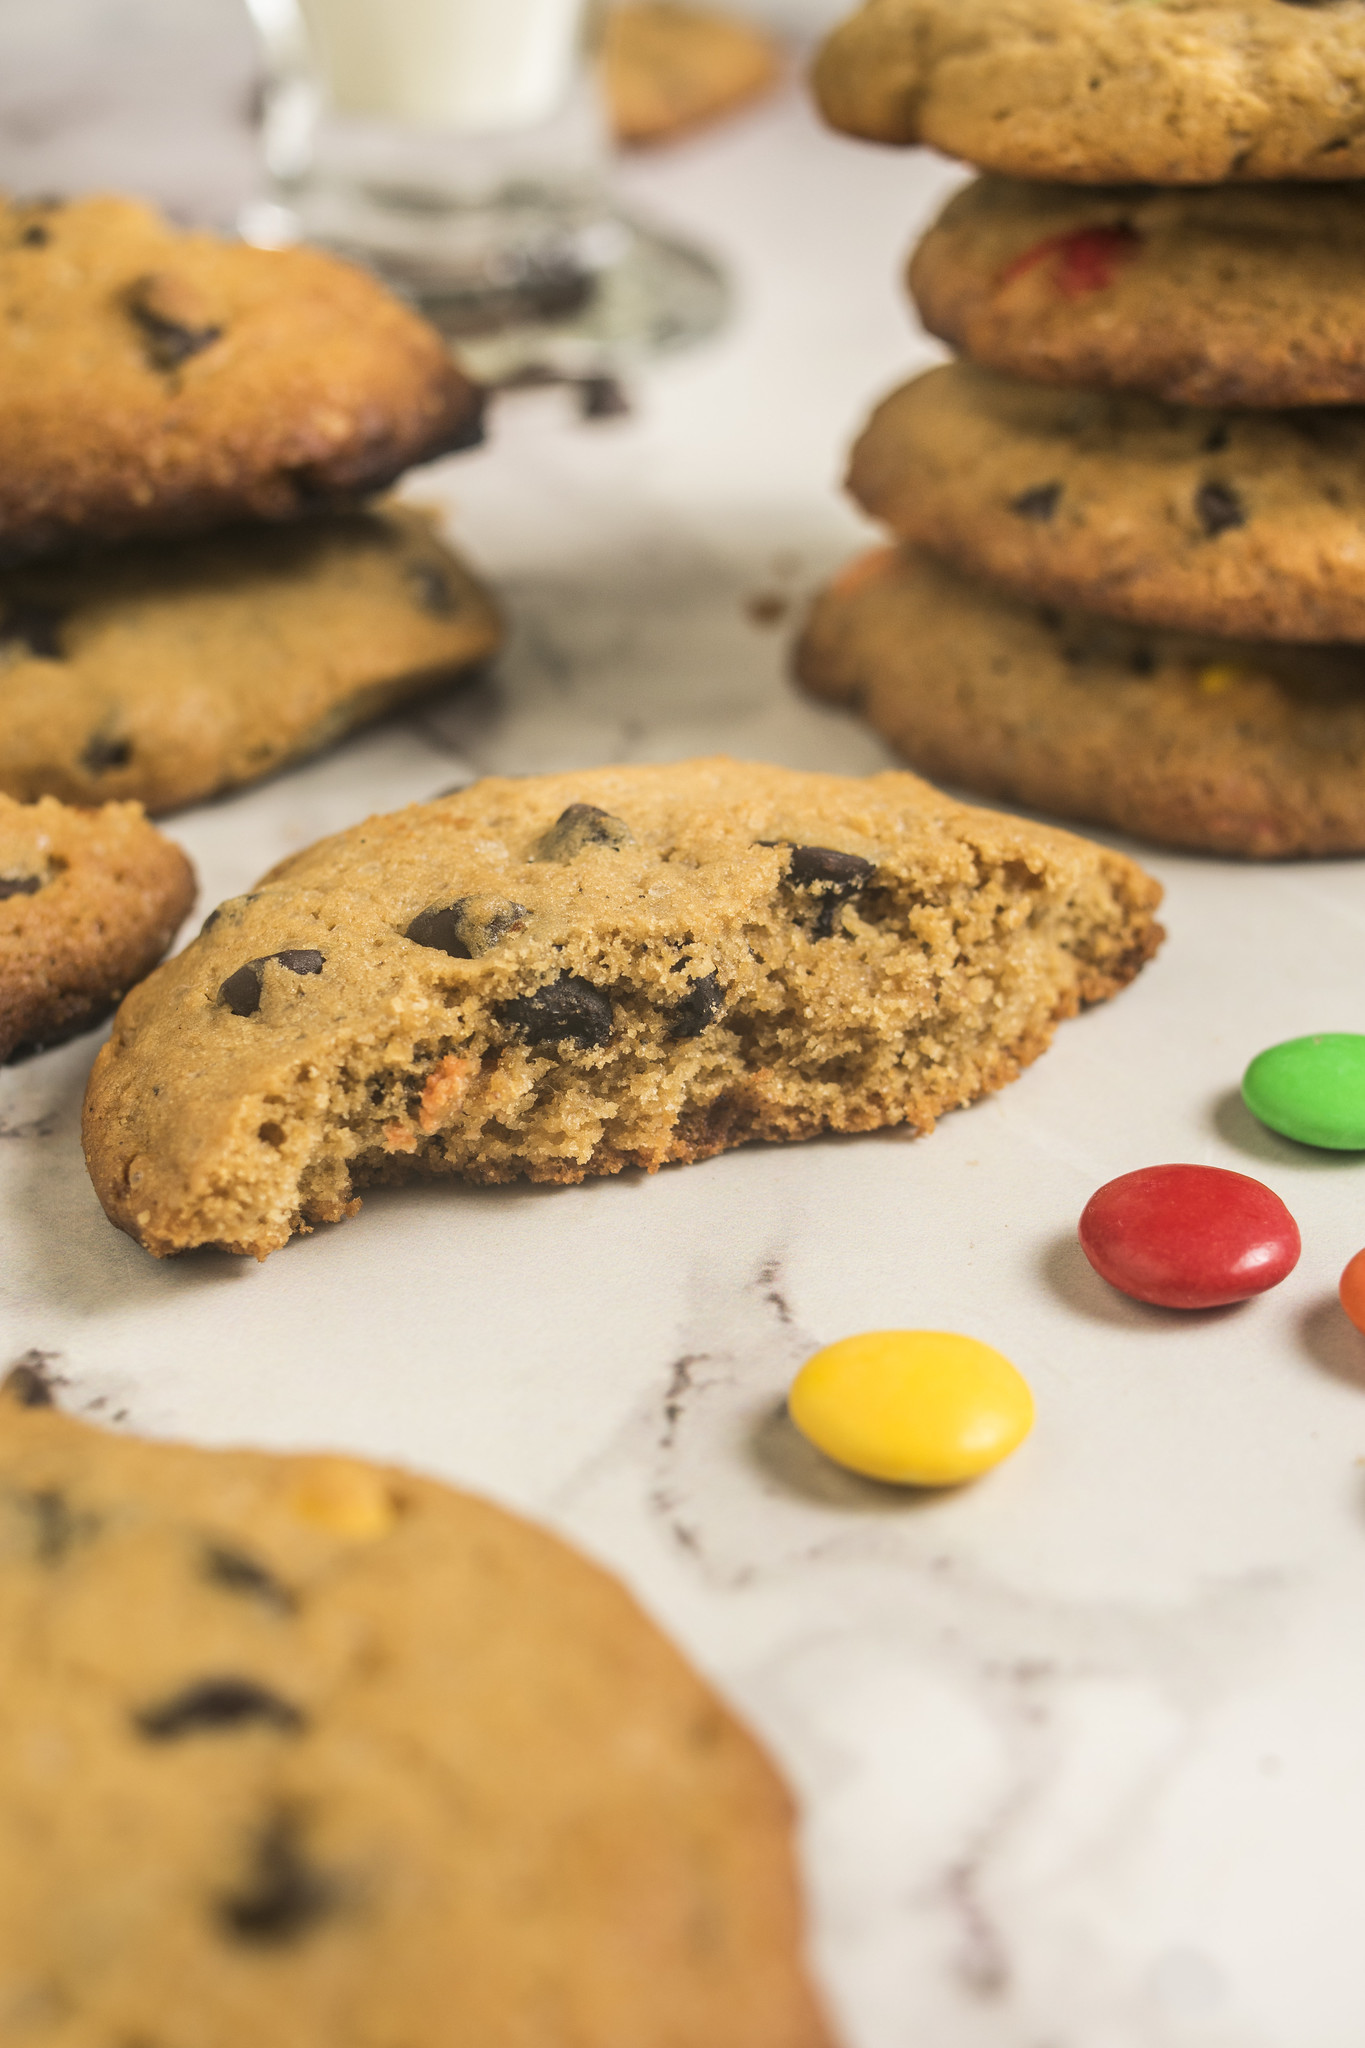
These browned butter chocolate chip cookies have lightly crisp edges, soft and chewy centres, and plenty of chocolate in every bite. Browning half the butter adds a rich, nutty flavour, while chocolate chips and colourful M&Ms make them generous, playful and unmistakably homemade.
Some articles on Culinary Travels may contain affiliate links, meaning I may earn a small commission at no extra cost to you. I only recommend places, experiences and products that fit the editorial tone and standards of the site. Update note: This recipe was originally published in July 2016 and was fully rewritten, updated and rephotographed in July 2026.
Photograph: Max Gagliano
Why these browned butter cookies work
Using browned and softened butter together gives these cookies their balance. The browned butter brings nutty, caramelised depth, while the softened butter can still be beaten with the sugar to preserve the familiar texture of a classic homemade chocolate chip cookie.
Light brown sugar brings moisture and a gentle caramel flavour, helping the centres stay soft and chewy as the edges turn lightly golden. Chilling the shaped dough for at least 30 minutes firms the butter before baking, controls the spread and produces a thicker, more substantial cookie.
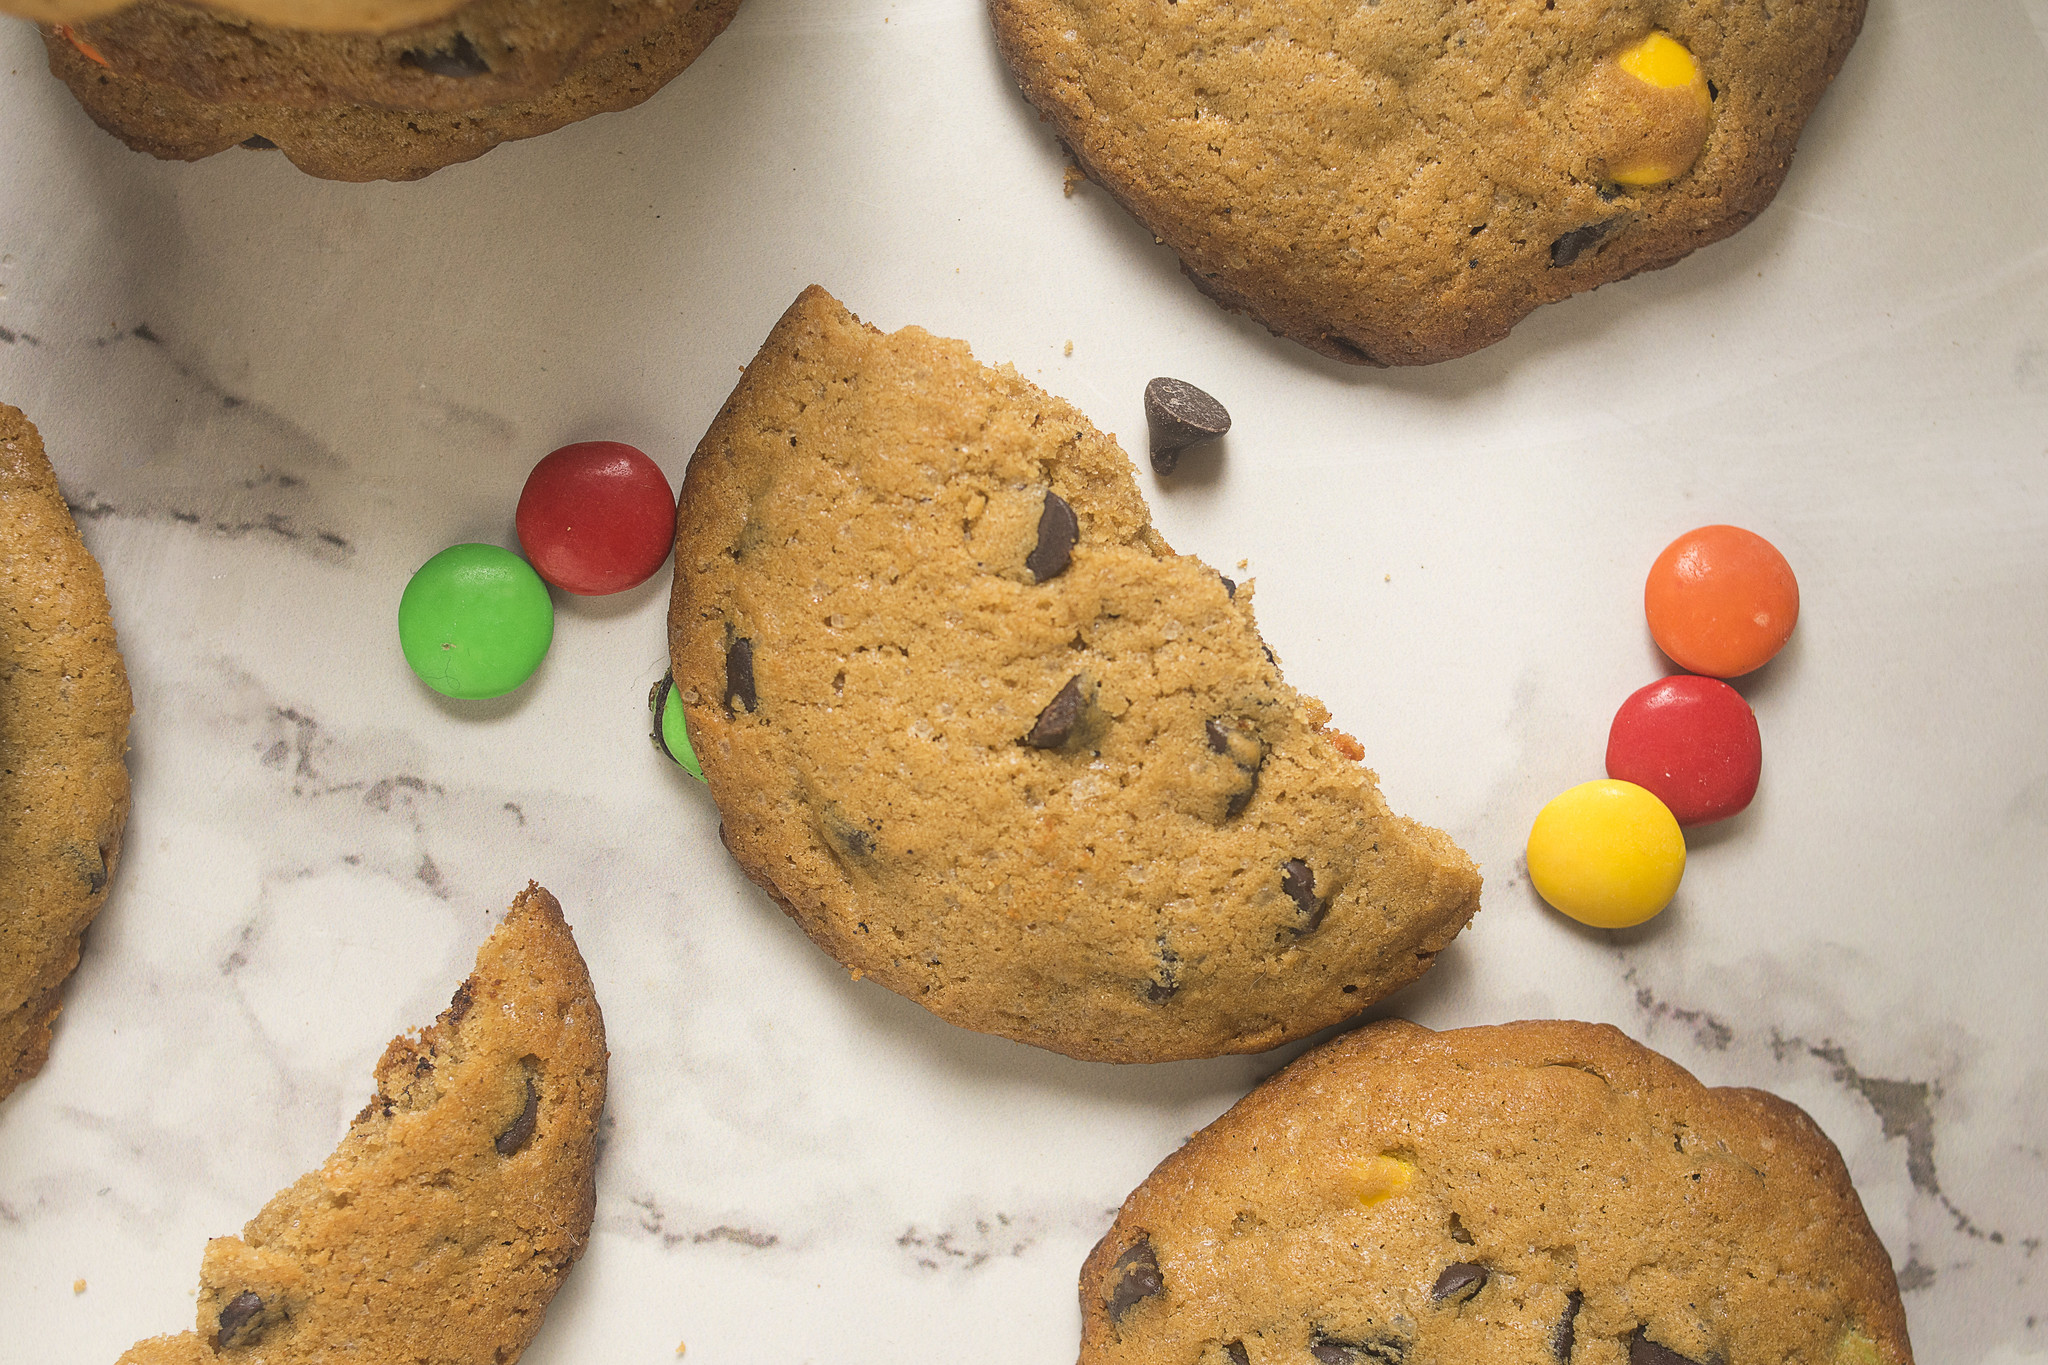
The chocolate chips and M&Ms bring slightly different textures. The chocolate chips soften and melt into the dough, while the candy shells add colour and a delicate crunch. Reserving a few of each to press into the tops also makes the finished cookies look especially generous.
Photograph: Max Gagliano
How to brown butter for cookies
Browned butter is made by heating butter until the water evaporates and the milk solids begin to toast. This changes its flavour completely, giving it a deeper, nuttier character that works particularly well with brown sugar, vanilla and chocolate.
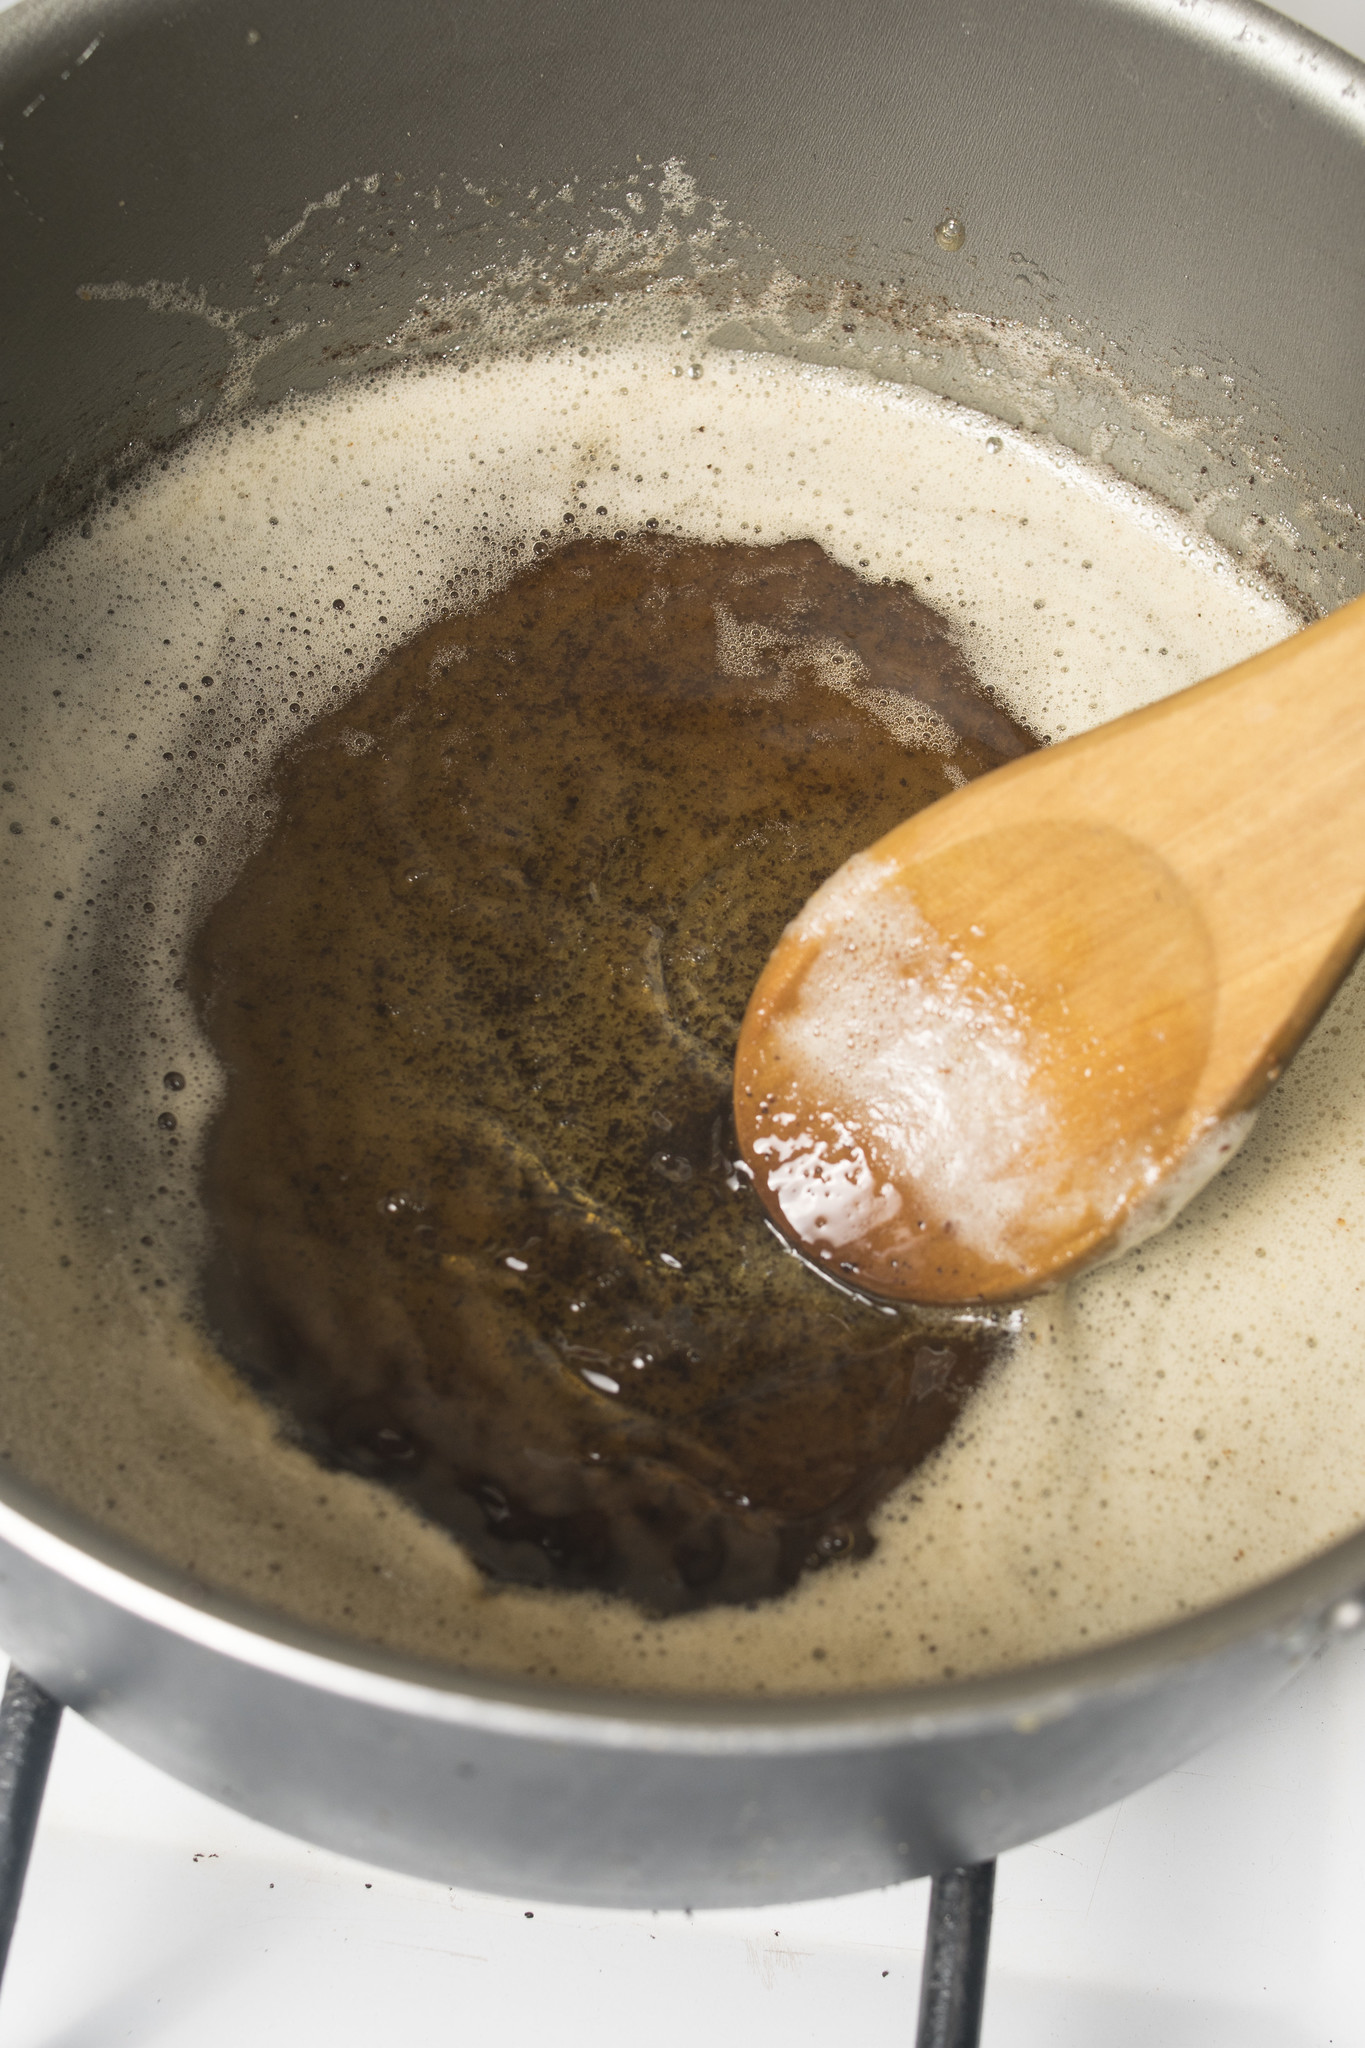
For this recipe, place 115 g of the butter in a light-coloured saucepan over a medium heat. Allow it to melt, then continue cooking, swirling the pan regularly. The butter will foam and crackle at first before gradually becoming quieter as the water cooks away.
Watch the bottom of the pan closely. Once the milk solids turn deep golden brown and the butter smells distinctly nutty and toasted, remove it from the heat immediately. A light-coloured saucepan makes this easier to judge, as browned butter can move from golden to burnt surprisingly quickly.
Photograph: Max Gagliano
Pour the butter into a heatproof bowl, scraping in all the browned milk solids rather than leaving them behind in the pan. These golden flecks contain much of the flavour. Leave the butter to cool for 15–20 minutes before using it; it should still be warm and fluid, but no longer hot enough to melt the softened butter.
Ingredient notes
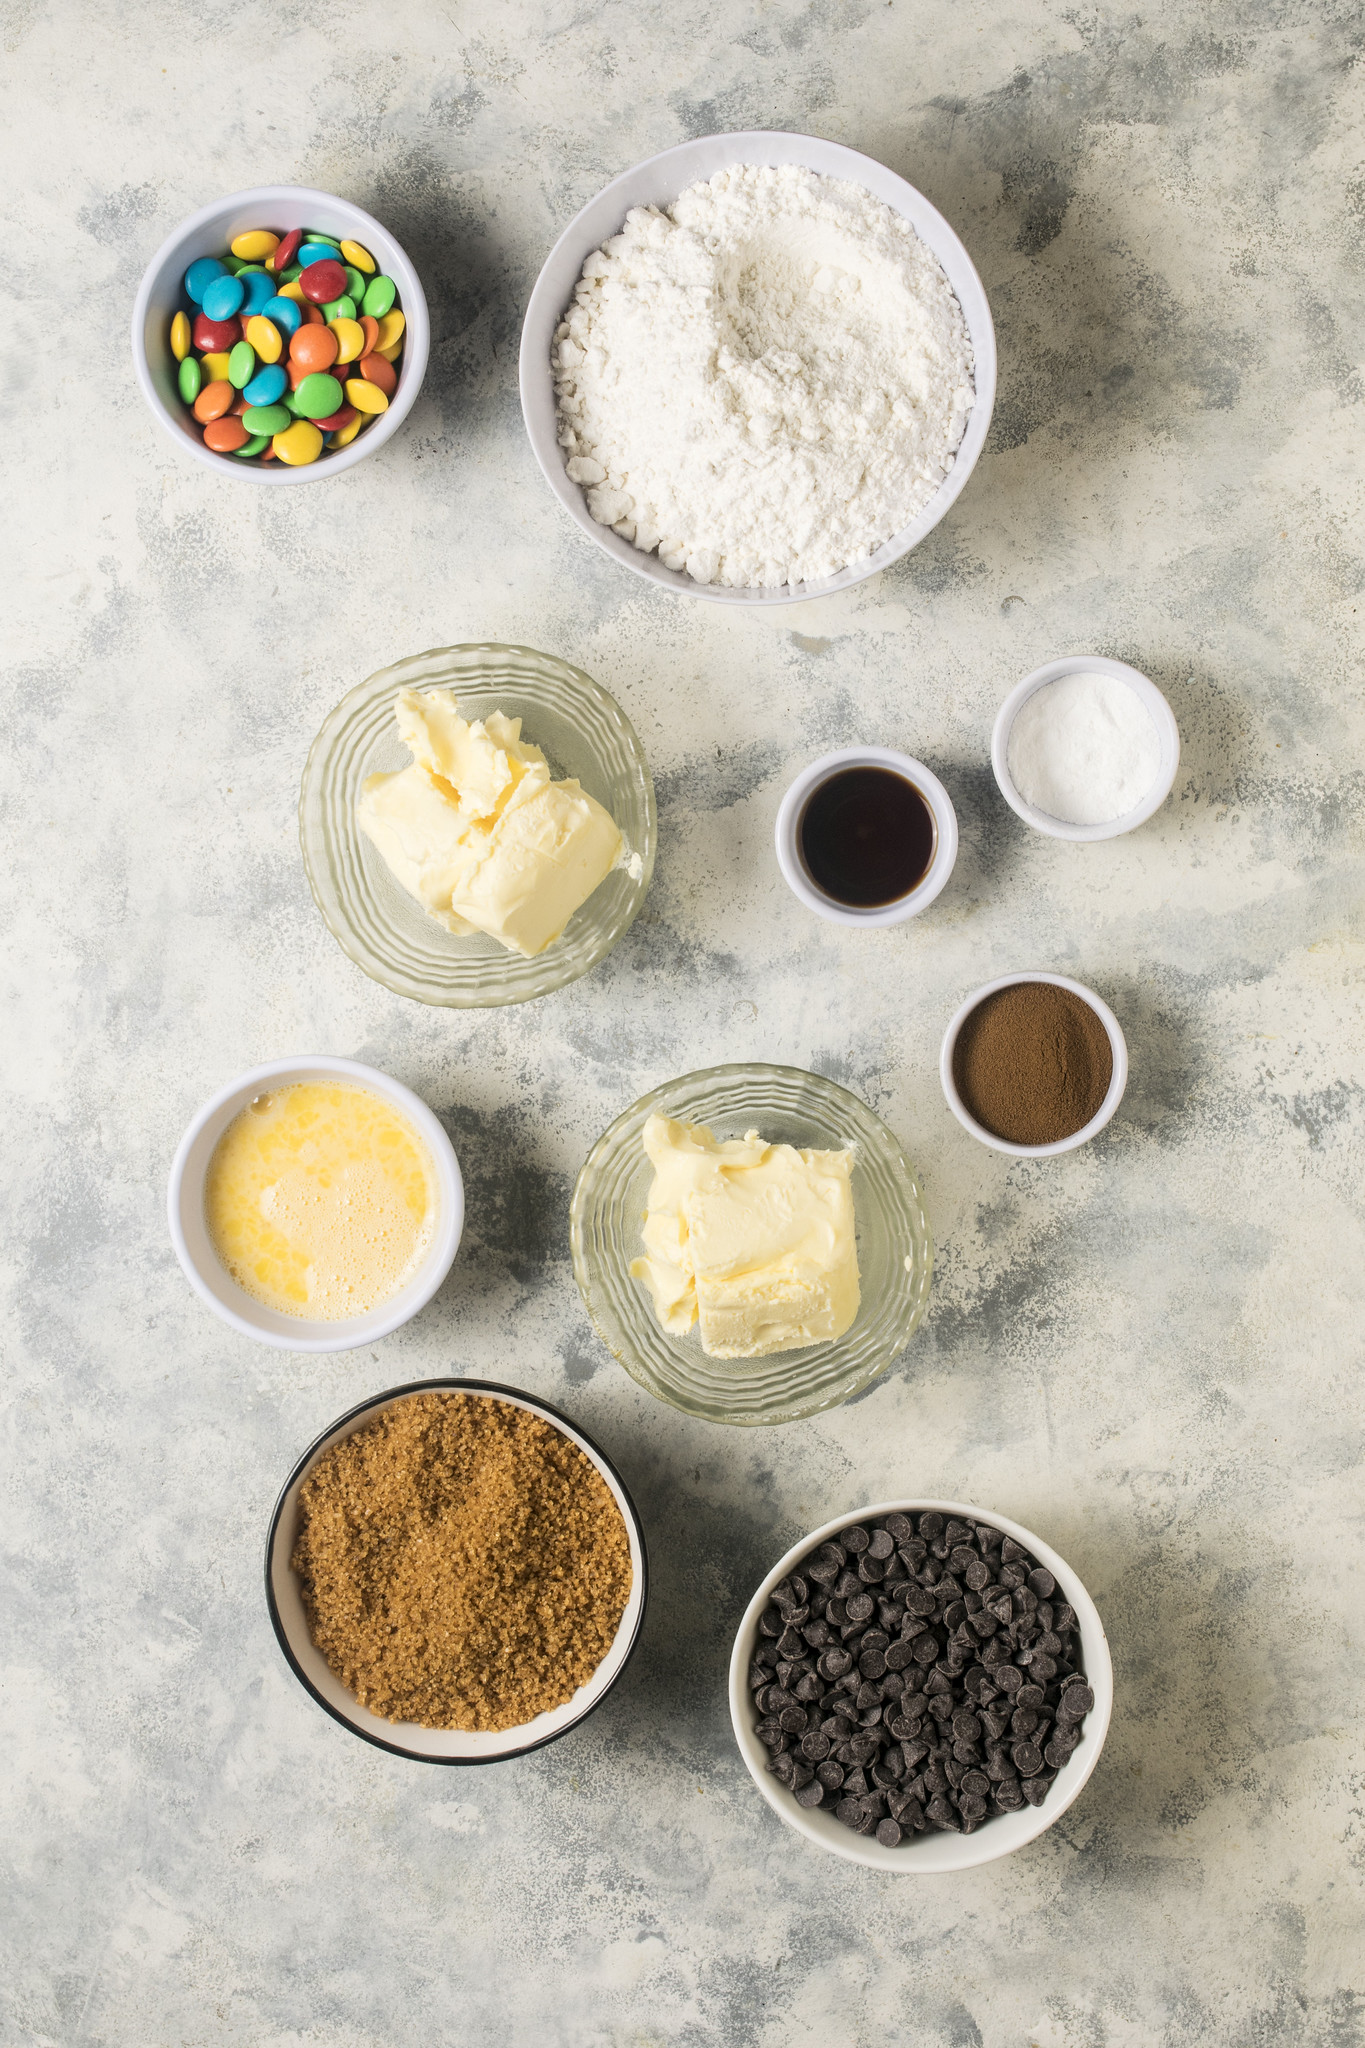
The full quantities are in the recipe below, but the balance of ingredients is important here.
Photograph: Max Gagliano
The salted butter is divided equally: one half is browned for its nutty, toasted flavour, while the other remains softened so it can be beaten with the sugar. Use block butter rather than a spreadable product, as spreads contain additional water and may affect the texture and spread of the cookies.
Light brown sugar gives the cookies their caramel sweetness and helps keep the centres soft and chewy. The beaten egg binds the dough and adds richness, while a generous spoonful of vanilla rounds out the browned butter, sugar and chocolate. Room-temperature egg will combine most easily with the butter mixture, although cold egg can still be used.
Plain flour provides the structure. Too much flour can make the cookies thick, dry or reluctant to spread. A small amount of baking powder gives the dough a little lift, while fine sea salt balances the sweetness and sharpens the flavours.
Instant espresso powder or finely crushed instant coffee granules are optional, but they deepen the chocolate flavour without making the finished cookies taste strongly of coffee. Mix them evenly through the dry ingredients so the flavour is distributed throughout the dough.
The chocolate chips and M&Ms are both deliberately generous. The chips create soft pockets of melted chocolate, while the candy shells bring colour and a slight crunch. Reserve a small amount of each to press into the tops of the shaped cookies before chilling, so they remain visible once baked.
How to make browned butter chocolate chip cookies
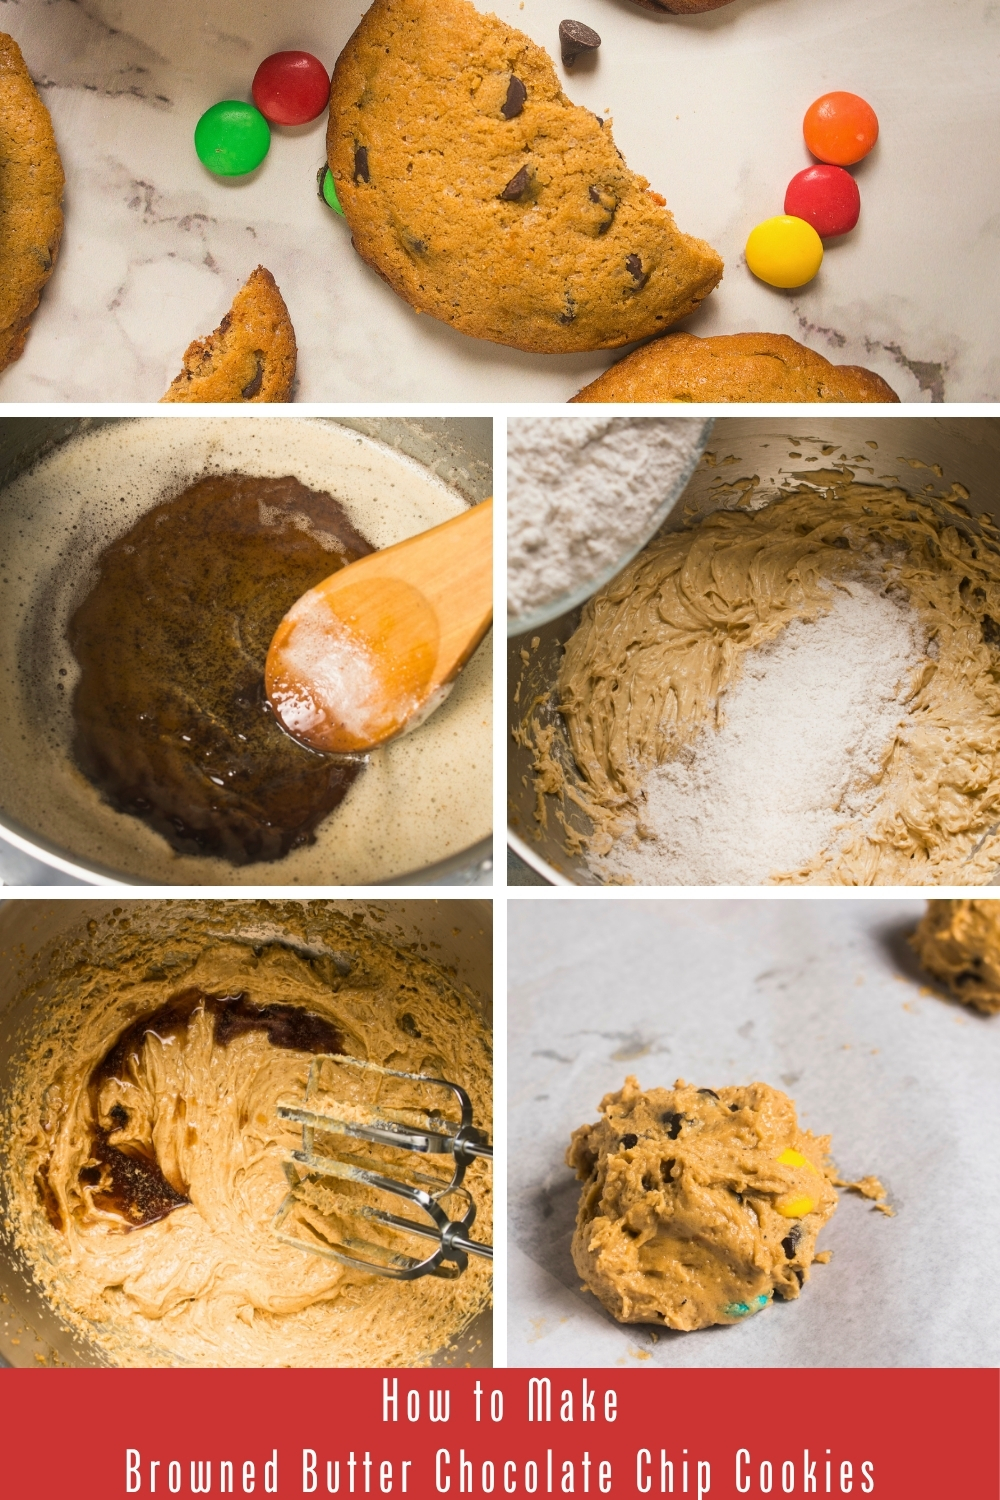
You begin by browning half of the butter until the milk solids turn deep golden and it smells nutty and toasted. Pour it into a heatproof bowl, including all the flavourful browned flecks, and leave it to cool until it is warm and fluid rather than hot.
The remaining softened butter is beaten with the light brown sugar until lighter and creamy, followed by the beaten egg and vanilla extract. The cooled browned butter is then poured in gradually, before the plain flour, coffee or espresso powder, baking powder and sea salt are mixed through to form a soft cookie dough.
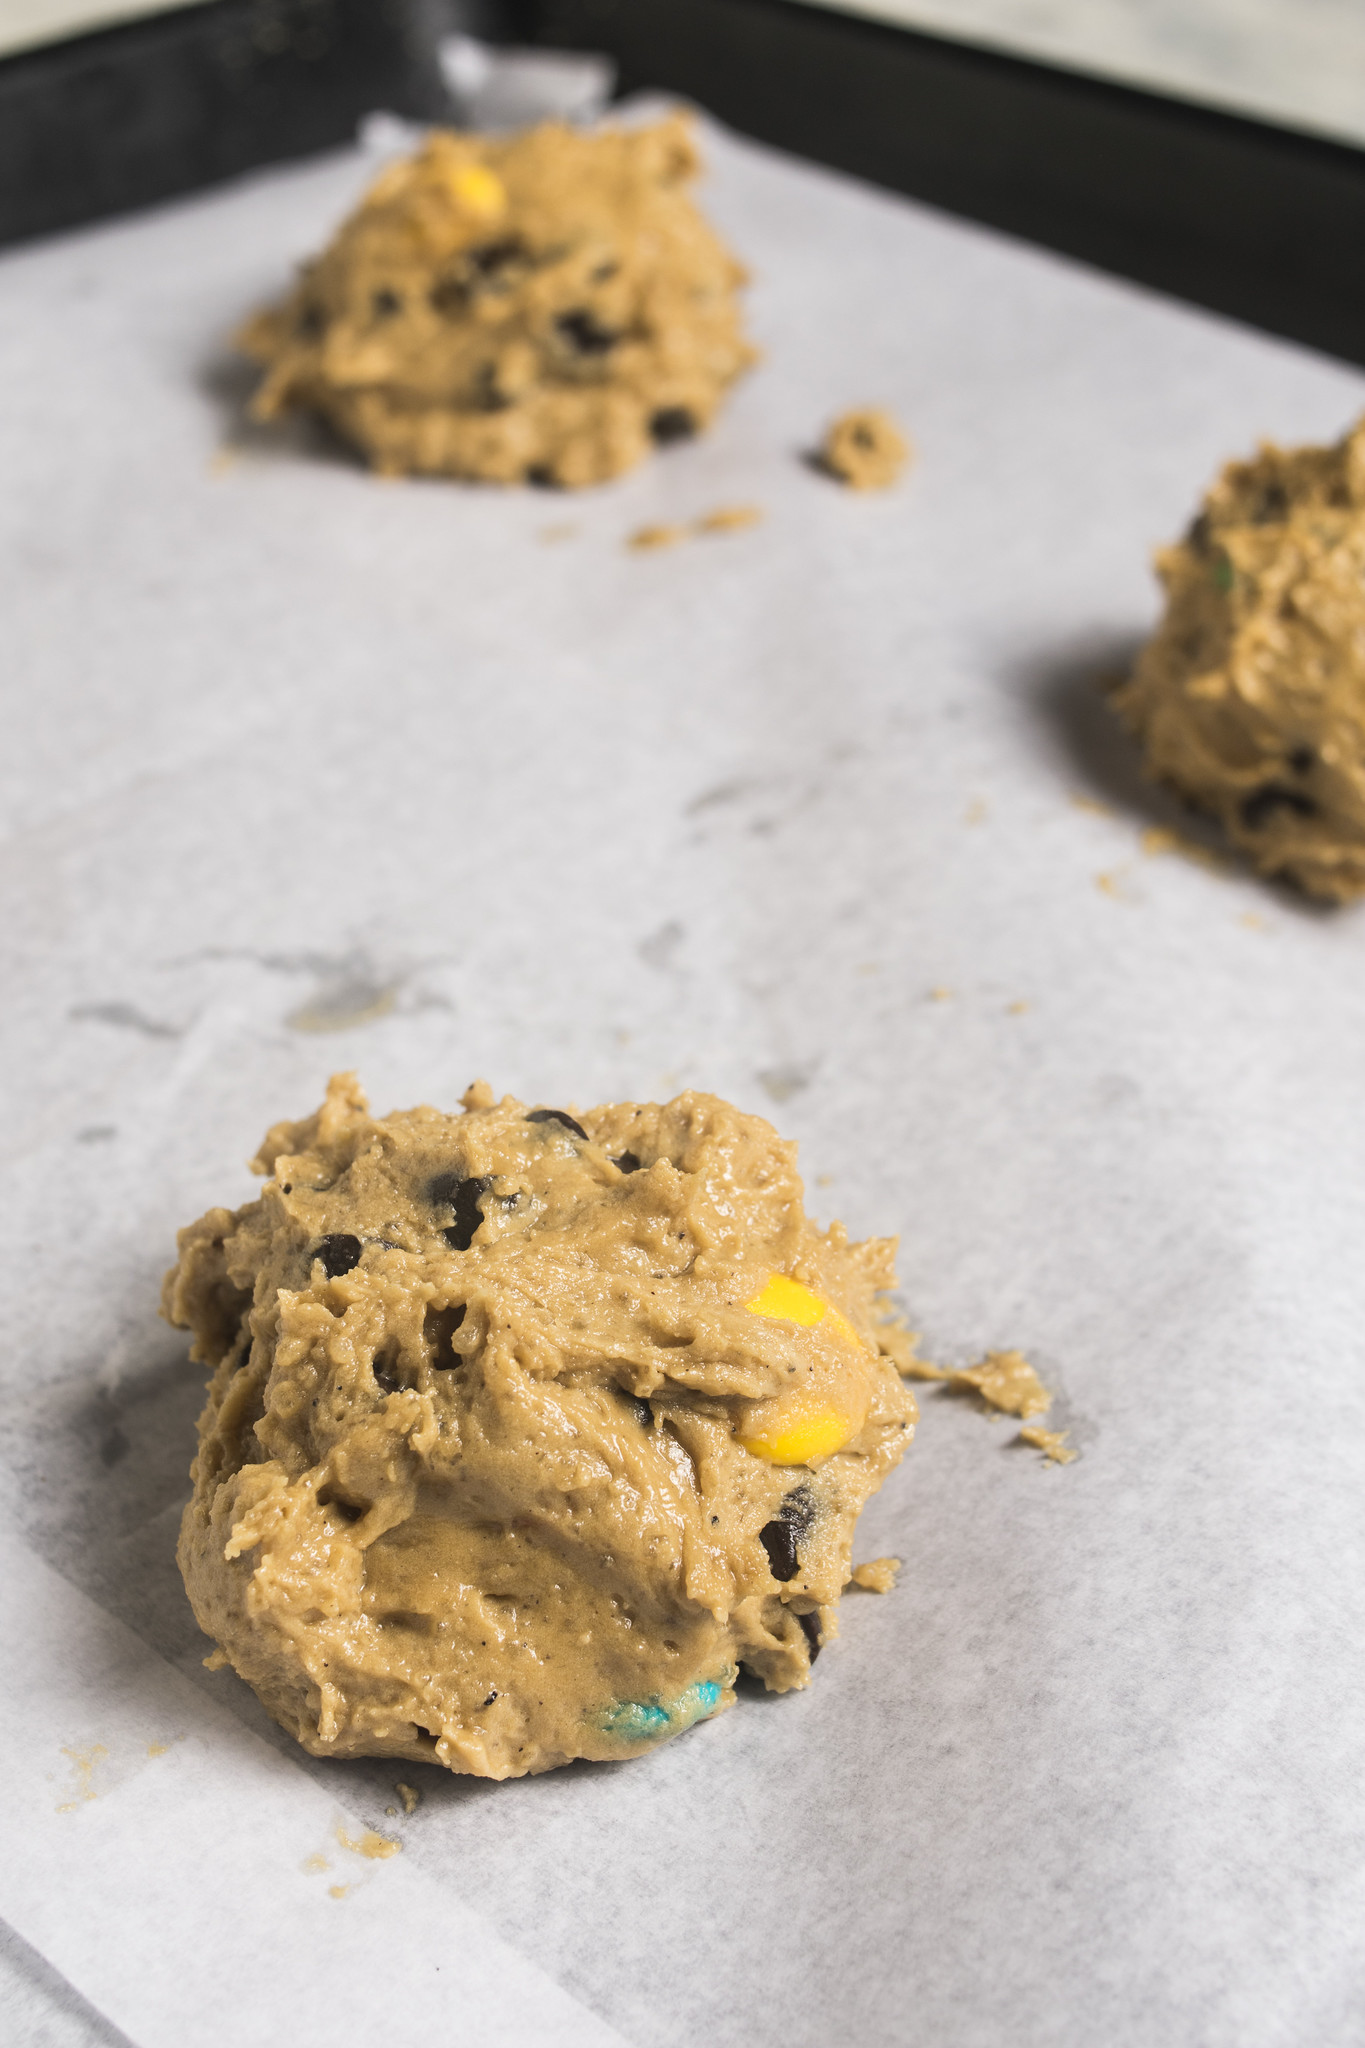
Most of the chocolate chips and M&Ms are folded through the dough, with a small amount reserved for pressing into the tops. Divide the dough into roughly 60 g portions, roll them gently into balls and arrange them on lined baking trays with enough room to spread. Chill the shaped cookies for at least 30 minutes, or for up to 1 hour if you prefer them thicker.
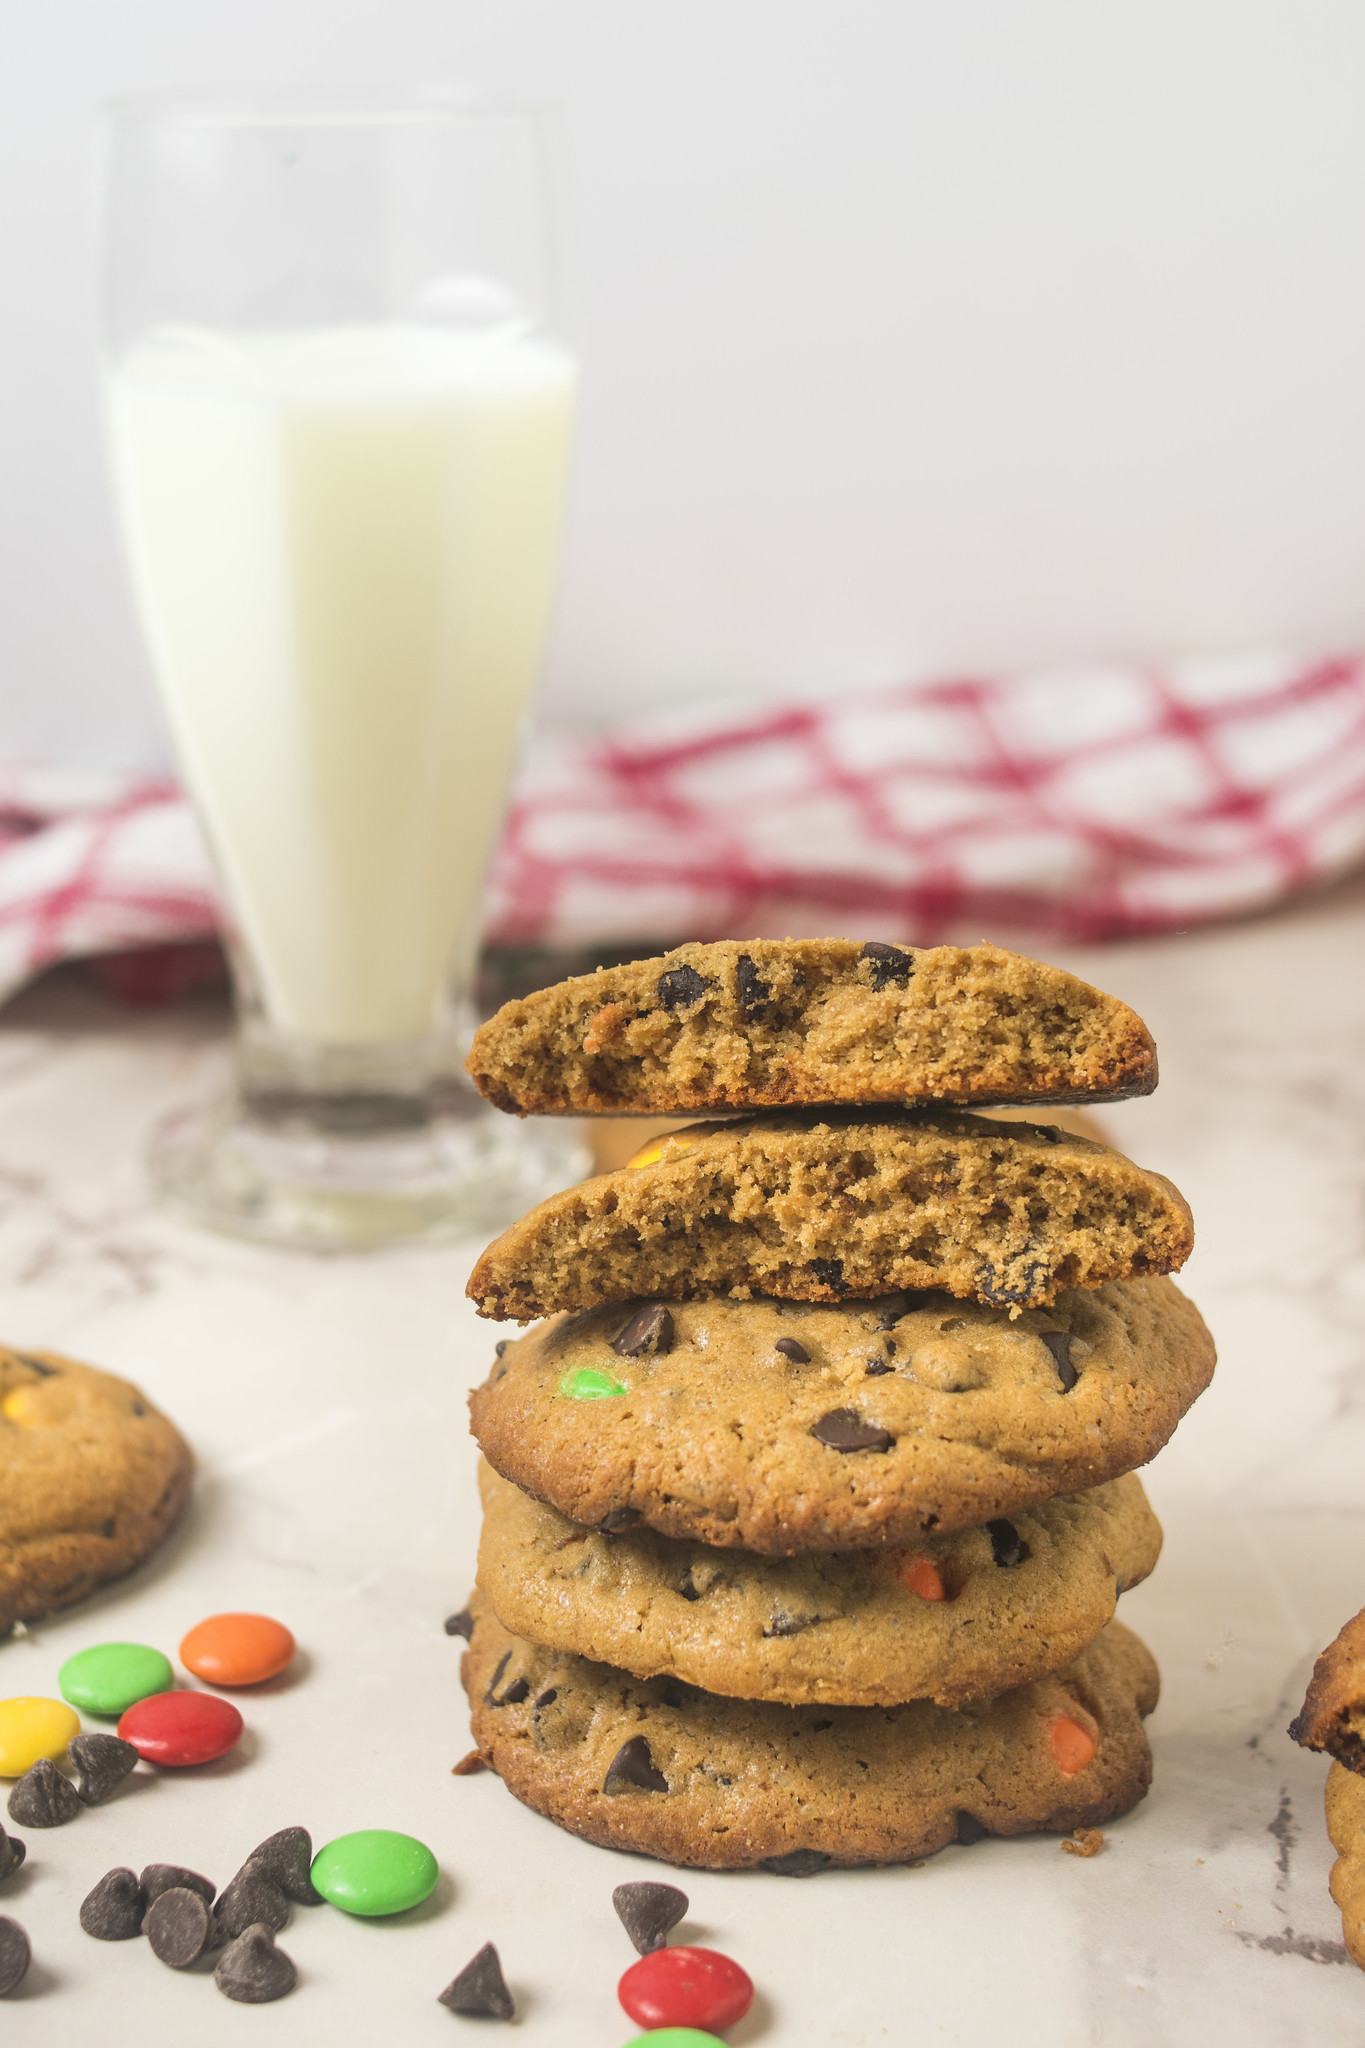
The cookies are ready when the edges are lightly golden but the centres still look slightly soft. Leave them on the baking tray for 10 minutes, where they will continue to set, before transferring them carefully to a wire rack. They are especially good served while still a little warm and the chocolate is soft.
Photograph: Max Gagliano
Tips for success
Let the browned butter cool before adding it to the dough. It should still be fluid, but no longer hot enough to melt the softened butter or leave the mixture greasy.
Do not overwork the cookie dough; mix only until no dry streaks remain. Adding too much flour, or continuing to work the dough once it has come together, can produce thicker, drier cookies rather than soft, chewy ones.
Do not skip the chilling time. Resting the shaped dough for at least 30 minutes firms the butter and helps control how quickly the cookies spread in the oven. For thicker cookies, chill for up to 1 hour. If you are baking in batches, always place the dough onto a cool tray rather than one that is still warm from the oven.
Photograph: Max Gagliano
Remove the cookies when the edges are lightly golden but the centres still look slightly soft. They will continue to cook and firm up on the hot tray, so waiting until the centres appear fully set can leave them dry.
Reserve a few chocolate chips and M&Ms to press into the tops before chilling. This keeps more of the chocolate visible as the cookies spread and gives the finished batch the generous, colourful appearance shown in the photographs.
Serving suggestions
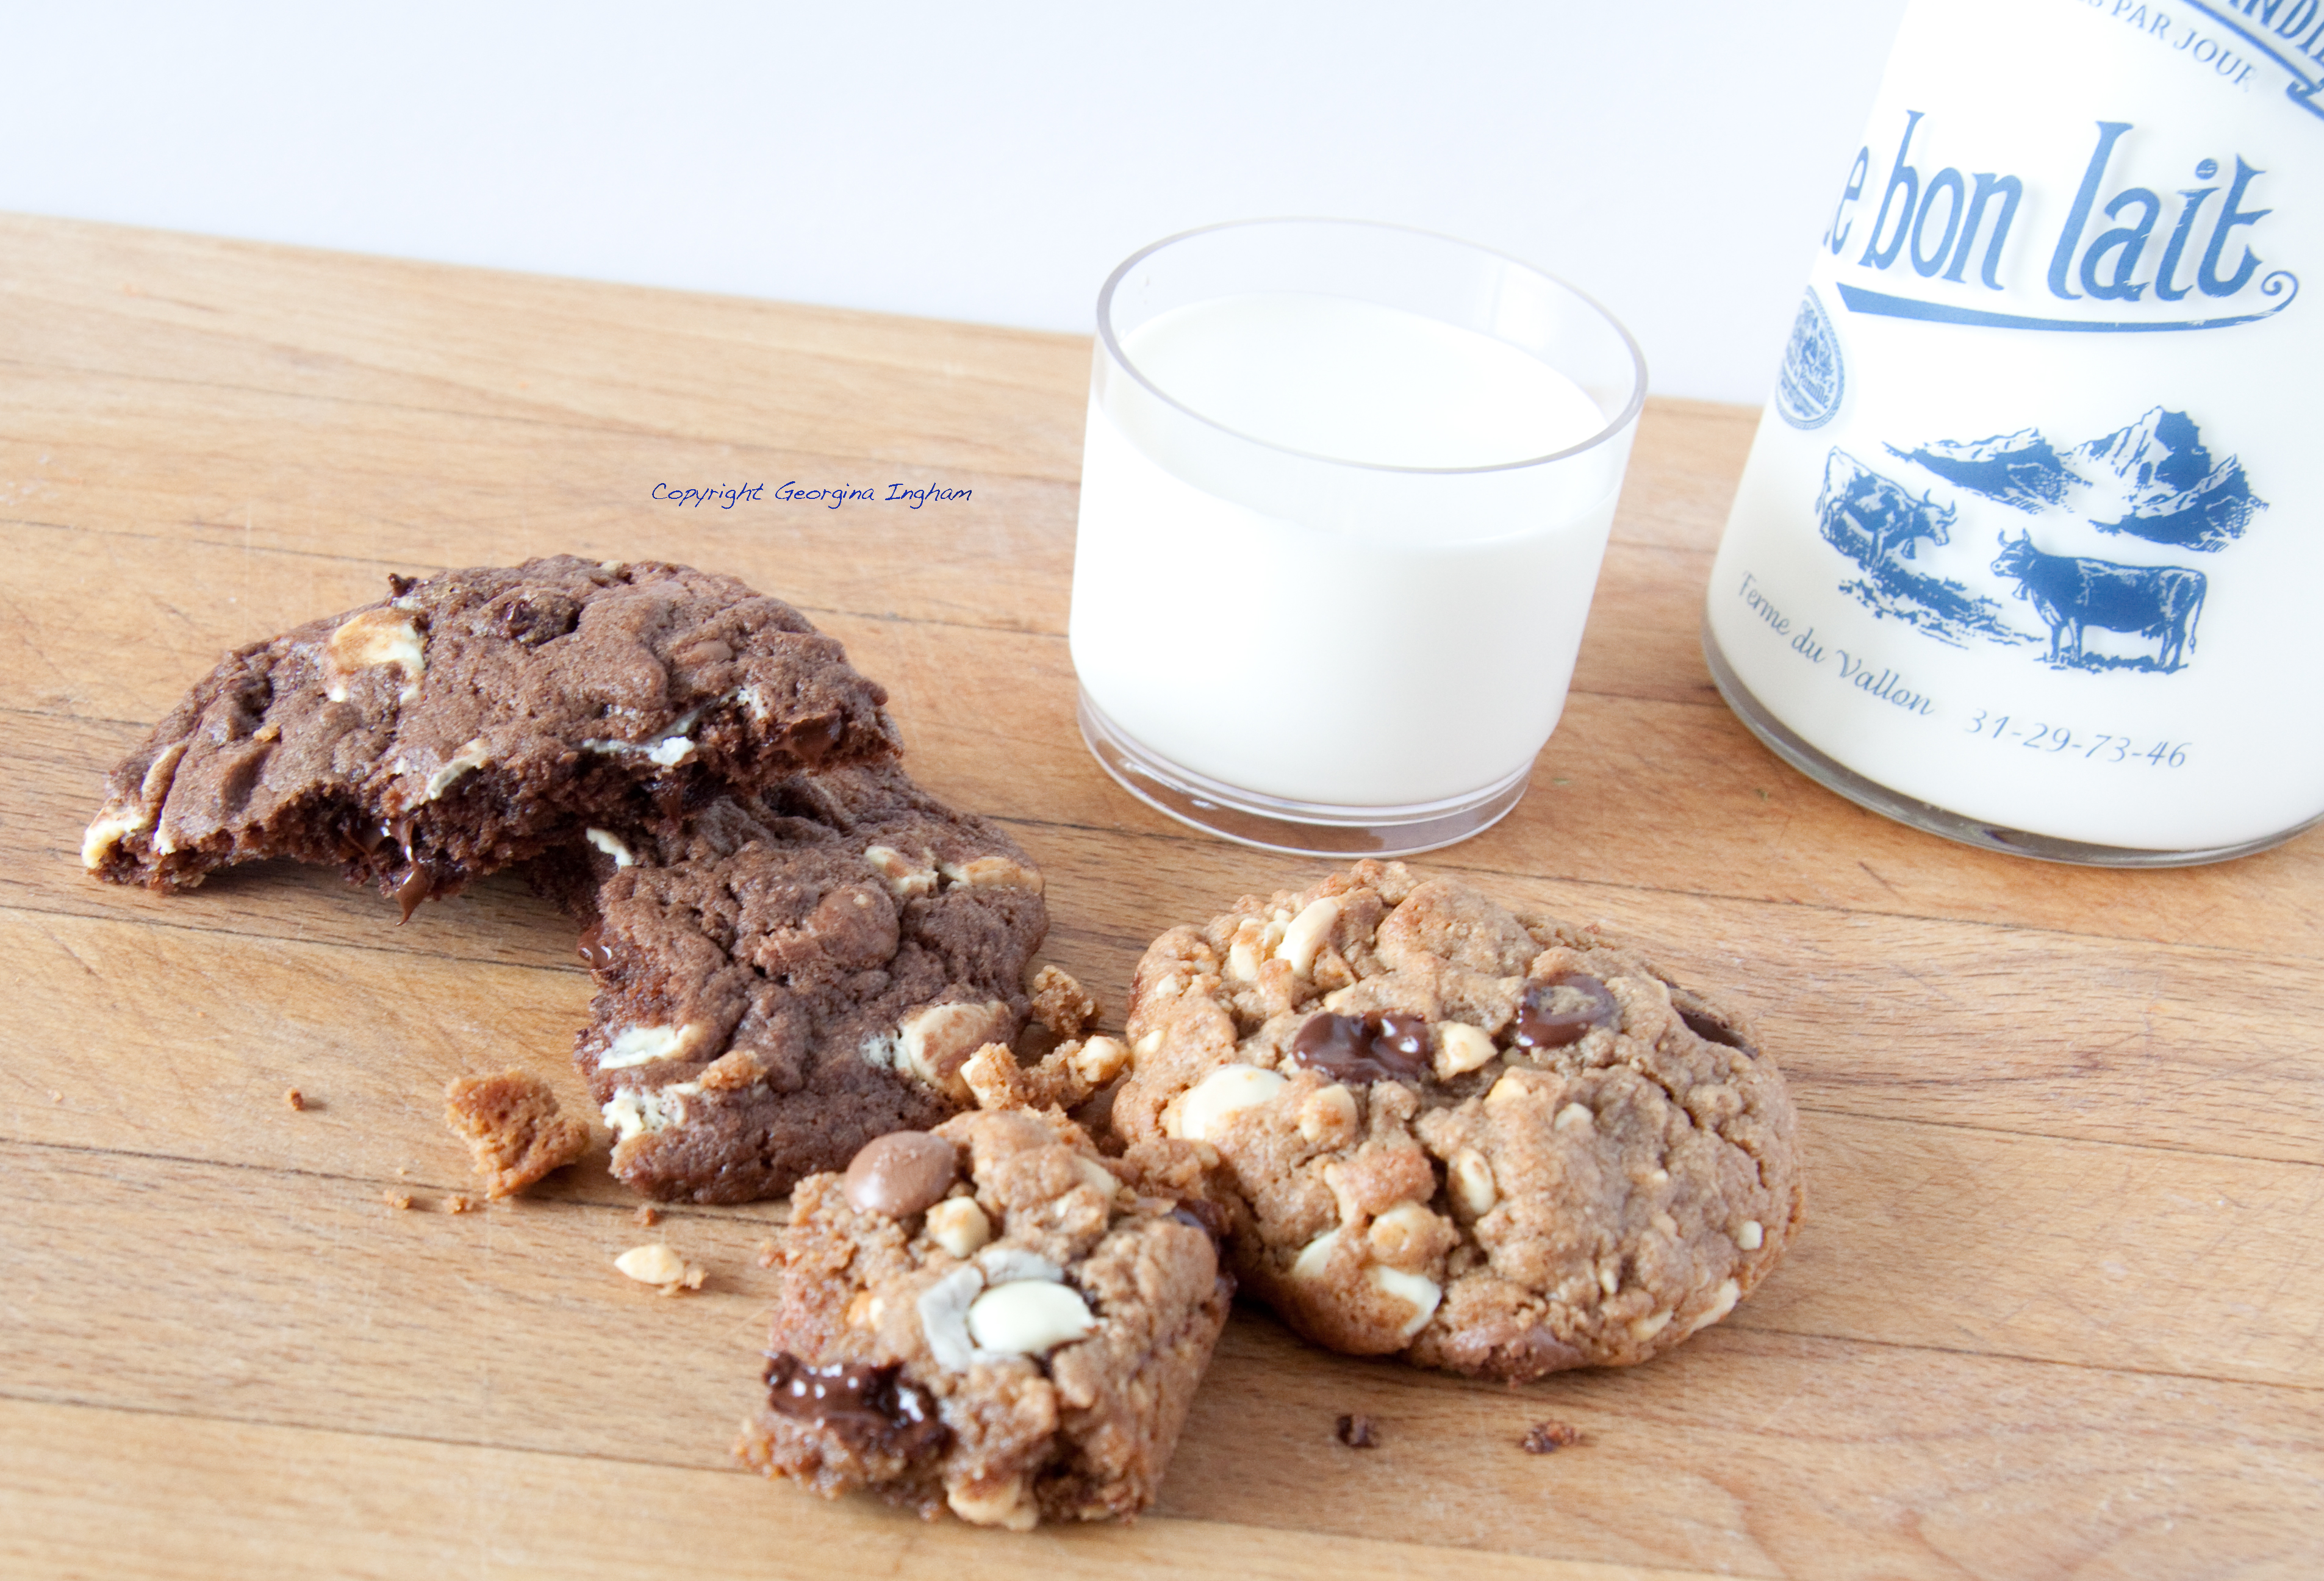
These cookies are especially good while still slightly warm, when the centres are soft and the chocolate has not quite set. Serve them simply with coffee or a cold glass of milk, or use two cookies to make an ice cream sandwich with vanilla or chocolate ice cream.
Once completely cool, they also travel well for picnics, lunchboxes and gatherings. Their generous size and colourful M&Ms make them particularly suited to bake sales or an informal plate of cookies for sharing.
Photograph: Max Gagliano
Storage, freezing and making ahead
Once completely cool, store the cookies in an airtight container at room temperature for up to 4 days. They are at their softest during the first couple of days, although warming one briefly in the microwave will help restore some of that freshly baked texture.
The cookie dough can be prepared in advance and kept covered in the refrigerator for up to 2 days. Shape it into individual portions before chilling, so the cookies are ready to arrange on a lined baking tray and bake.
To freeze the unbaked cookies, arrange the shaped dough on a tray and freeze until firm, then transfer the portions to a freezer-safe container or bag. Freeze for up to 3 months and bake directly from frozen, allowing approximately 2–3 additional minutes.
Baked cookies also freeze well. Layer them in an airtight container with baking parchment between each layer and freeze for up to 3 months. Allow them to thaw at room temperature before serving, or warm them briefly if you prefer the chocolate soft and melty.
Browned Butter Chocolate Chip Cookies
These browned butter chocolate chip cookies have lightly crisp edges, soft and chewy centres, and plenty of chocolate in every bite. Browning half the butter adds a rich, nutty flavour, while chocolate chips and colourful M&Ms make them generously loaded and unmistakably homemade.
Prep time: 25 minutes
Chilling time: 30–60 minutes
Cook time: 12–15 minutes per tray
Makes: 18–20 cookies
Ingredients
230 g salted butter, divided into 115 g for browning and 115 g softened
200 g light brown sugar
100 g beaten egg, approximately 2 large eggs
15 ml vanilla extract
260 g plain flour
5 g instant espresso powder or finely crushed instant coffee granules, optional
4 g baking powder
3 g fine sea salt
250 g chocolate chips, divided
100 g M&Ms or similar chocolate-coated sweets, divided
Method
1. Place 115 g of the butter in a light-coloured saucepan over a medium heat. Allow it to melt, then continue cooking, swirling the pan regularly.
2. The butter will foam and begin to smell nutty. Continue cooking until the milk solids at the bottom of the pan turn deep golden brown. Remove from the heat immediately and pour the browned butter, including all the golden solids, into a heatproof bowl. Leave to cool for 15–20 minutes. It should be warm and fluid, but not hot.
3. Place the remaining 115 g softened butter and the light brown sugar in a large mixing bowl. Beat for 2–3 minutes, until lighter and creamy.
4. Gradually add the beaten egg, mixing well after each addition, then beat in the vanilla extract.
5. Slowly pour in the cooled browned butter while continuing to mix. Scrape in all the browned milk solids from the bowl.
6. In a separate bowl, combine the plain flour, espresso powder or coffee granules, baking powder and sea salt.
7. Add the dry ingredients to the butter mixture in two or three batches. Mix only until no streaks of flour remain.
8. Reserve approximately 30 g of the chocolate chips and 20 g of the M&Ms for decorating the cookies. Fold the remaining chocolate chips and sweets through the dough.
9. Divide the dough into portions weighing approximately 60 g each. Roll them gently into balls and arrange on lined baking trays, leaving at least 5 cm between each cookie.
10. Press the reserved chocolate chips and M&Ms into the tops of the cookies.
11. Refrigerate the shaped cookie dough for at least 30 minutes. For thicker cookies, chill for up to 1 hour.
12. Preheat the oven to 180°C, or 160°C fan.
13. Bake the cookies for 12–15 minutes, one tray at a time, until the edges are lightly golden but the centres still look slightly soft.
14. Leave the cookies on the baking tray for 10 minutes before transferring them to a wire rack. They will continue to set as they cool.
15. Serve slightly warm, or leave to cool completely before storing.
Recipe notes
Allow the browned butter to cool before adding it to the mixture. It should remain fluid, but must not be hot enough to melt the softened butter.
The instant espresso powder or coffee granules are optional. They deepen the chocolate flavour without making the finished cookies taste strongly of coffee.
The cookies may need slightly more or less time depending on their exact size and your oven. Remove them when the edges are lightly golden but the centres still look soft, as they will continue to set on the hot tray.
Photograph: Max Gagliano
FAQs
Do I need to chill the cookie dough?
Yes. Chilling the shaped dough for at least 30 minutes firms the butter and helps control how quickly the cookies spread in the oven. For thicker cookies, chill the dough for up to 1 hour.
How do I know when the cookies are ready?
The edges should look lightly golden, while the centres should still appear slightly soft. The cookies will continue to cook and firm up on the hot baking tray, so remove them before the centres look completely set.
Why did my cookies spread too much?
The browned butter may have been too hot, the dough may not have chilled for long enough, or the shaped cookies may have been placed on a warm baking tray. Let the browned butter cool until it is only warm and fluid, and always use a cool tray for each batch.
Why are my cookies thick or dry?
Too much flour can make the cookies thick, dry or cakey. Mix the dough only until no visible streaks remain. Baking the cookies for too long can also leave them dry.
Can I leave out the instant coffee?
Yes. The espresso powder or instant coffee granules deepen the chocolate flavour but are entirely optional. The cookies will still have plenty of flavour from the browned butter, vanilla and chocolate.
Can I make these cookies without M&Ms?
Yes. Replace the M&Ms with the same weight of additional chocolate chips or chopped chocolate. The chocolate-coated sweets do, however, add colour, crunch and some of the homemade Americana character of this particular recipe.
Can I use milk, dark or white chocolate chips?
Any of these will work. Milk chocolate makes the cookies sweeter, dark chocolate brings a stronger cocoa flavour, and white chocolate gives a creamy contrast to the browned butter. You can also use a mixture.
Can I make the cookie dough in advance?
Yes. Shape the dough into portions, cover and refrigerate for up to 2 days before baking. The shaped dough can also be frozen for up to 3 months and baked directly from frozen, allowing approximately 2–3 additional minutes.
Can I bake more than one tray at a time?
Baking one tray at a time in the centre of the oven gives the most even result. If you bake two trays together, swap their positions partway through and allow a little extra time if needed.
Final thoughts
These browned butter chocolate chip cookies are everything I imagined homemade Americana tasting like when I first began making them: generous, chocolate-filled and best eaten while still slightly warm.
The browned butter gives them more depth than a standard chocolate chip cookie, while the M&Ms keep them colourful, playful and unmistakably homemade. They are the sort of bake to leave cooling on the kitchen counter, ready to share with friends or enjoy with coffee and a good book.
Photography for this recipe was commissioned by Culinary Travels and shot by Max Gagliano. Culinary Travels holds full usage rights for website, social media and print use.
Stay in Touch
Culinary Travels publishes destination guides, seasonal recipes, and food-led travel features from the UK and beyond.
Follow for new articles and updated travel resources:
Instagram | X | Facebook | Pinterest
Newsletter
Receive new guides, recipes, and occasional travel planning notes by email: Subscribe here
Reader feedback and local recommendations are always welcome via the contact page.
©2026 Culinary Travels. Culinary Travels is written and edited by Georgina Ingham | Website designed by The Smarter Web Company
What Our Followers Say
"A highly complimentary article ... showcasing why the English Market remains one of Ireland's premier food destinations"
Cork City Council via Facebook
"Our list of things to do in Cork has just expanded hugely thanks to Culinary Travels."
Triskel Art Centre Cork, via Twitter
“Tried this last night and it was delicious!”
Reader feedback via Pinterest, Yangzhou Fried Rice Recipe
"Oh yum!!! I could eat one or two right now!"
Sami Tamimi, via Instagram, on Ma’amoul Cookies
"Georgina was great to work with, quick to respond, and is a excellent content writer - would highly recommend"
Nick S - Get Blogged
“A simple no-knead dough transformed into beautiful, rustic rolls.”
Reader feedback via Pinterest, No-Knead Ciabatta Rolls Recipe