
Articles


Foolproof Golden Bonfire Caramel - Soft or Chewy
RECIPE
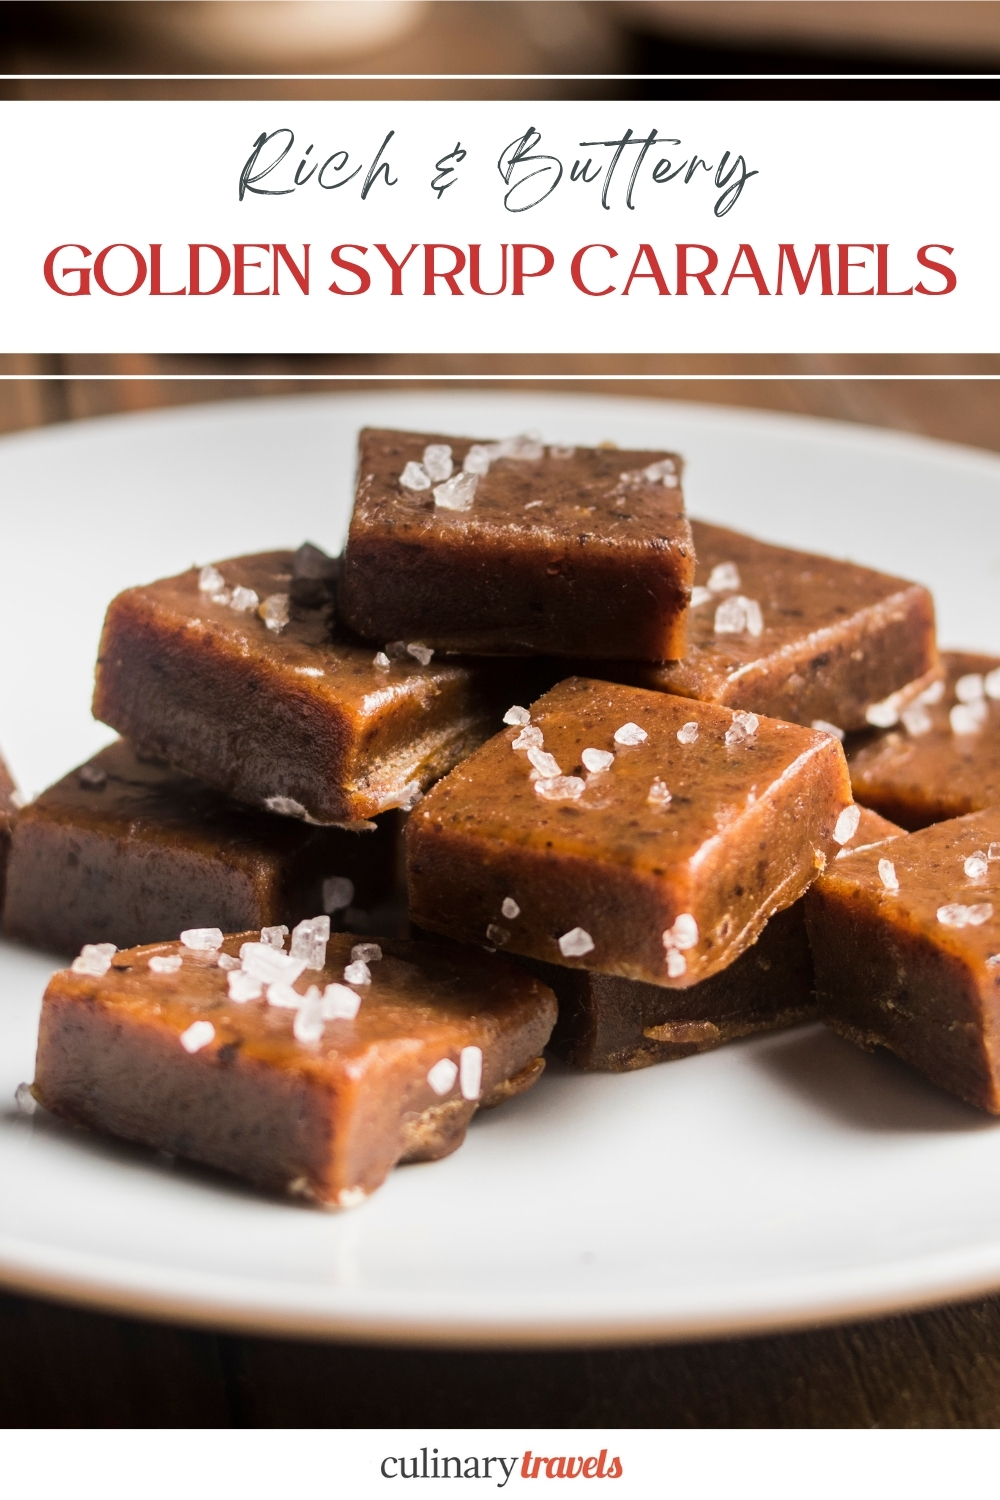
Made with condensed milk, brown sugar and golden syrup, these buttery homemade caramels can be cooked soft and yielding or taken a few degrees further for a firmer, chewier bite. A pinch of sea salt keeps the sweetness in check.
Some articles on Culinary Travels may contain affiliate links, meaning I may earn a small commission at no extra cost to you. I only recommend places, experiences and products that fit the editorial tone and standards of the site.
Update note: This recipe was originally published in October 2025 and fully updated in October 2026 with an improved recipe and original photography.
Photograph: Max Gagliano
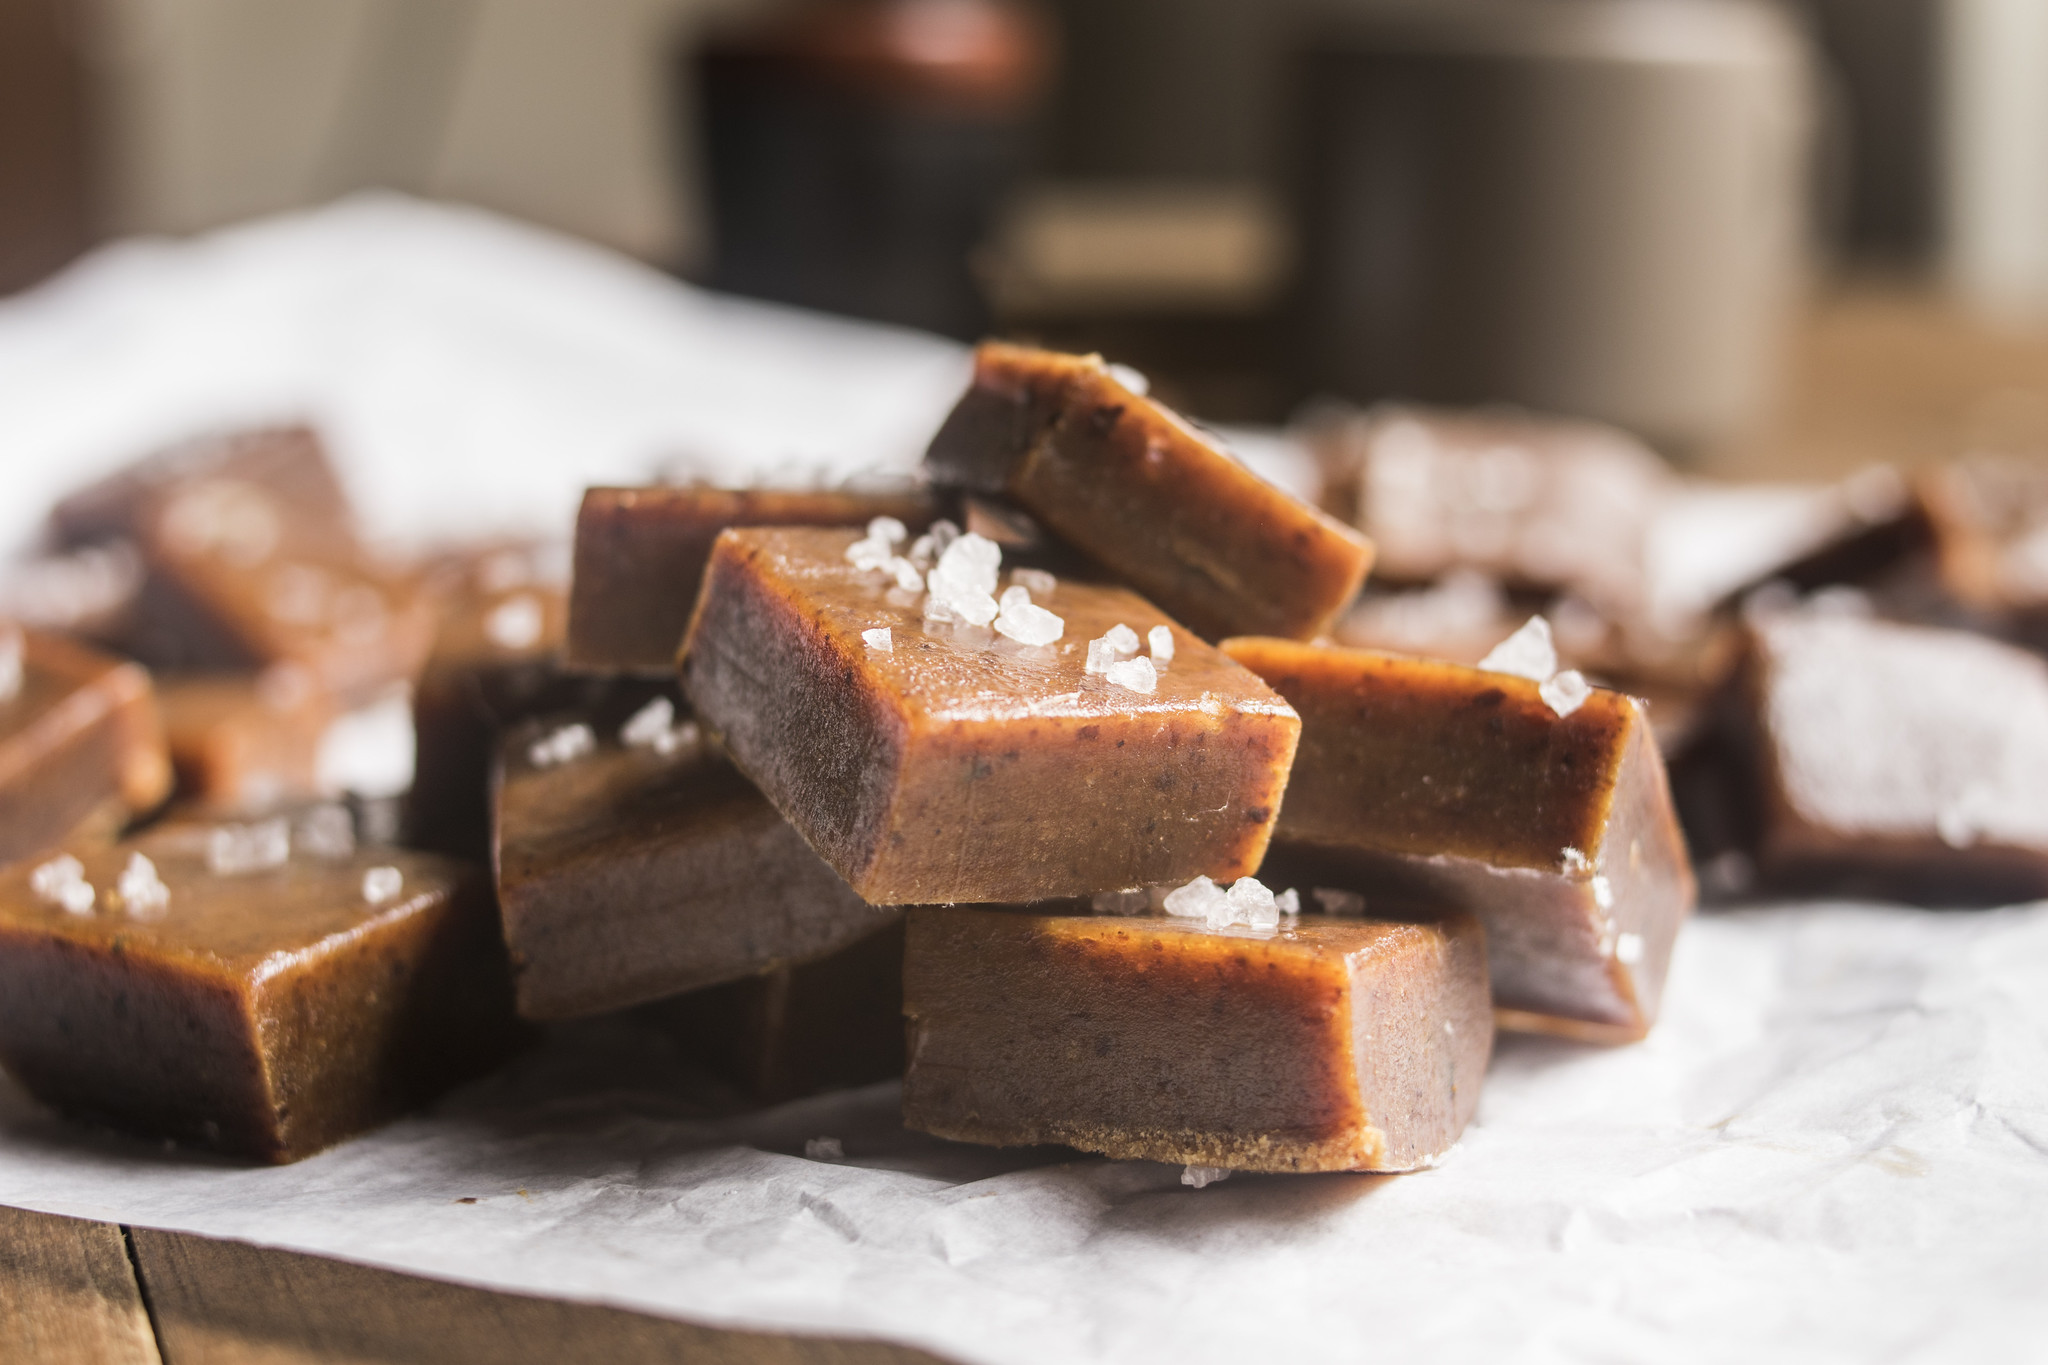
These Golden Bonfire Caramels were originally created with Bonfire Night in mind: something rich, buttery and easy to wrap up for cold November evenings. But there is nothing especially seasonal about a good homemade caramel, and they are far too good to save for one night of the year.
The method is deliberately straightforward. Rather than judging the caramel by colour or relying on a cold-water test, a sugar thermometer tells you when it is ready. More importantly, it lets you decide what sort of caramel you want: soft and yielding, or dense with a firmer chew.
Why These Golden Bonfire Caramels Work
Sweetened condensed milk gives these caramels their creamy base, while soft light brown sugar and golden syrup bring a deeper, buttery sweetness. Unlike traditional bonfire or treacle toffee, the finished caramel is smooth and chewy rather than hard and brittle.
The important variable is temperature. Cooking the mixture only a few degrees further removes more moisture and changes the final texture noticeably, which means the same basic recipe can produce either a softer caramel or a substantially firmer chew.
That also makes a sugar thermometer far more useful here than judging readiness by colour. Brown sugar, golden syrup and even the type of vanilla used can change the appearance of the mixture without necessarily telling you how the finished caramel will set.
Photograph: Max Gagliano
Soft or Chewy? Why Temperature Matters
For a softer, more yielding caramel, cook the mixture to 118–120°C. For a denser caramel with a firmer chew, take it to 124–126°C.
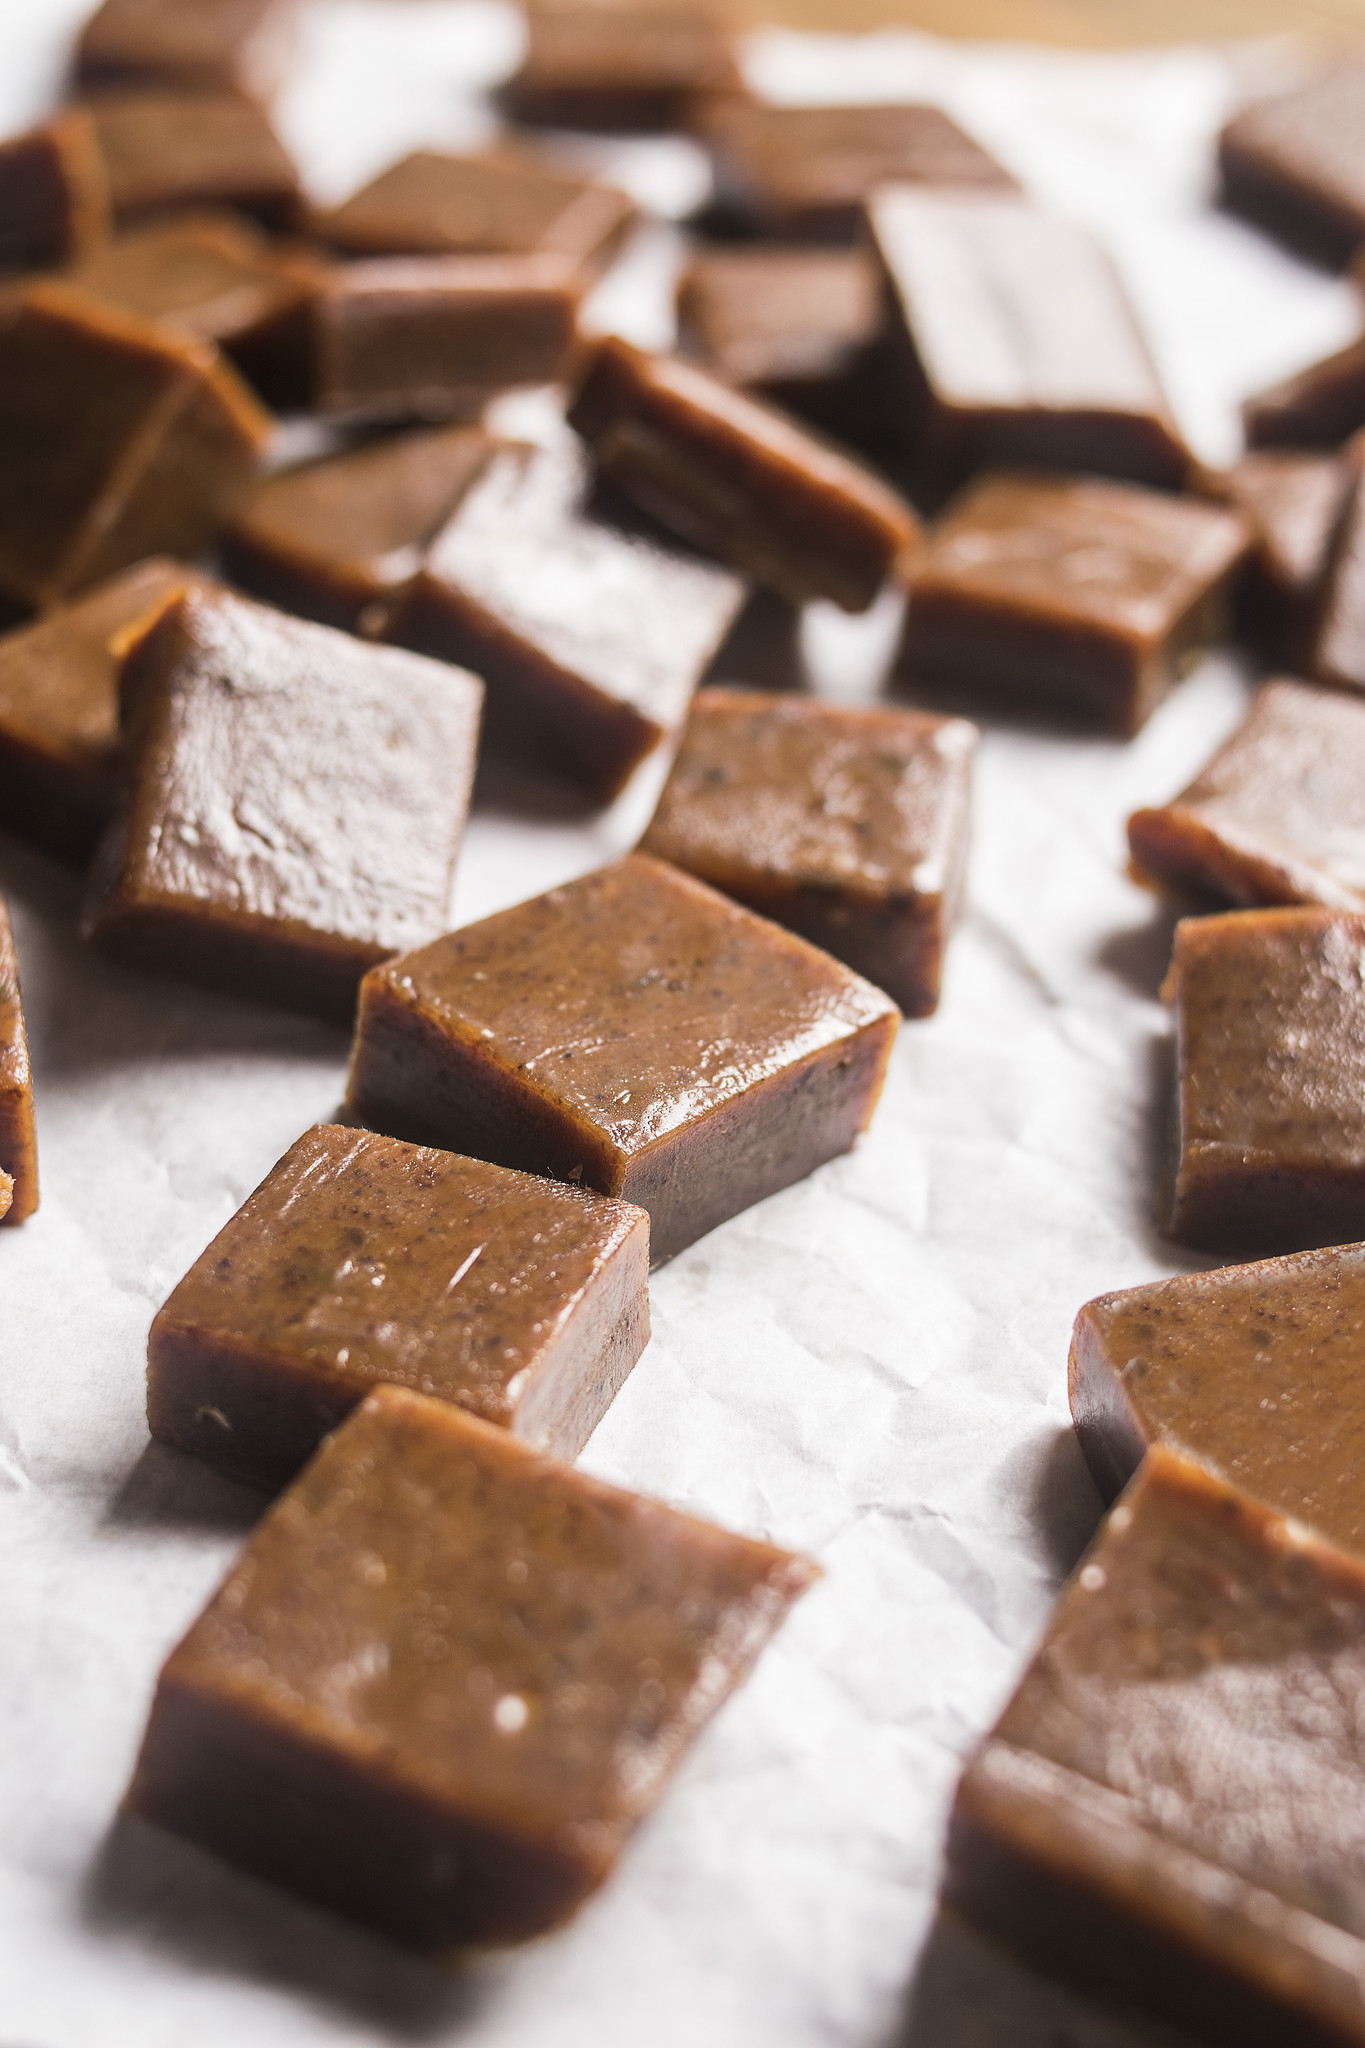
Colour is a much less reliable guide. The batch photographed for this recipe developed a deeper caramel colour than some of mine while still producing exactly the dense, chewy texture we wanted. Equally, do not keep cooking a paler batch simply because it does not look dark enough. Once it reaches your target temperature, remove it from the heat.
The difference is moisture. As the caramel cooks to a higher temperature, more water evaporates and the finished sweet sets more firmly. A few degrees are enough to make a noticeable difference. King Arthur Baking's guide to caramel temperatures is a useful reference if you want to understand the different sugar stages in more detail.
Photograph: Max Gagliano
Ingredient Notes
The base is made from unsalted butter, sweetened condensed milk, soft light brown sugar and golden syrup. The condensed milk gives the caramel its creamy texture, while the brown sugar and golden syrup bring a deeper flavour than white sugar alone.
Fine sea salt balances the sweetness, with a little flaky sea salt added at the end if you want more contrast. I prefer unsalted butter here because it gives you greater control over the seasoning.
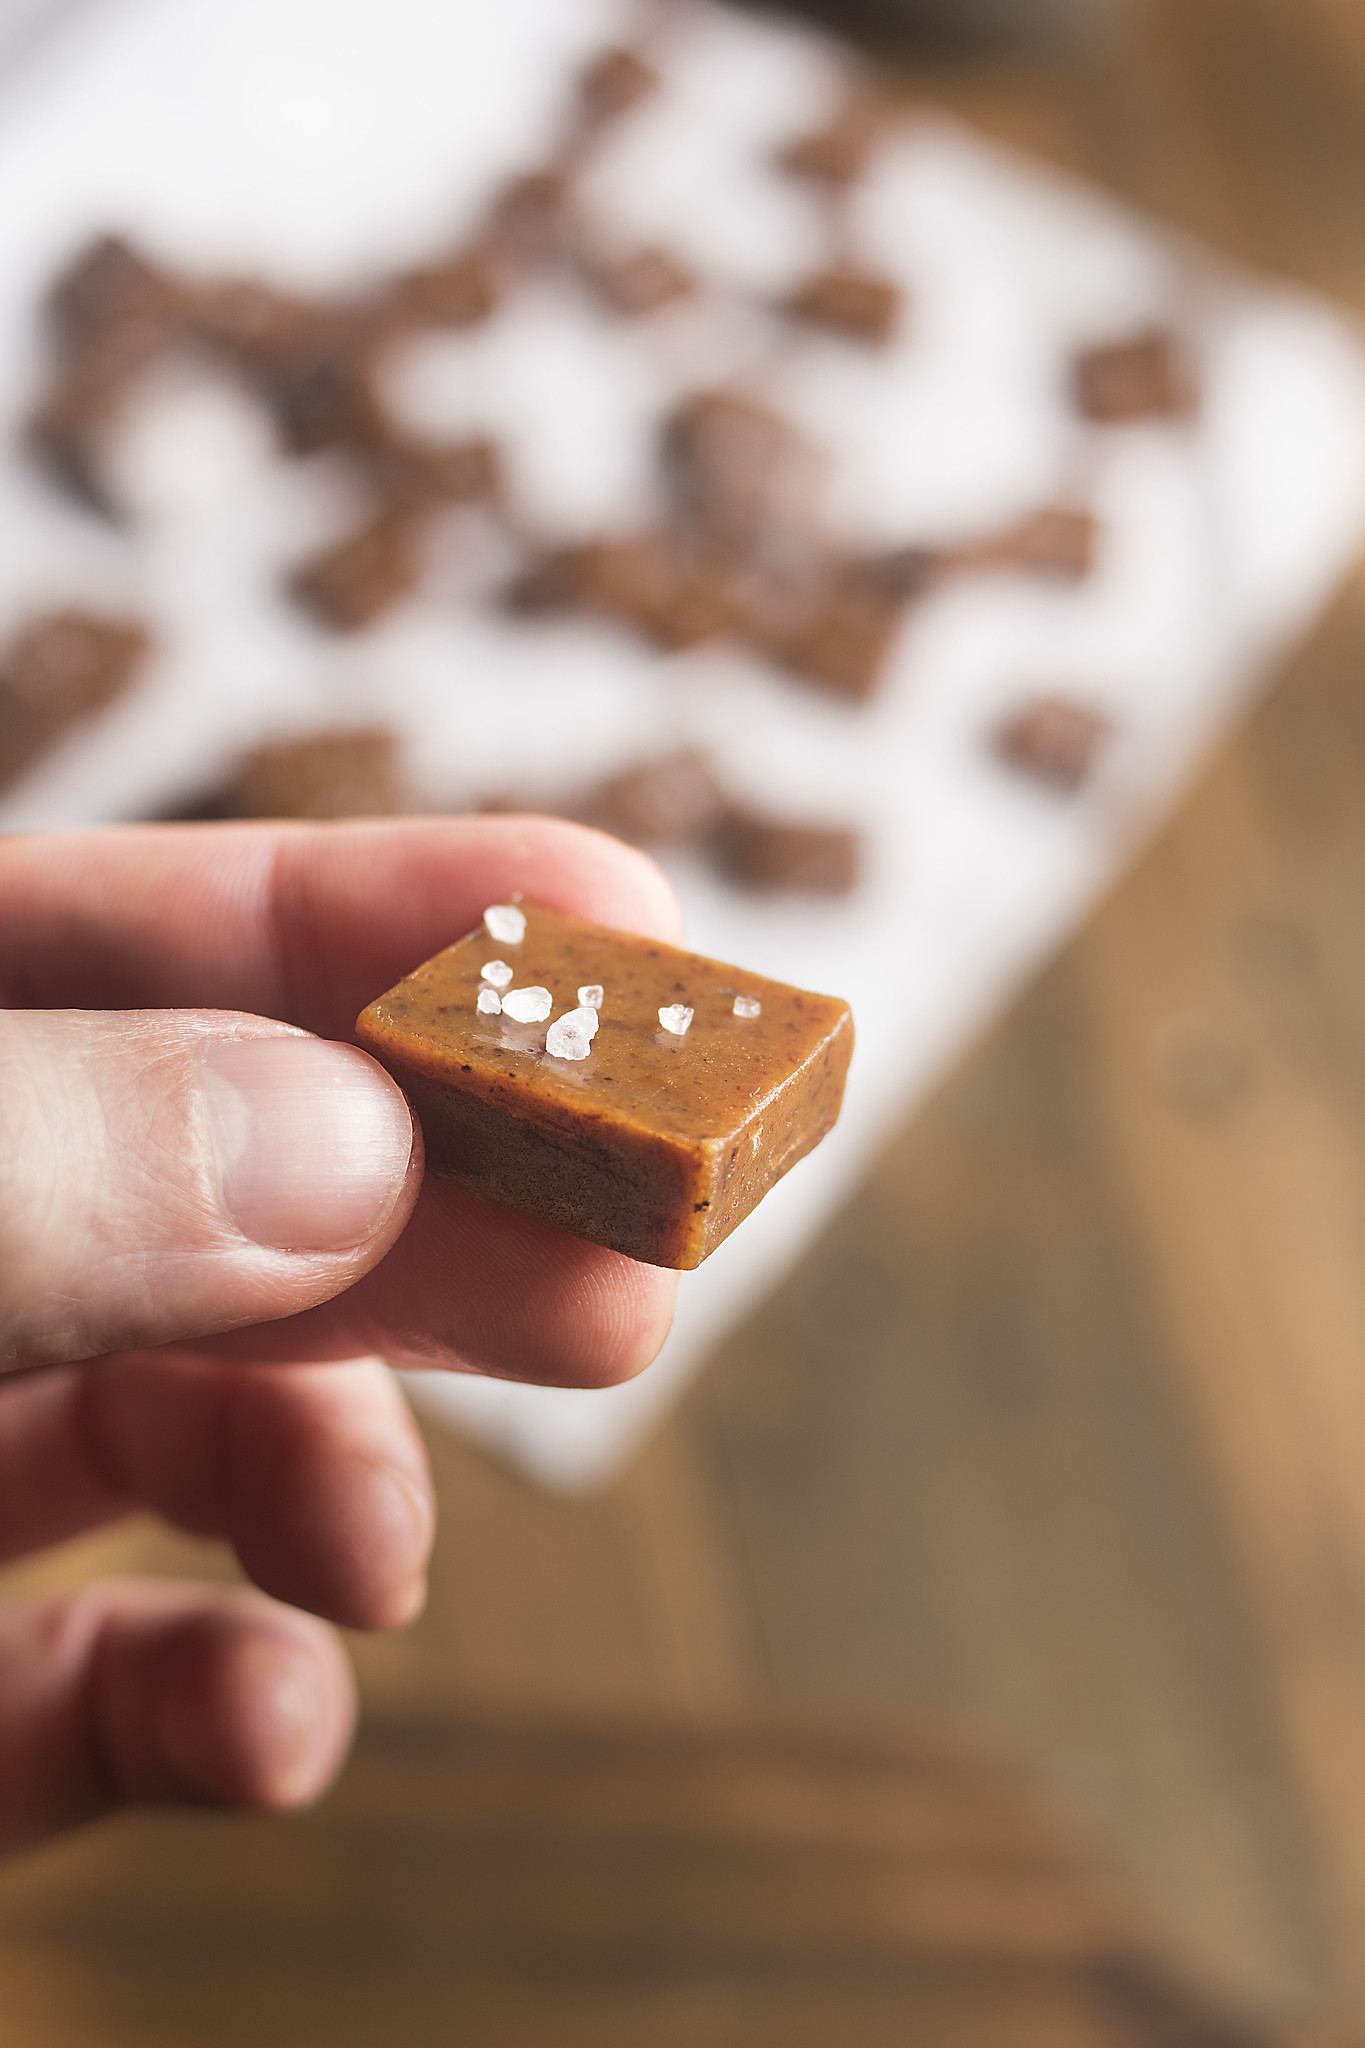
Vanilla bean paste or vanilla extract both work well. Paste leaves visible vanilla flecks in the finished caramel, while extract produces a smoother appearance. You can also make your own vanilla extract.
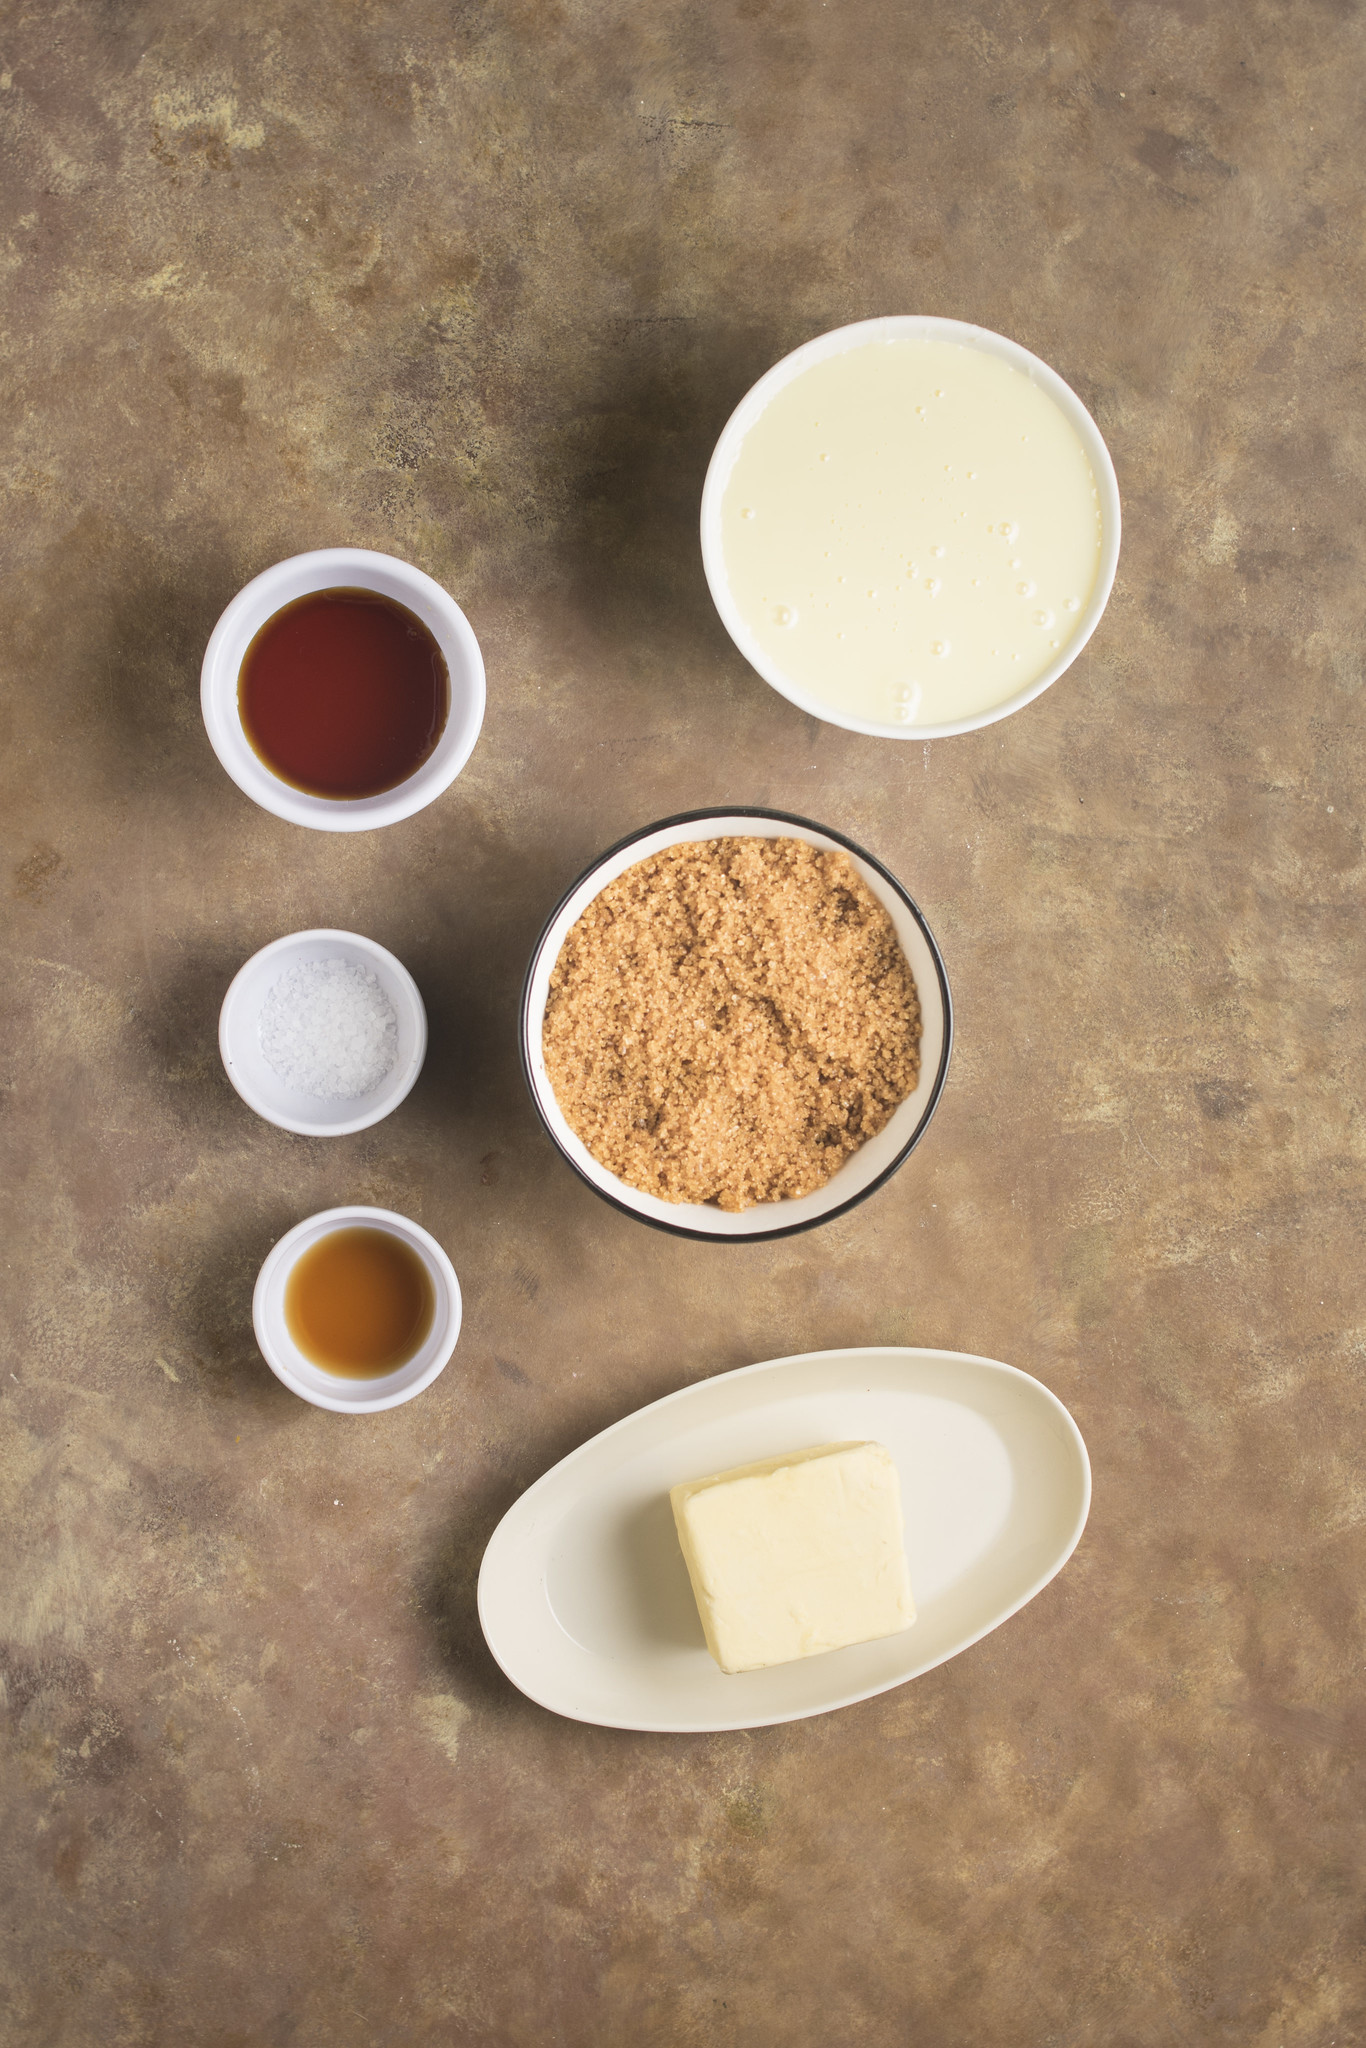
Photograph: Max Gagliano
How to Make Golden Bonfire Caramels
You will need a medium heavy-based saucepan, a sugar thermometer, a heatproof spatula and a 20 cm square tin. The heavy pan helps distribute the heat evenly, while the thermometer matters when only a few degrees separate the two finished textures.
Lightly grease and line the tin with baking parchment, leaving enough paper overhanging the sides to lift the caramel out once set.
Put the butter, condensed milk, brown sugar and golden syrup into the saucepan and heat gently, stirring regularly, until the butter has melted and the mixture is completely smooth.
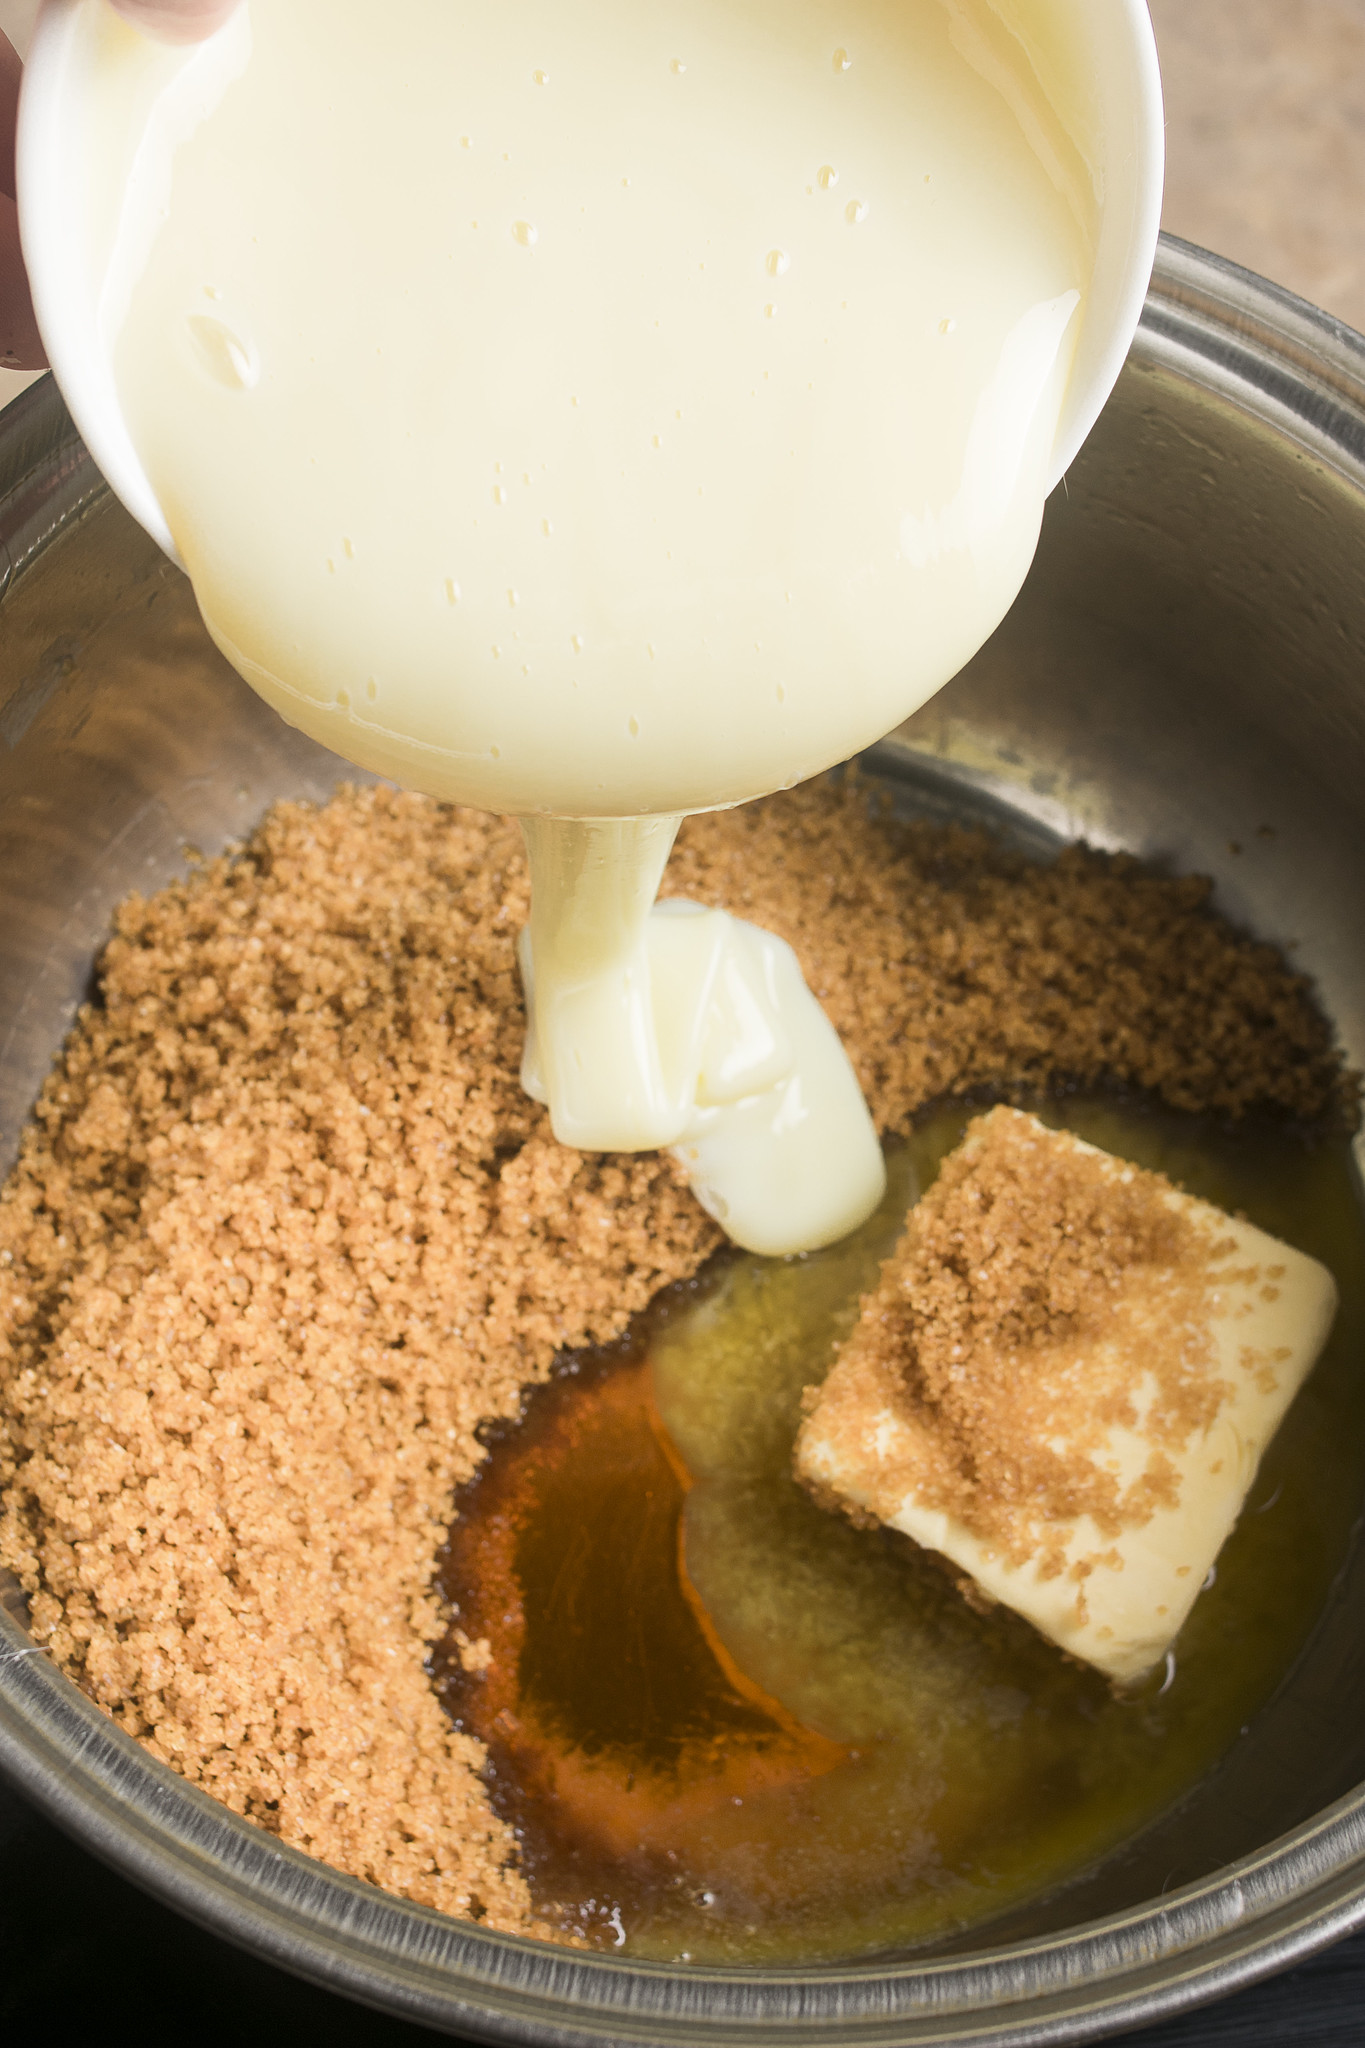
Photograph: Max Gagliano
Increase the heat to medium and bring the caramel to a steady boil. Position the thermometer so that its tip sits in the mixture without touching the base of the pan, then cook while stirring constantly and scraping across the bottom and into the corners.
Remove the pan from the heat as soon as the caramel reaches 118–120°C for a softer texture or 124–126°C for a firmer chew. Stir in the fine sea salt and vanilla, then carefully pour the mixture into the prepared tin and smooth the surface with a heatproof spatula.
Leave the caramel at room temperature for 10–15 minutes before chilling for at least 2 hours. Once completely set, lift the slab from the tin using the parchment and cut it into squares with a sharp knife.
Tips for Success
Start the caramel over a gentle heat and let the butter melt completely before bringing the mixture to the boil. Once it begins boiling, keep stirring: condensed-milk caramel can catch on the base of the pan surprisingly quickly.
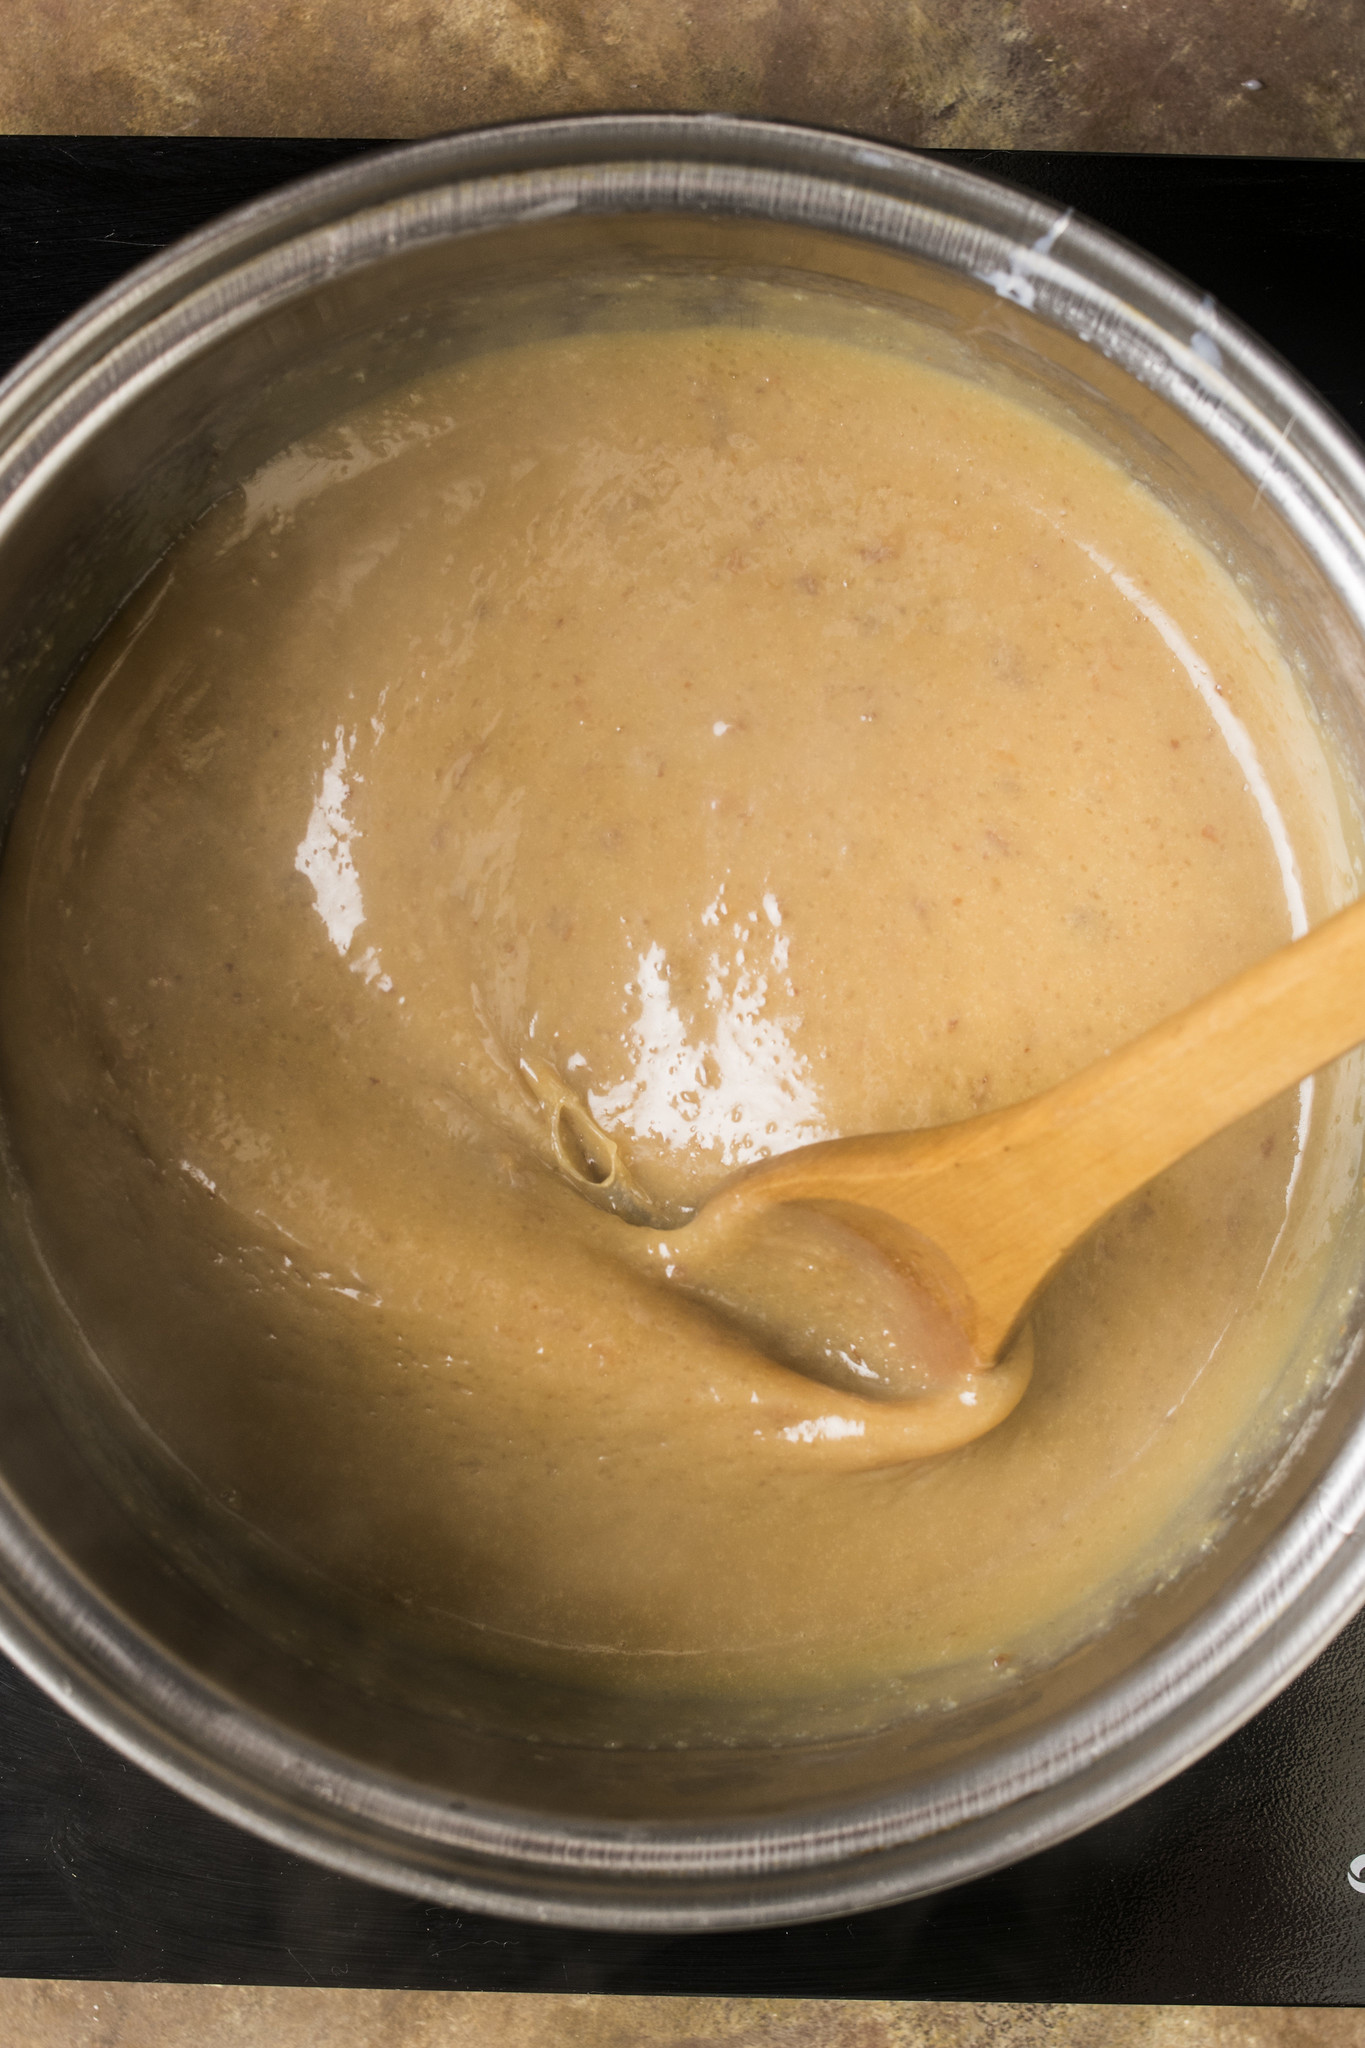
Photograph: Max Gagliano
Make sure the thermometer probe is suspended in the caramel rather than touching the bottom of the saucepan. Contact with the hot pan can give you a misleading reading.
Trust the temperature rather than the colour. The appearance will vary slightly from batch to batch, but the thermometer is the best guide to the final texture.
Allow the caramel to set completely before cutting. If it is very firm straight from the fridge, leave it at room temperature for 5–10 minutes. A sharp knife lightly coated with neutral oil will give cleaner cuts if the caramel is sticking.
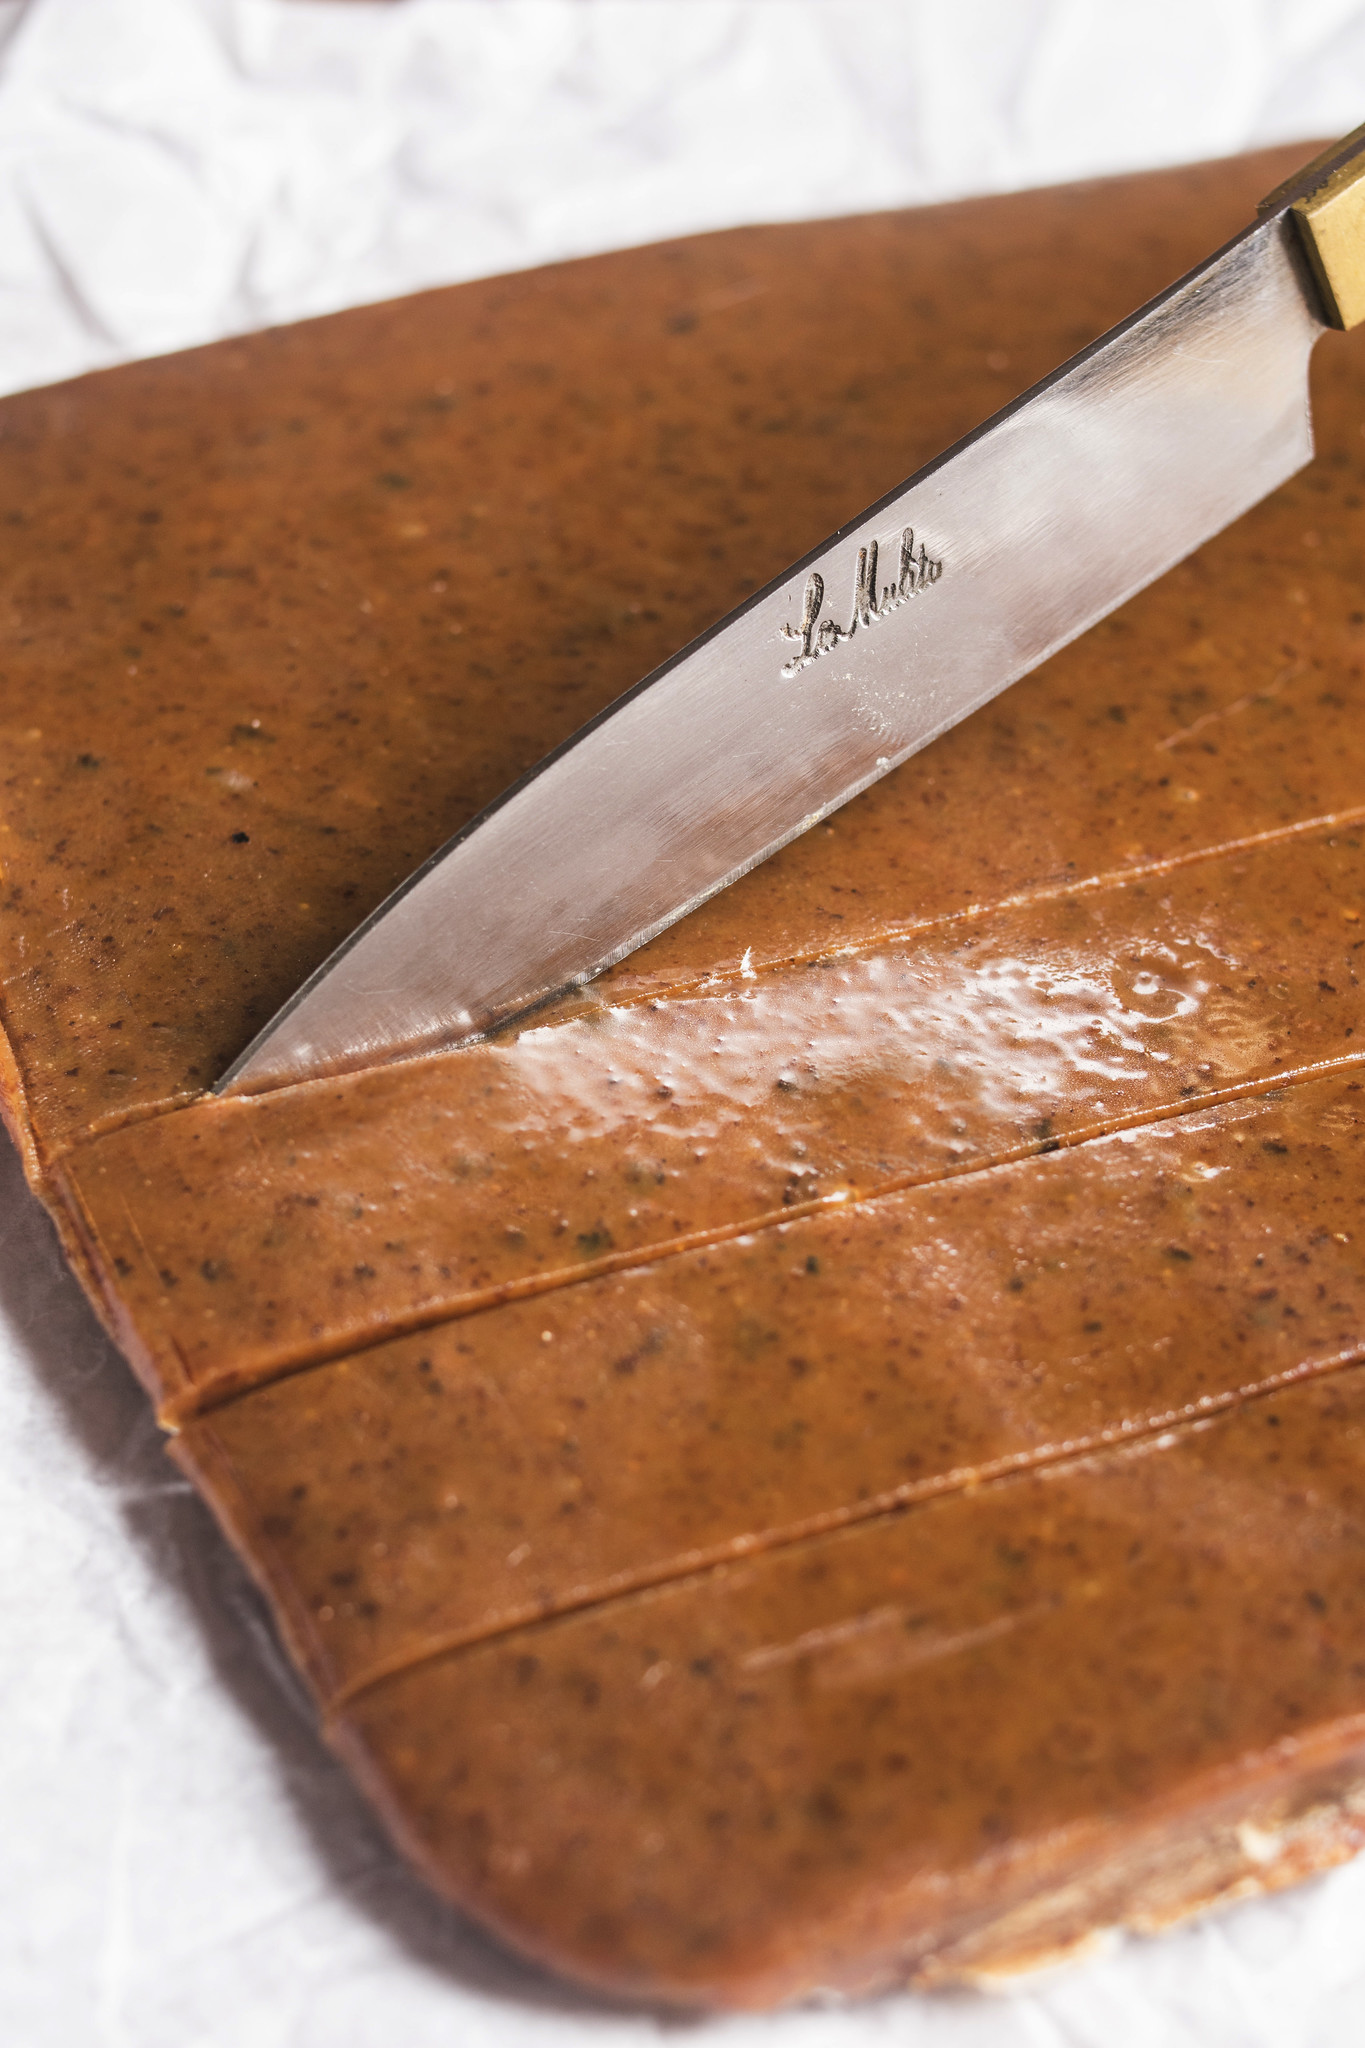
Photograph: Max Gagliano
Flavour Variations
I like these best with vanilla and a little flaky sea salt, but there are a few simple variations that do not substantially alter the recipe.
For a subtle Bonfire Night note, finish them with a little smoked sea salt. A small pinch of ground ginger or pumpkin spice can also be stirred in with the vanilla for a gently spiced version.
For extra texture, scatter finely chopped roasted nuts over the caramel immediately after pouring it into the tin. Avoid adding untested liquid flavourings to the mixture, as changing the moisture content can affect how it sets.
Serving, Gifting and Storage
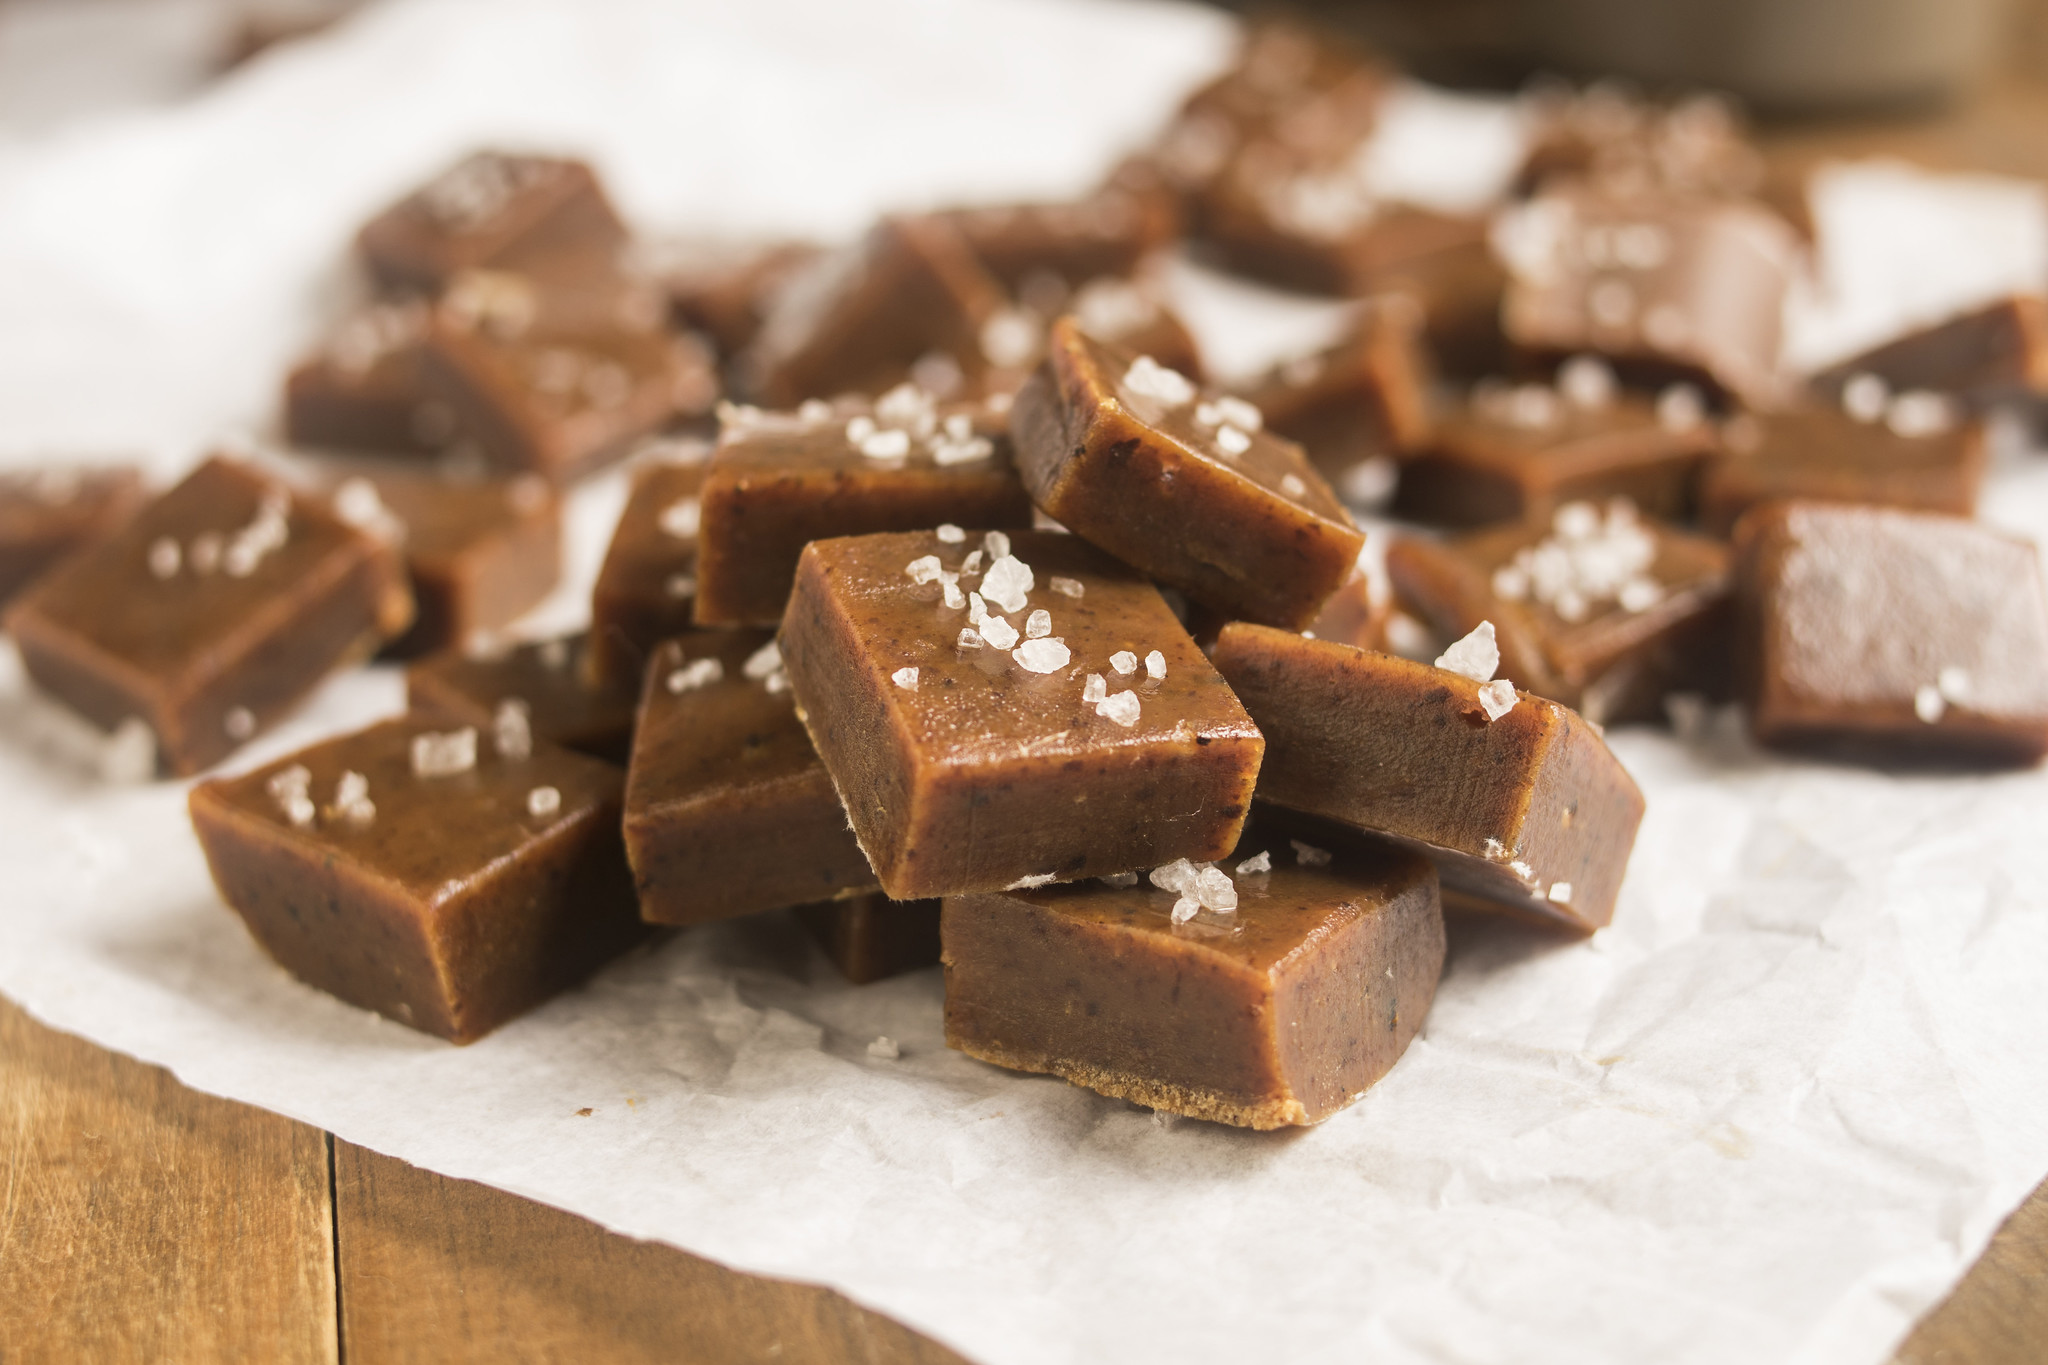
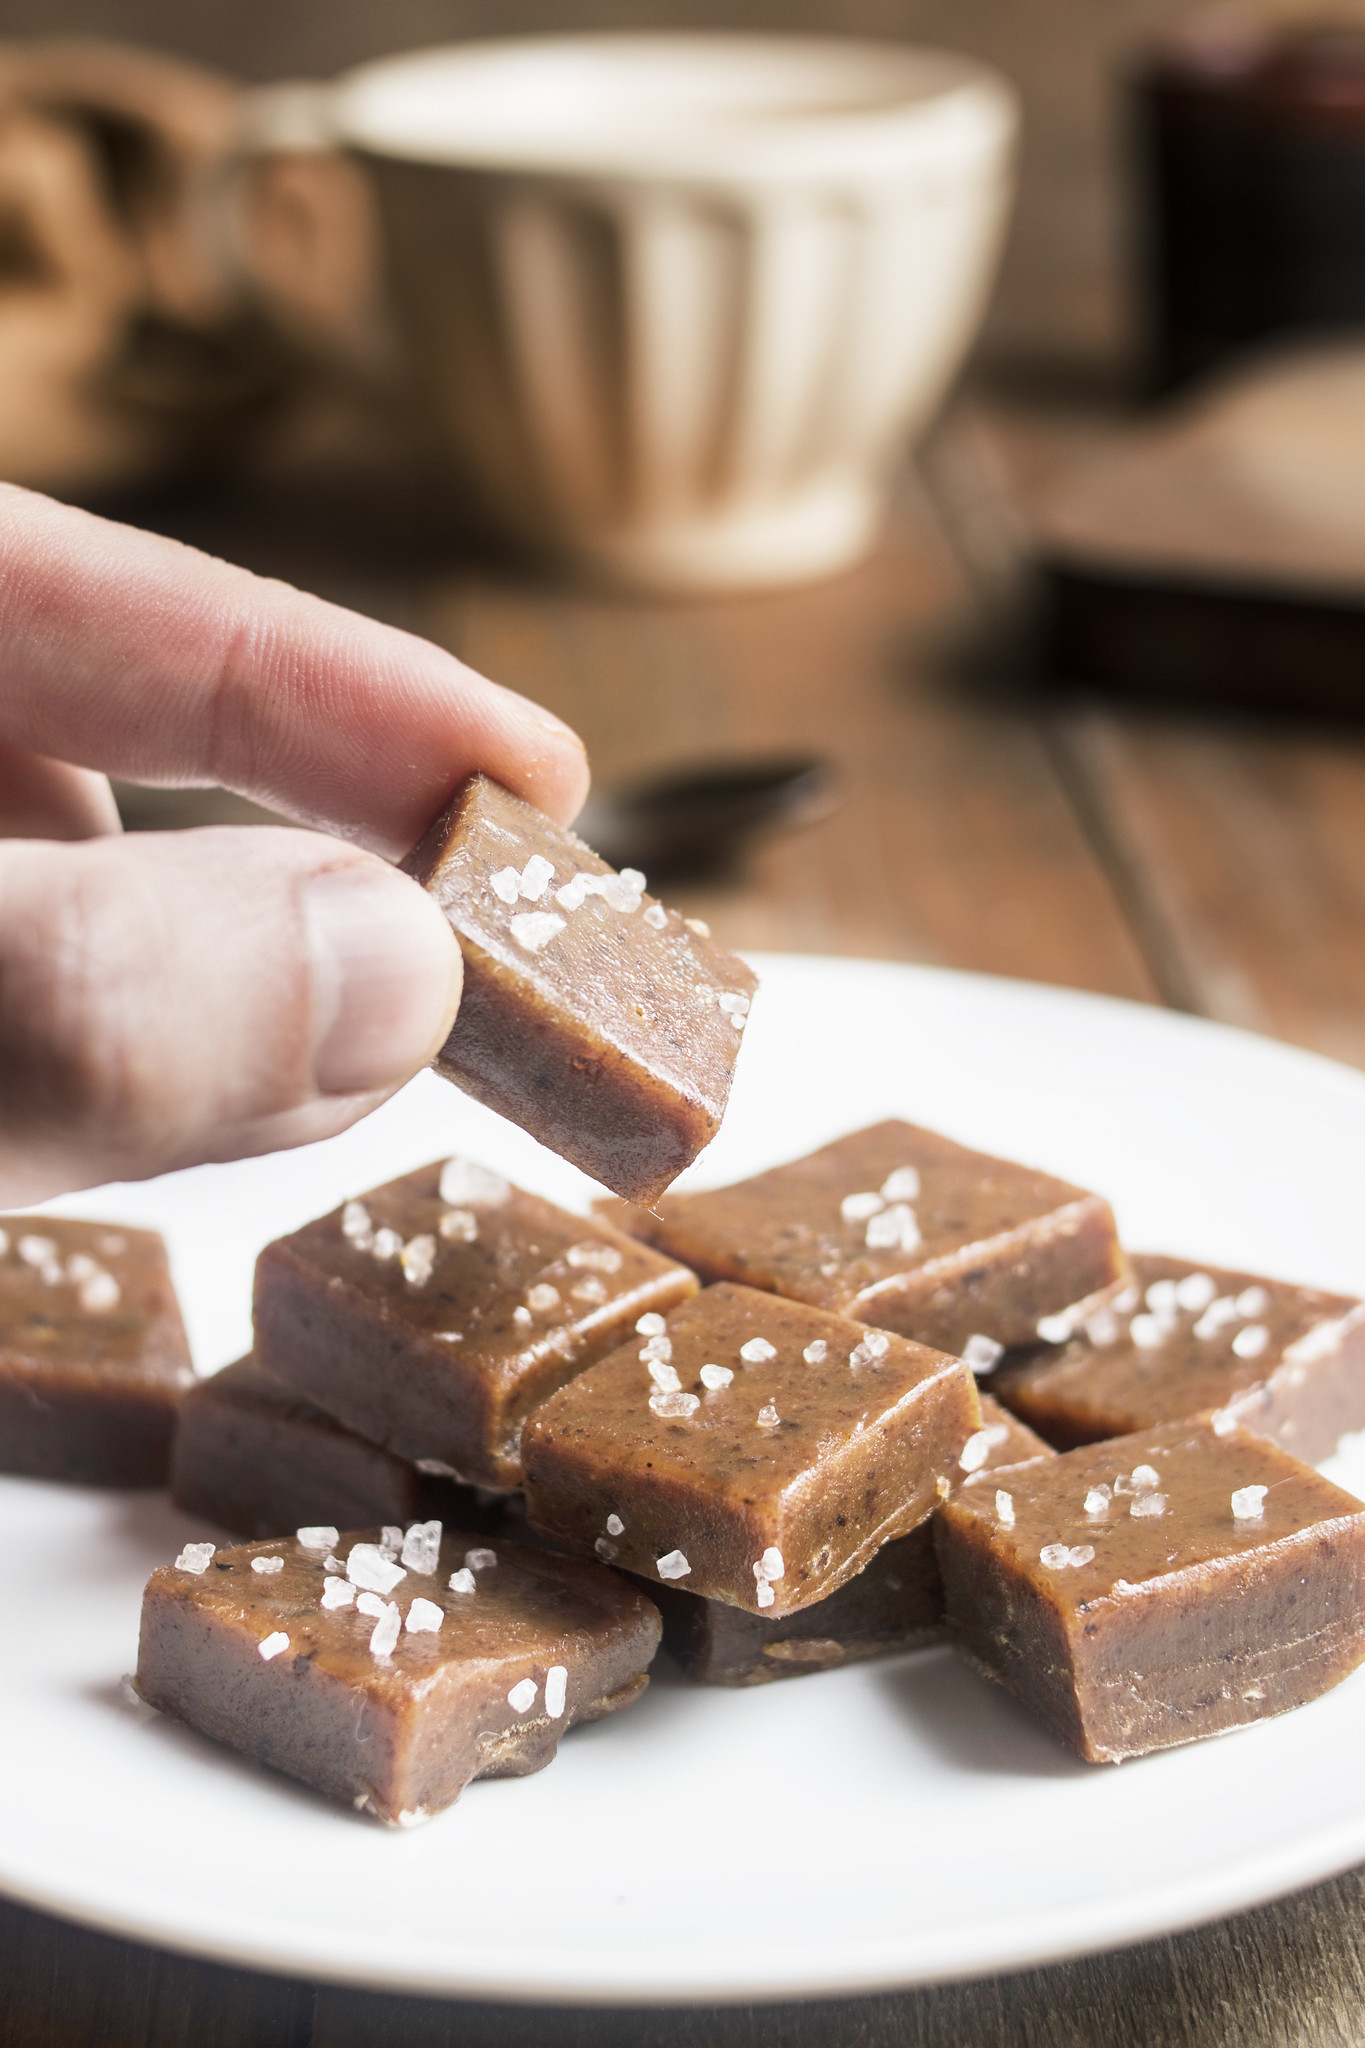
Serve the caramels at room temperature, when their flavour and chewy texture are at their best. A few flakes of sea salt added just before serving give a good contrast to the buttery sweetness.
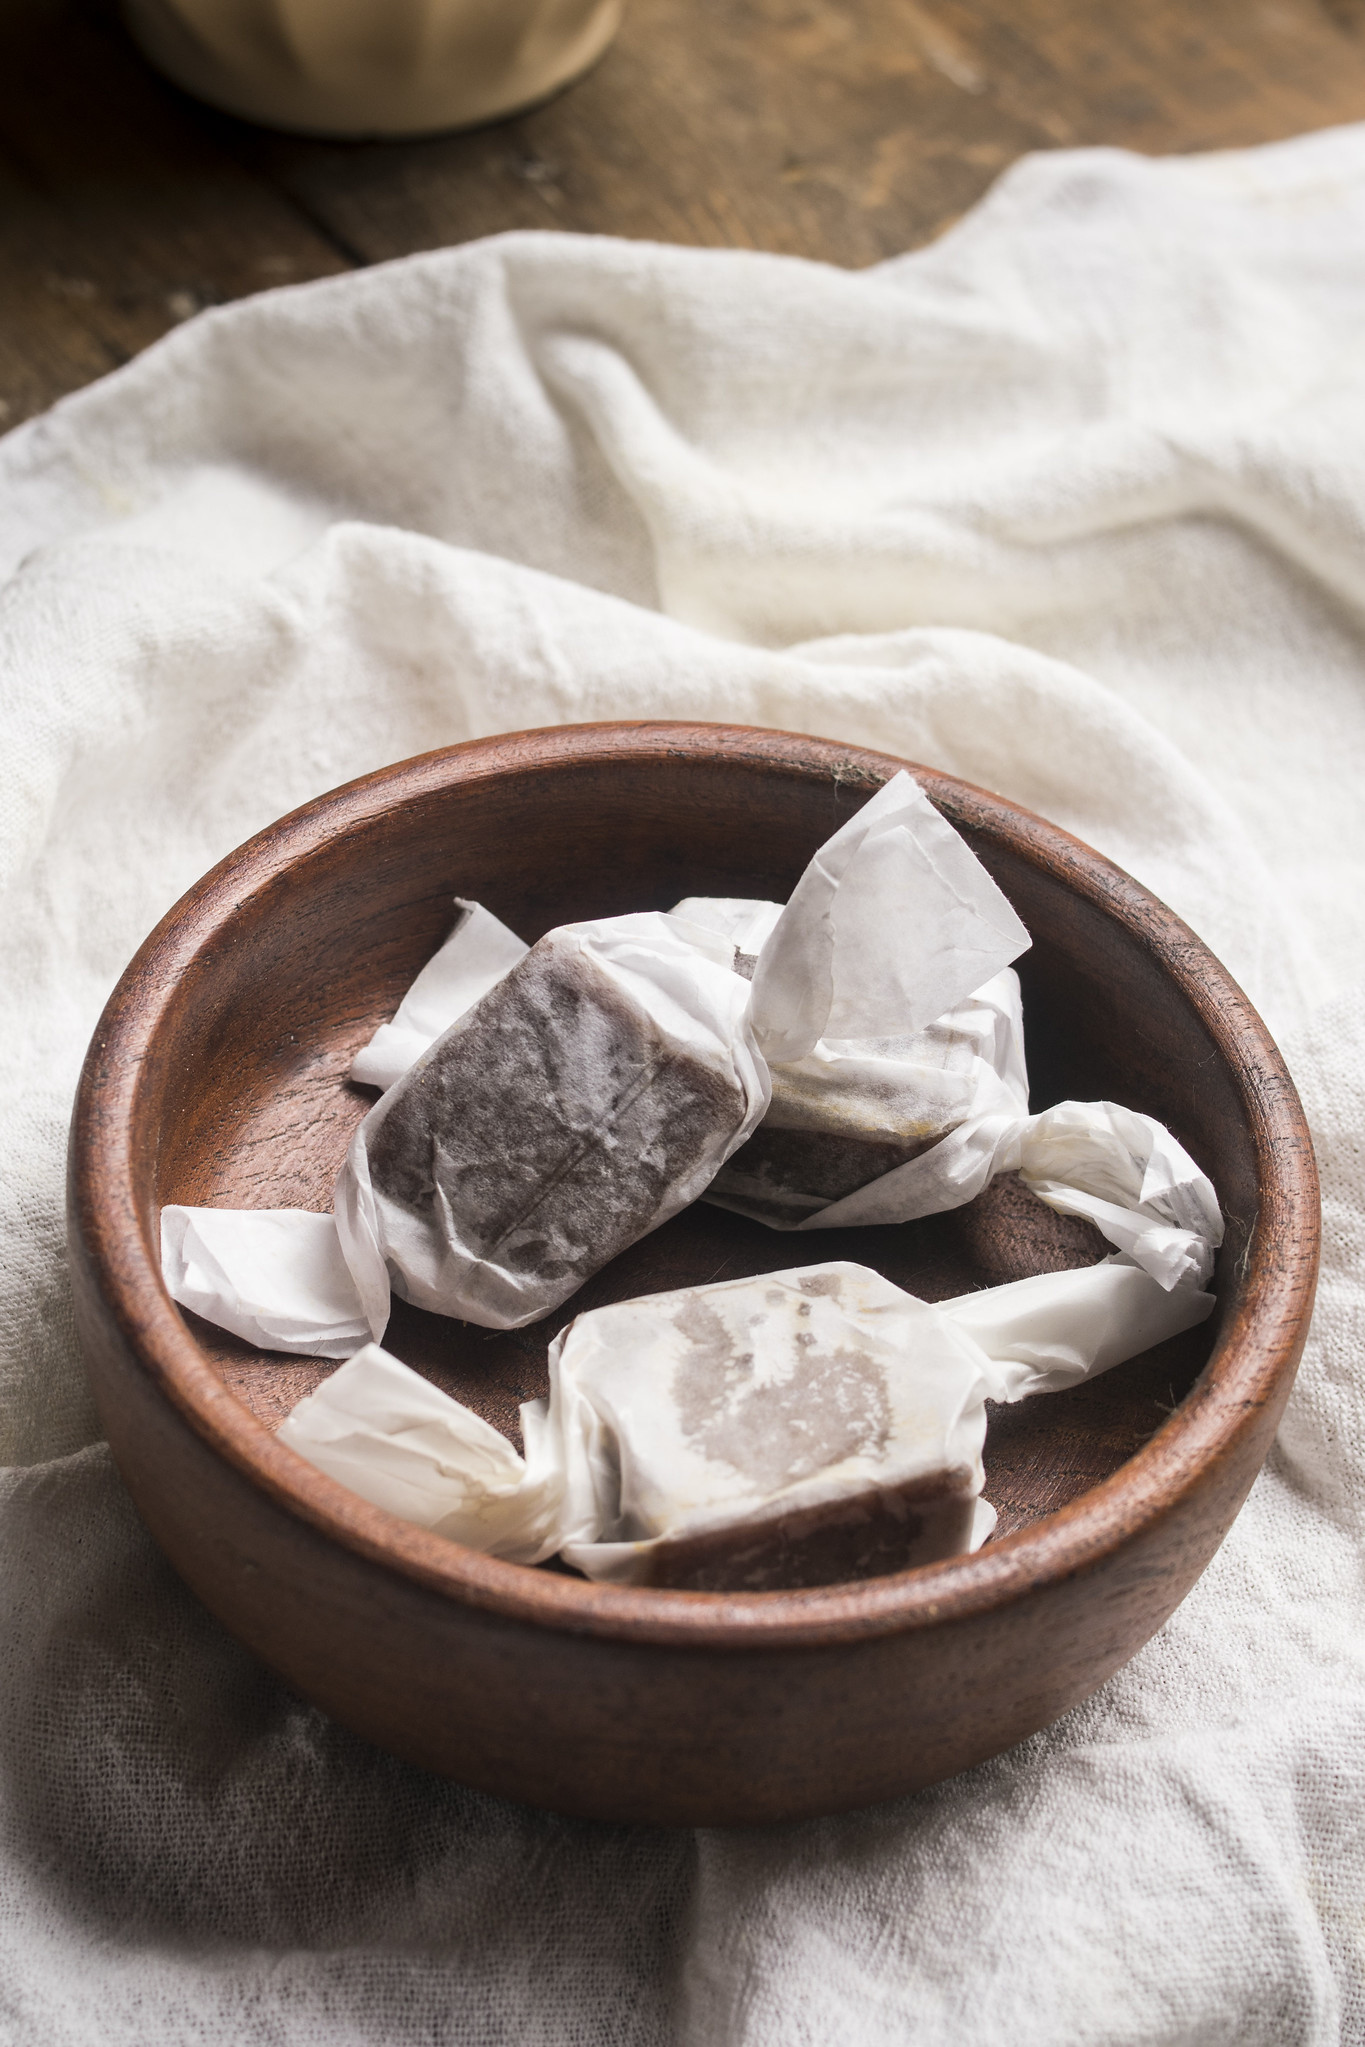
For gifting, wrap individual pieces in small squares of baking parchment or greaseproof paper and twist the ends. It keeps them separate, prevents sticking and gives them a simple homemade finish.
Photograph: Max Gagliano
Store the caramels in an airtight container with baking parchment between the layers. A cool room is ideal; if your kitchen is particularly warm, keep them in the fridge and allow them to come towards room temperature before eating, as chilled caramel will be noticeably firmer.
Foolproof Golden Bonfire Caramels Recipe
Makes: approximately 16–20 pieces
Prep: 10 minutes
Cook: 15–25 minutes
Chill: at least 2 hours
Ingredients
90 g unsalted butter, cut into pieces
1 × 395 g tin sweetened condensed milk
185 g soft light brown sugar
50 g golden syrup
½ teaspoon fine sea salt
½ teaspoon vanilla bean paste or vanilla extract
Flaky sea salt, to finish (optional)
Method
1. Lightly grease a 20 cm square tin and line it with baking parchment, leaving enough paper overhanging the sides to lift the caramel out once set.
2. Put the butter, condensed milk, brown sugar and golden syrup into a medium heavy-based saucepan. Set over low–medium heat and cook, stirring regularly, until the butter has completely melted and the mixture is smooth and combined.
3. Increase the heat to medium and bring the mixture to a steady boil. Position a sugar thermometer in the pan, making sure the tip sits in the caramel without touching the base.
4. Continue cooking, stirring constantly with a heatproof spatula and scraping across the base and into the corners of the pan. Cook to 118–120°C for a softer caramel or 124–126°C for a firmer, chewier caramel. Adjust the heat as necessary to maintain a steady boil without scorching.
5. As soon as the caramel reaches the correct temperature, remove the pan from the heat. Stir in the fine sea salt and vanilla until evenly combined.
6. Immediately pour the caramel into the prepared tin and gently smooth the surface with a heatproof spatula.
7. Leave to cool at room temperature for 10–15 minutes, then transfer to the fridge and chill for at least 2 hours, or until completely set.
8. Lift the caramel from the tin using the baking parchment. If it is very firm from the fridge, leave it at room temperature for 5–10 minutes before cutting. Slice into pieces with a sharp knife, lightly oiling and wiping the blade between cuts if necessary.
9. Finish with a few flakes of sea salt, if using, just before serving.
Safety note: Boiling caramel can cause serious burns. Take particular care while stirring and pouring it, and keep children away from the pan while the caramel is cooking.
Photograph: Max Gagliano
Golden Bonfire Caramels FAQs
Do I need a sugar thermometer to make caramel?
I strongly recommend one for this recipe. You can make caramel using traditional tests, but when only a few degrees separate a soft caramel from a much firmer chew, a thermometer gives far more reliable results.
Why did my caramel turn out too soft?
The most likely reason is that it did not reach a high enough final temperature. For a firmer, chewier caramel, aim for 124–126°C. Also make sure your thermometer is accurate and that the probe is not touching the bottom of the pan.
Why is my caramel very hard?
It has probably been cooked beyond the intended temperature. The hotter the caramel becomes, the more moisture it loses and the harder it will set.
Why is my caramel darker than expected?
Colour can vary depending on the sugar, syrup, vanilla and cooking conditions. Use temperature rather than colour to determine when the caramel is ready. A darker batch is not necessarily burnt.
Can I use salted butter?
Yes. If you do, reduce or omit the fine sea salt in the recipe and taste before adding any extra finishing salt.
Can I use vanilla extract instead of vanilla bean paste?
Yes. Either works well. Vanilla bean paste gives visible flecks in the caramel, while extract produces a smoother appearance.
Can I make the caramels ahead?
Yes. They are particularly convenient to make in advance because they need time to chill and set before cutting. Store the finished pieces in an airtight container with baking parchment between the layers.
How do I stop the caramels sticking to the knife?
Use a sharp knife and lightly oil the blade with a neutral oil. Wipe and re-oil it between cuts if necessary.
Are these the same as traditional bonfire toffee?
No. Traditional British bonfire or treacle toffee is typically a harder, darker sweet associated with Guy Fawkes Night. These are creamy condensed-milk caramels inspired by those autumn flavours and traditions, rather than a traditional bonfire toffee recipe.
Photograph: Max Gagliano
Final Thoughts
Golden Bonfire Caramels make perfect sense in autumn: rich, buttery sweets to wrap up for Bonfire Night, cold-weather gatherings or an easy homemade gift. But the recipe is not really dependent on the season.
Once you understand the temperature ranges, it becomes a useful base recipe for homemade caramels at any time of year. Keep them soft and yielding, take them a little further for a firmer chew, finish with flaky sea salt if you like, and let the caramel itself do the rest.
Photography for this recipe was commissioned by Culinary Travels and shot by Max Gagliano. Culinary Travels holds full usage rights for website, social media and print use.
Stay in Touch
Culinary Travels publishes destination guides, seasonal recipes, and food-led travel features from the UK and beyond.
Follow for new articles and updated travel resources:
Instagram | X | Facebook | Pinterest
Newsletter
Receive new guides, recipes, and occasional travel planning notes by email: Subscribe here
Reader feedback and local recommendations are always welcome via the contact page.


©2026 Culinary Travels. Culinary Travels is written and edited by Georgina Ingham | Website designed by The Smarter Web Company
What Our Followers Say
"A highly complimentary article ... showcasing why the English Market remains one of Ireland's premier food destinations"
Cork City Council via Facebook
"Our list of things to do in Cork has just expanded hugely thanks to Culinary Travels."
Triskel Art Centre Cork, via Twitter
“Tried this last night and it was delicious!”
Reader feedback via Pinterest, Yangzhou Fried Rice Recipe
"Oh yum!!! I could eat one or two right now!"
Sami Tamimi, via Instagram, on Ma’amoul Cookies
"Georgina was great to work with, quick to respond, and is a excellent content writer - would highly recommend"
Nick S - Get Blogged
“A simple no-knead dough transformed into beautiful, rustic rolls.”
Reader feedback via Pinterest, No-Knead Ciabatta Rolls Recipe